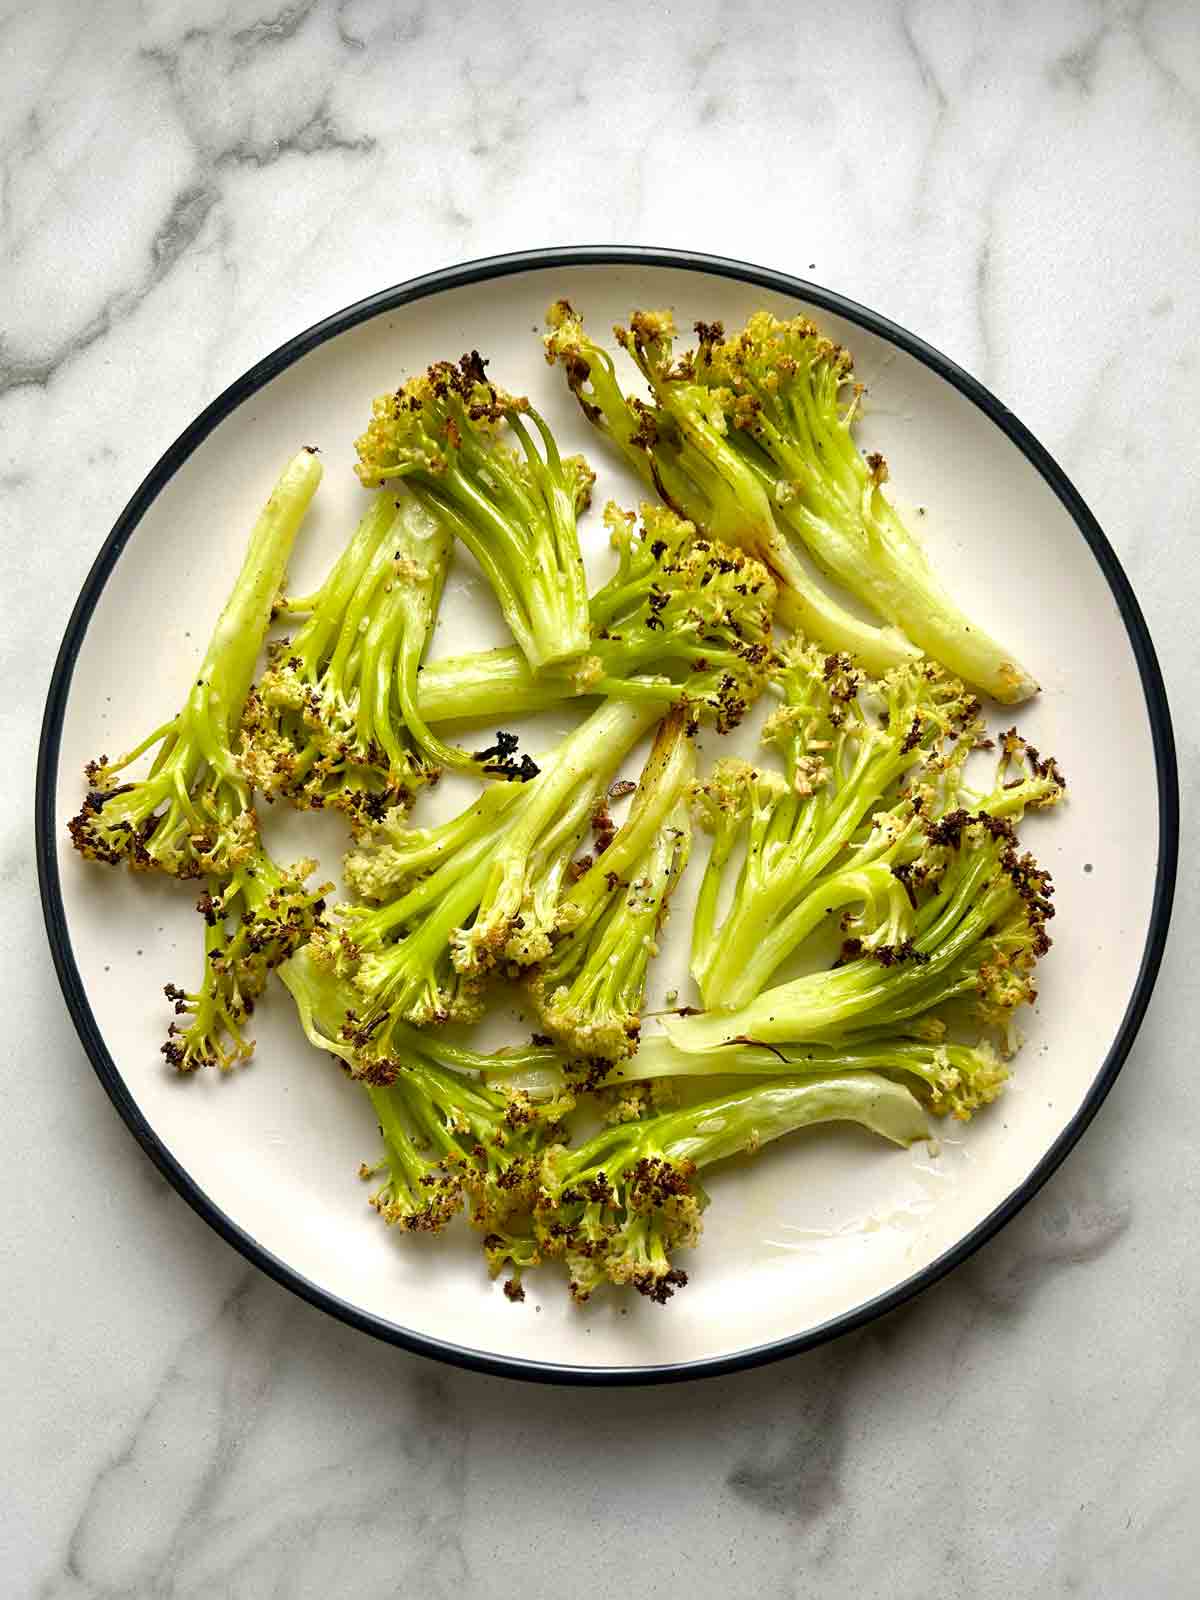
I saw Chinese cauliflower at my local Asian grocery store and tried roasting it for the first time. It turned out AMAZING. The florets of Chinese cauliflower are less dense than regular cauliflower, so you end up with a lot more of the delicious crispy and charred bits.
I love roasted cauliflower, but until now, I have always used regular cauliflower for it. Recently I saw some Chinese/Taiwanese cauliflower on sale at my local Asian grocery store so I decided to buy a bunch for roasting.
I had a feeling they would turn out really good, and I was right. The smaller florets made them extra crispy with lots of charred bits. Much better than roasting regular cauliflower in my opinion.
Differences with regular cauliflower
The first thing you'll notice is that Chinese Cauliflower has less dense florets and thinner stems. The stem is also green as opposed to white.
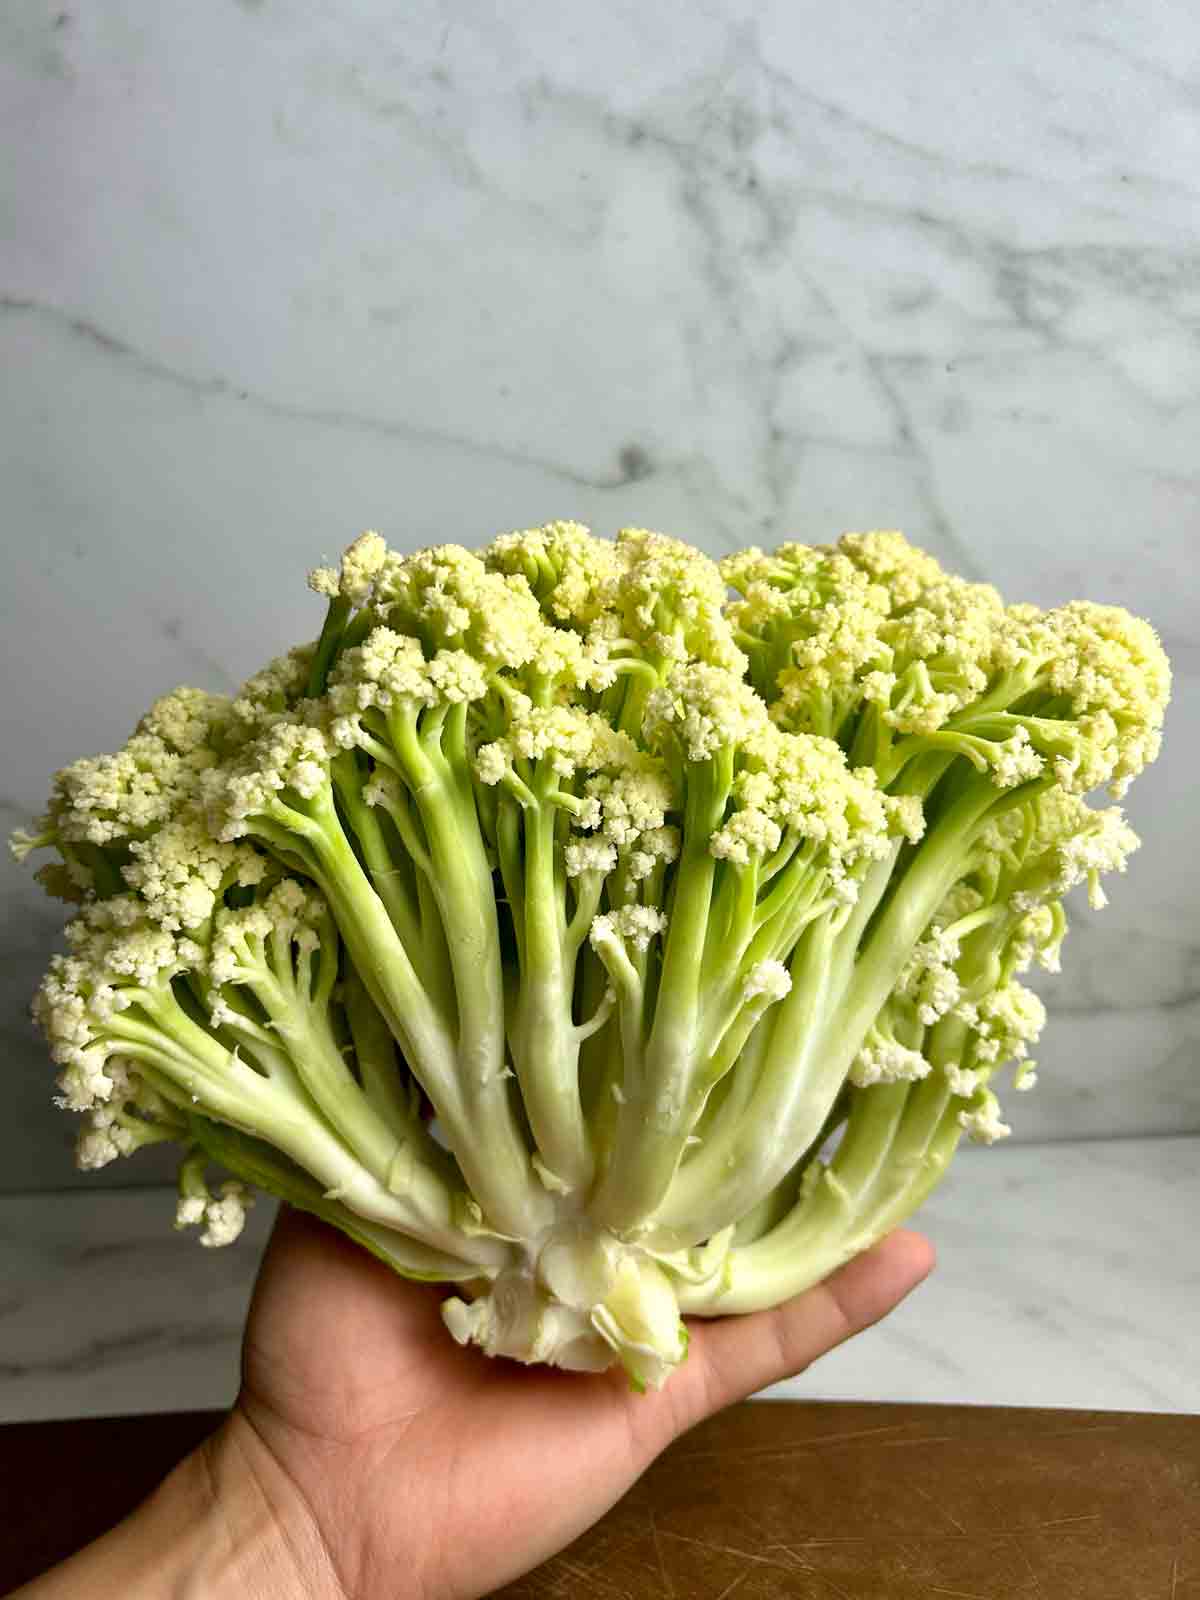
In terms of flavor, Chinese cauliflower and regular cauliflower taste more or less the same to me. Chinese cauliflower is maybe a bit more sweet and a little more tender. The main difference is the shape, which I have already mentioned makes it better for roasting.
How long to roast Chinese cauliflower?
After coating the cauliflower in oil and seasonings, I placed them into the 425°F oven for 18 minutes. This was the perfect time and temperature for me to achieve charred bits but not burnt. Depending on your oven, you may need to adjust the temperature slightly. If the cauliflower starts to burn, you can put a piece of tin foil over the top of the ones that are burning.

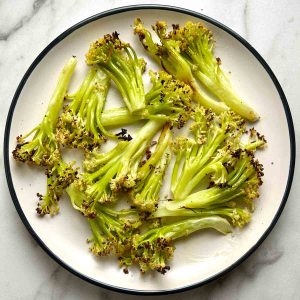
Roasted Chinese Cauliflower
Ingredients
- ½ large head Chinese cauliflower (about 1 ½ pounds)
- 3 tablespoons oil
- 2 cloves garlic (minced)
- ½ teaspoon salt
- ½ teaspoon black pepper
Instructions
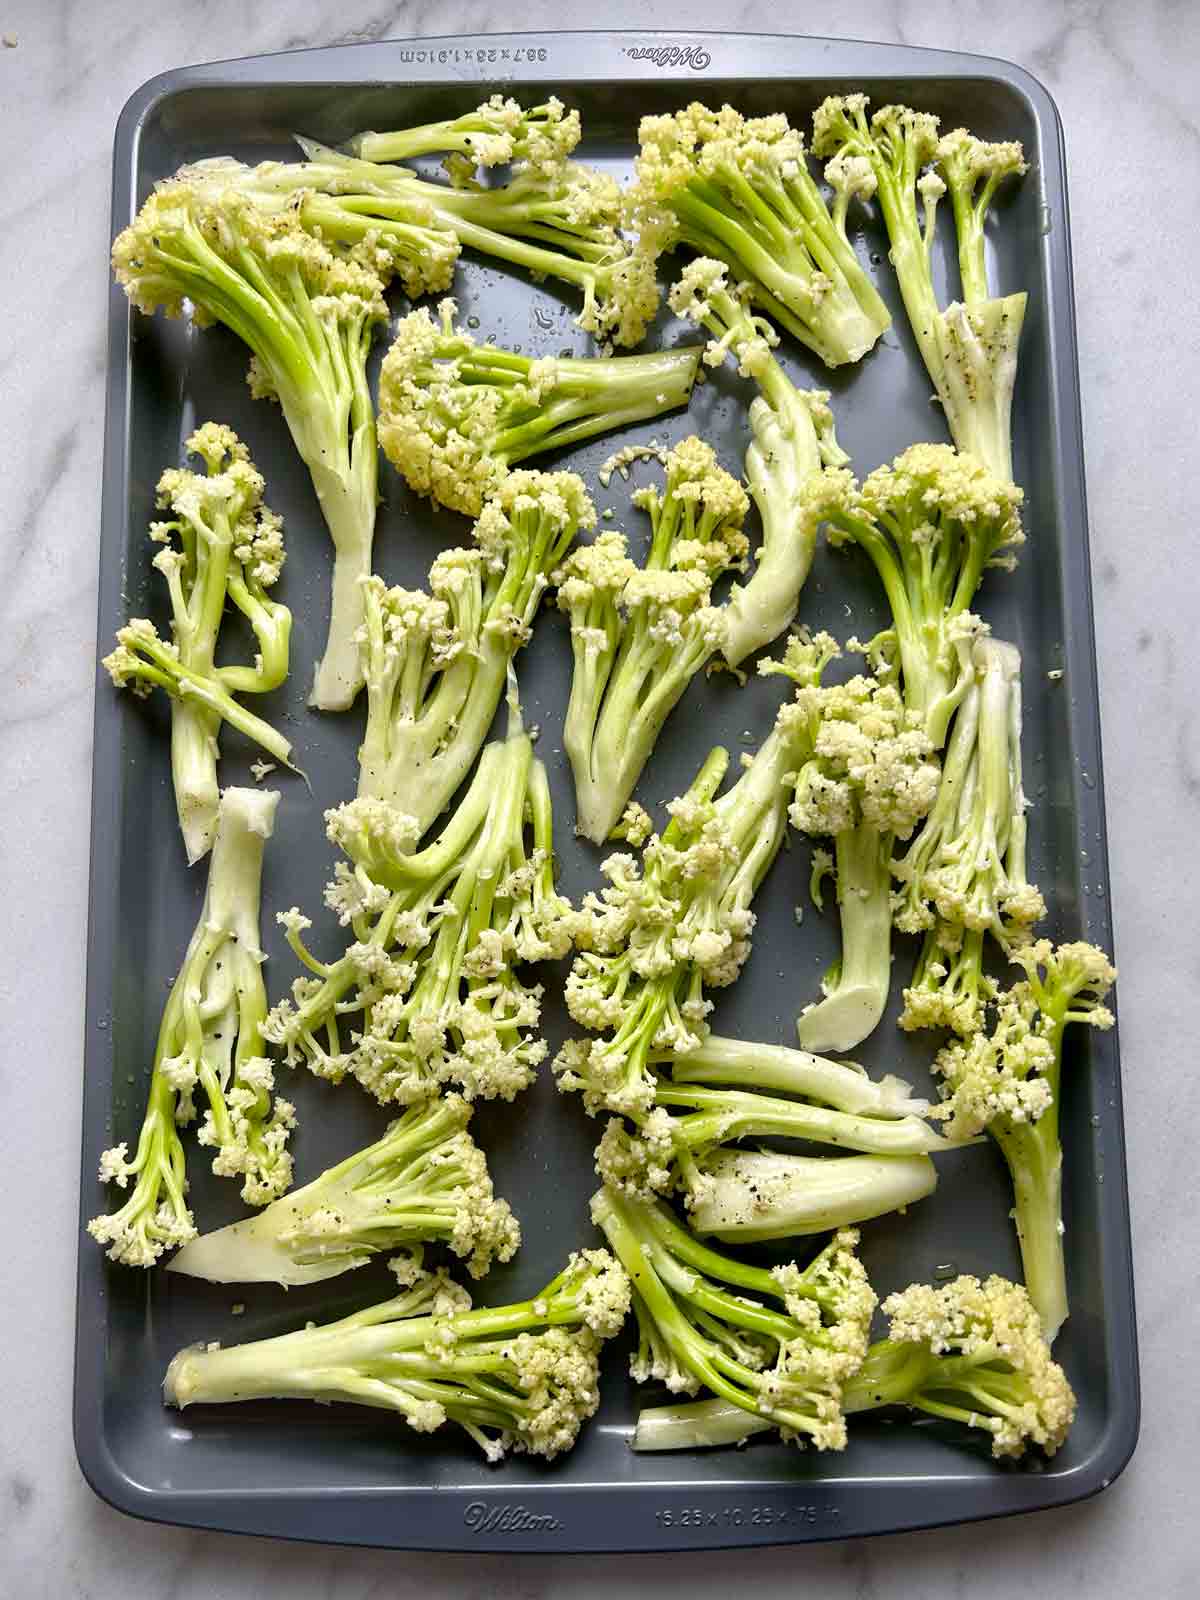
- Starting from the base of the cauliflower, use your hands or a pairing knife to break the cauliflower into small florets about ½ inch thick.
- To a large bowl, add the cauliflower, oil, minced garlic, salt, and black pepper.
- Gently toss together then spread on a baking sheet. Try to leave a little bit of space between each piece of cauliflower so steam can escape. Bake at 425°F for 18-20 minutes until the tips are crispy and charred.


Leave a Reply