• Skip to primary navigation
  • Skip to main content
  • Skip to primary sidebar
Grumpy Recipes
  • About
  • Recipes
menu icon
go to homepage
  • About
  • Recipes
  • Social

    • Facebook
    • Instagram
    • Pinterest
    • TikTok
    • YouTube
  • subscribe
    search icon
    Homepage link
    • About
    • Recipes
  • Social

    • Facebook
    • Instagram
    • Pinterest
    • TikTok
    • YouTube
  • ×
    Home » Recipes » Appetizers & Snacks

    Taro Chips (deep-fried vs air-fried)

    Published: Sep 3, 2024 by Grumpy · This post may contain affiliate links · Leave a Comment

    Jump to Recipe

    These Taro Chips are super crunchy and easy to make. I usually see these as part of a first course at higher-end restaurants, where they are typically served with a bowl of tuna tartare. For this recipe, I decided to only do the chips but I tested them in the air fryer as well.

    taro chips on wooden board.

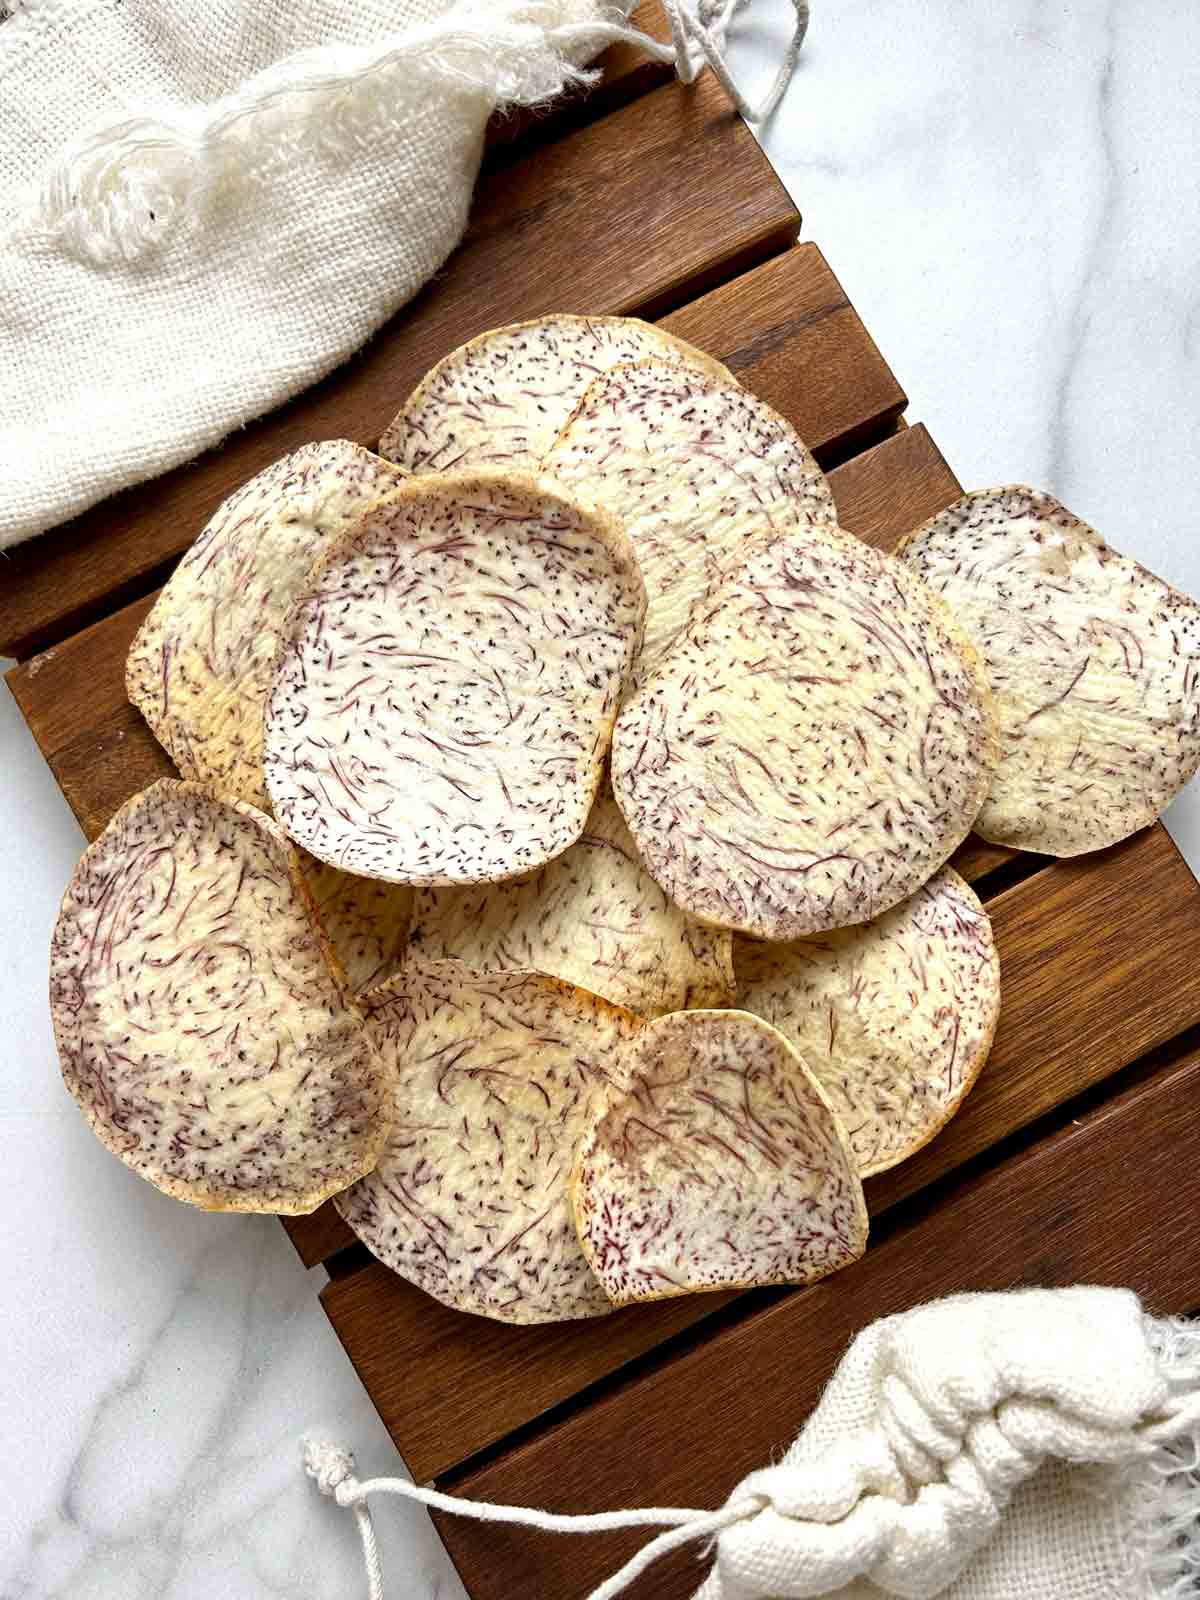
    Taro chips are one of my favorite "root vegetable" chips. I usually see them served at higher-end restaurants as a crunchy component for a first course. Recently, I bought a whole taro for making coconut taro soup and I had a bunch of leftovers so I decided to make these chips.

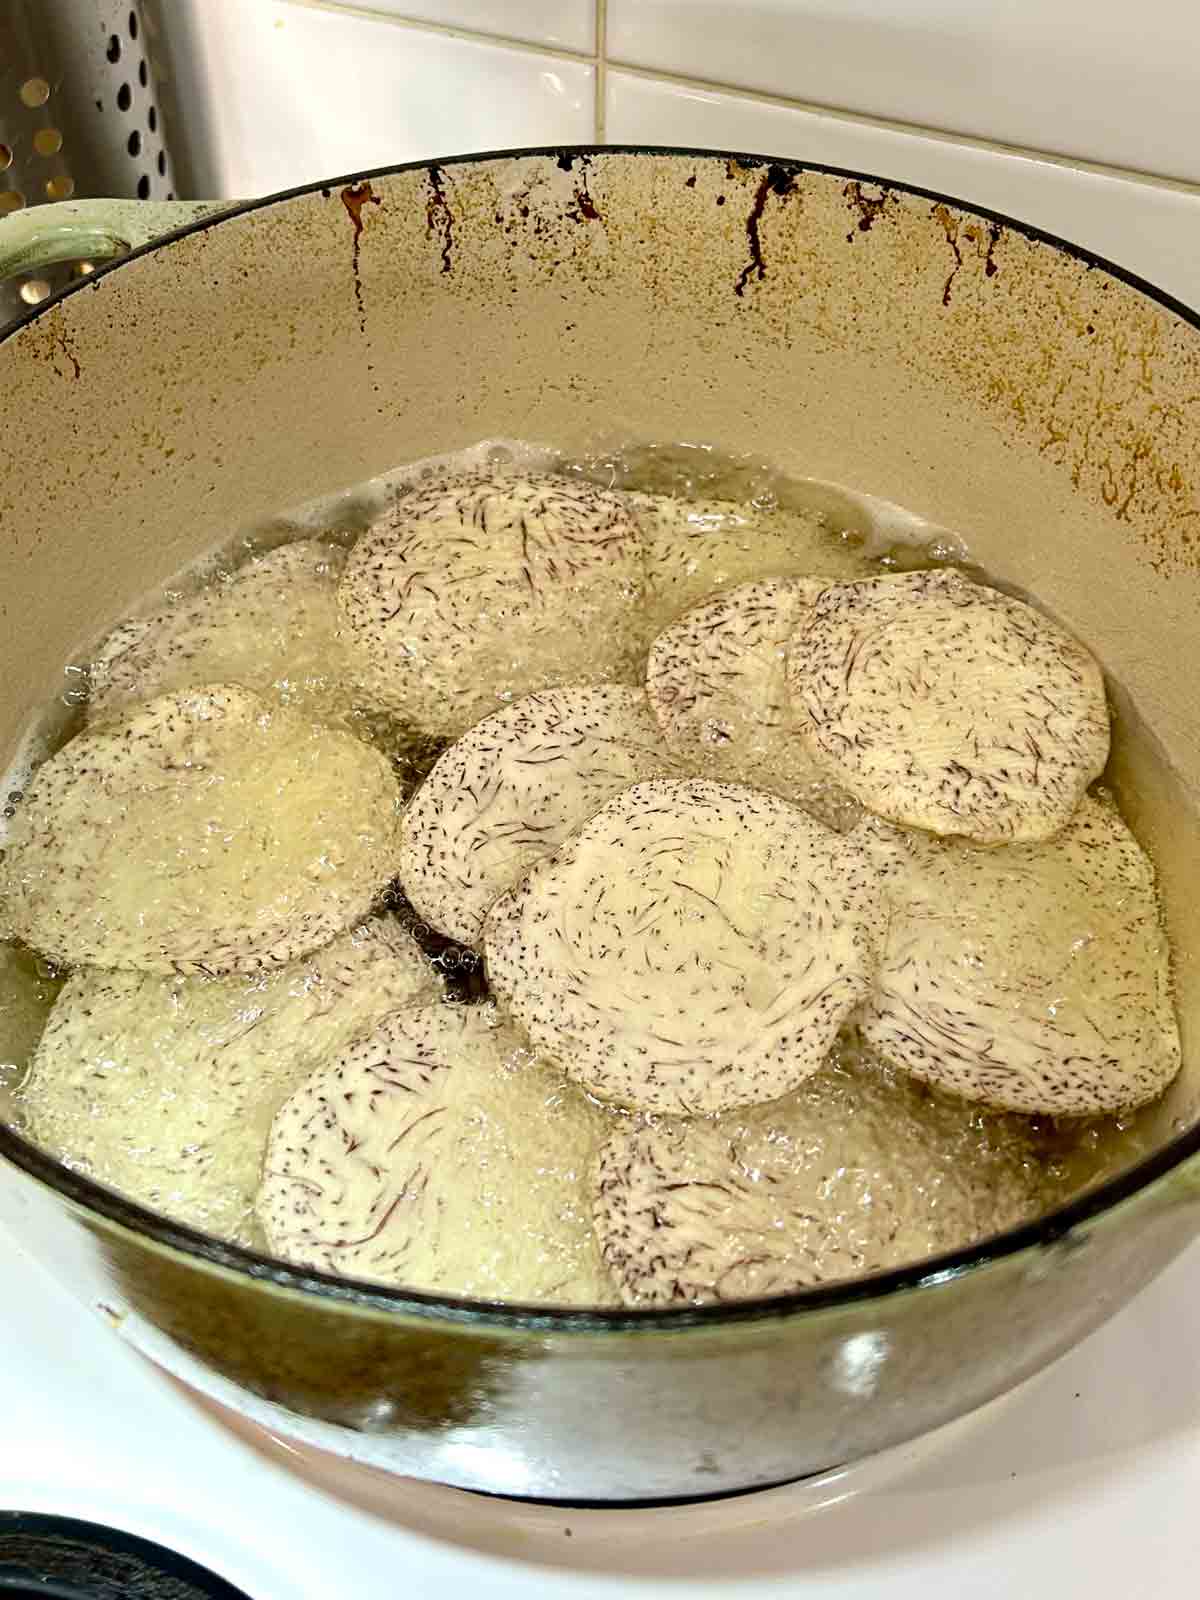
    Compared to other "root vegetables" chips I've made, like beetroot or sweet potato chips, I find taro chips are much less likely to get burned. The reason is because taro contains much less sugar than other root vegetables, and sugar tends to darken very quickly when deep-frying.

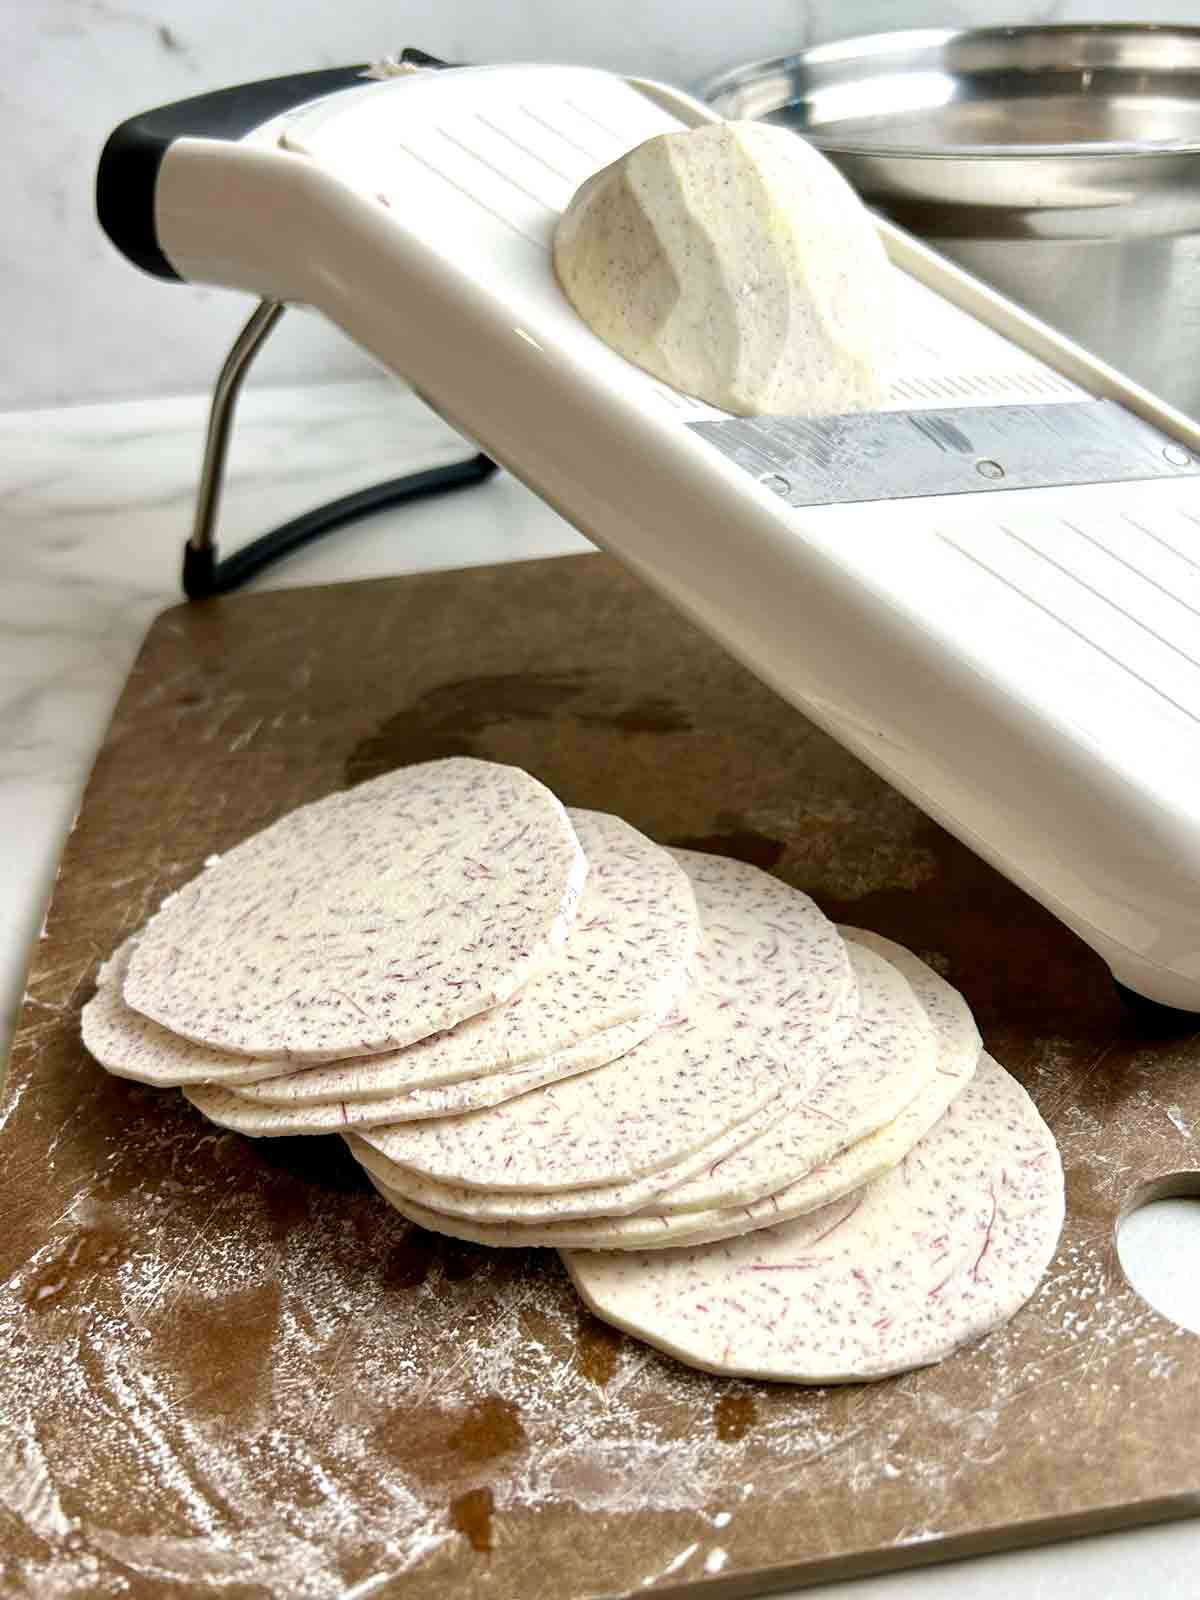
    Using a mandolin for slicing

    For the most consistent slices, I recommend slicing the taro with a mandolin. You could use a knife if you want to, but it's much harder to get them into thin, even slices.

    taro being sliced on mandolin.

    Do I need to soak in water?

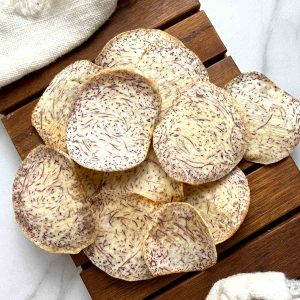
    The short answer is no. After reading a few recipes, I noticed a lot of people suggested soaking the taro slices in water so that they wouldn't burn. But no one really gave a concrete explanation as to why so I decided to make two batches, one that was soaked water, and one that was not.

    taro slices being soaked in bowl of water.
    slices of taro being dried on paper towels.
    comparison of soaked and not soaked taro chips.

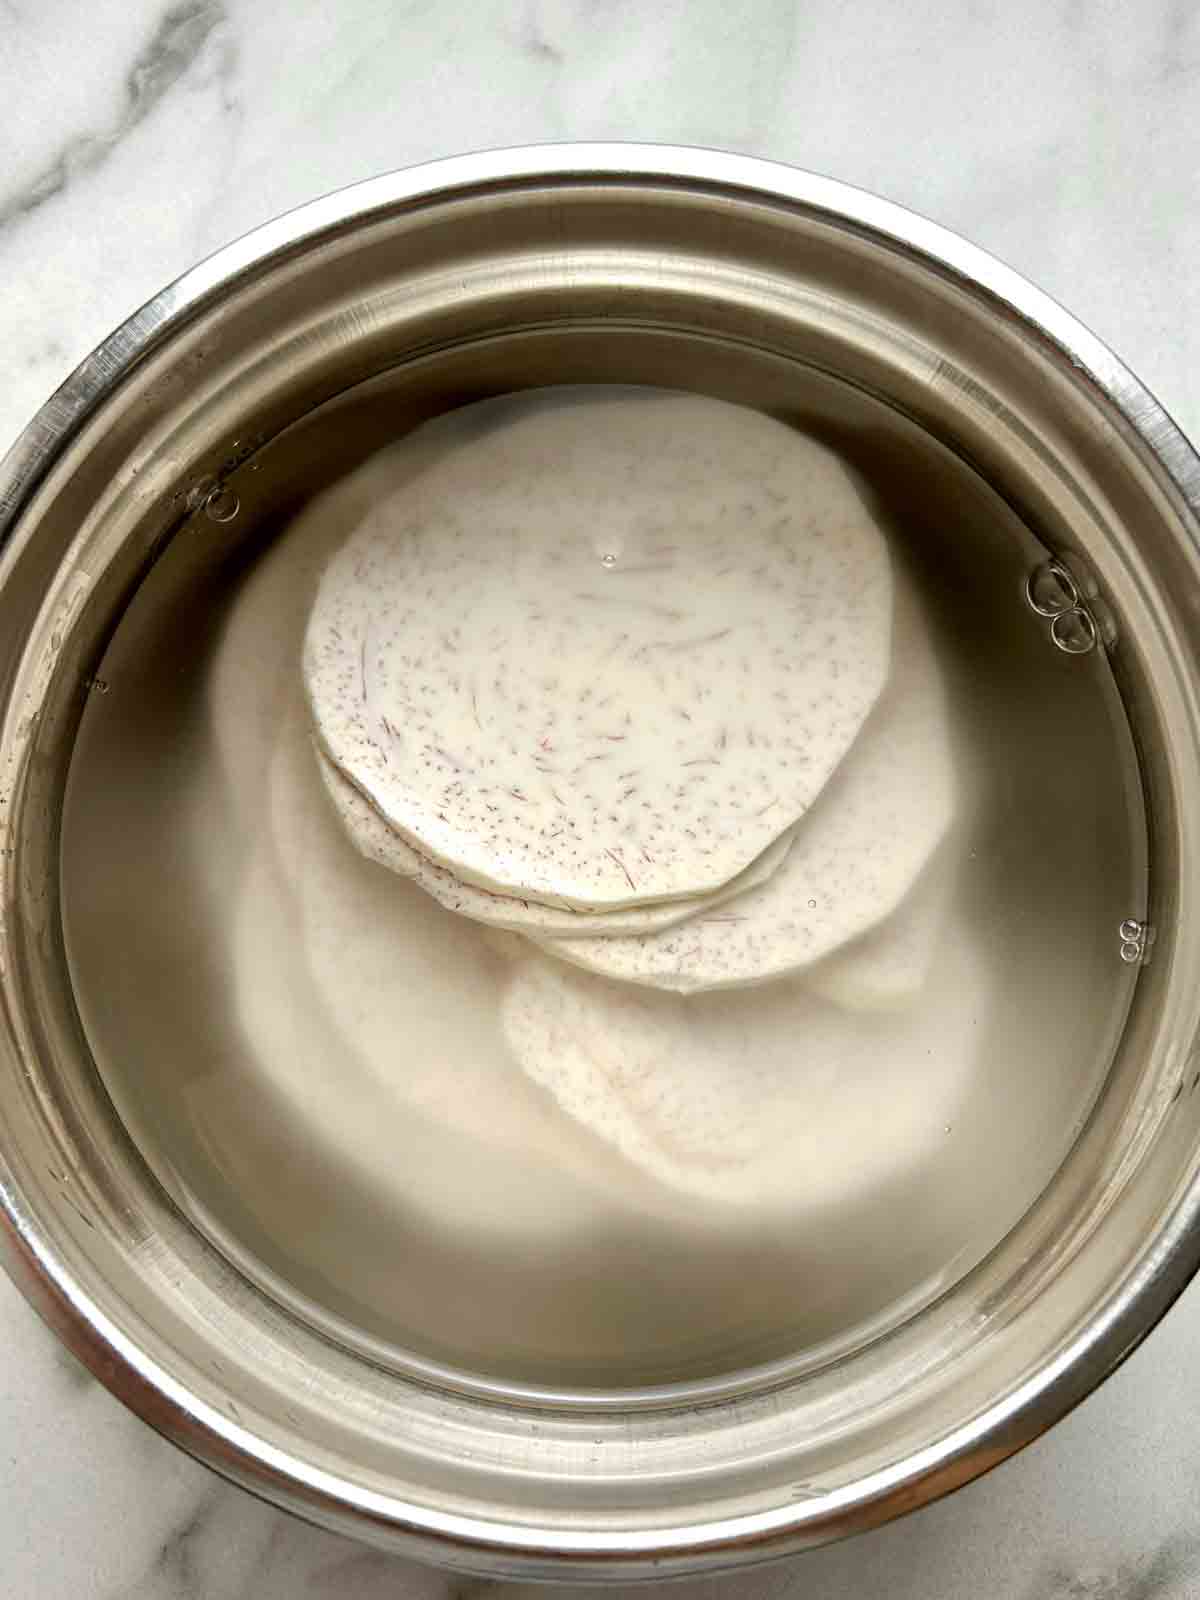
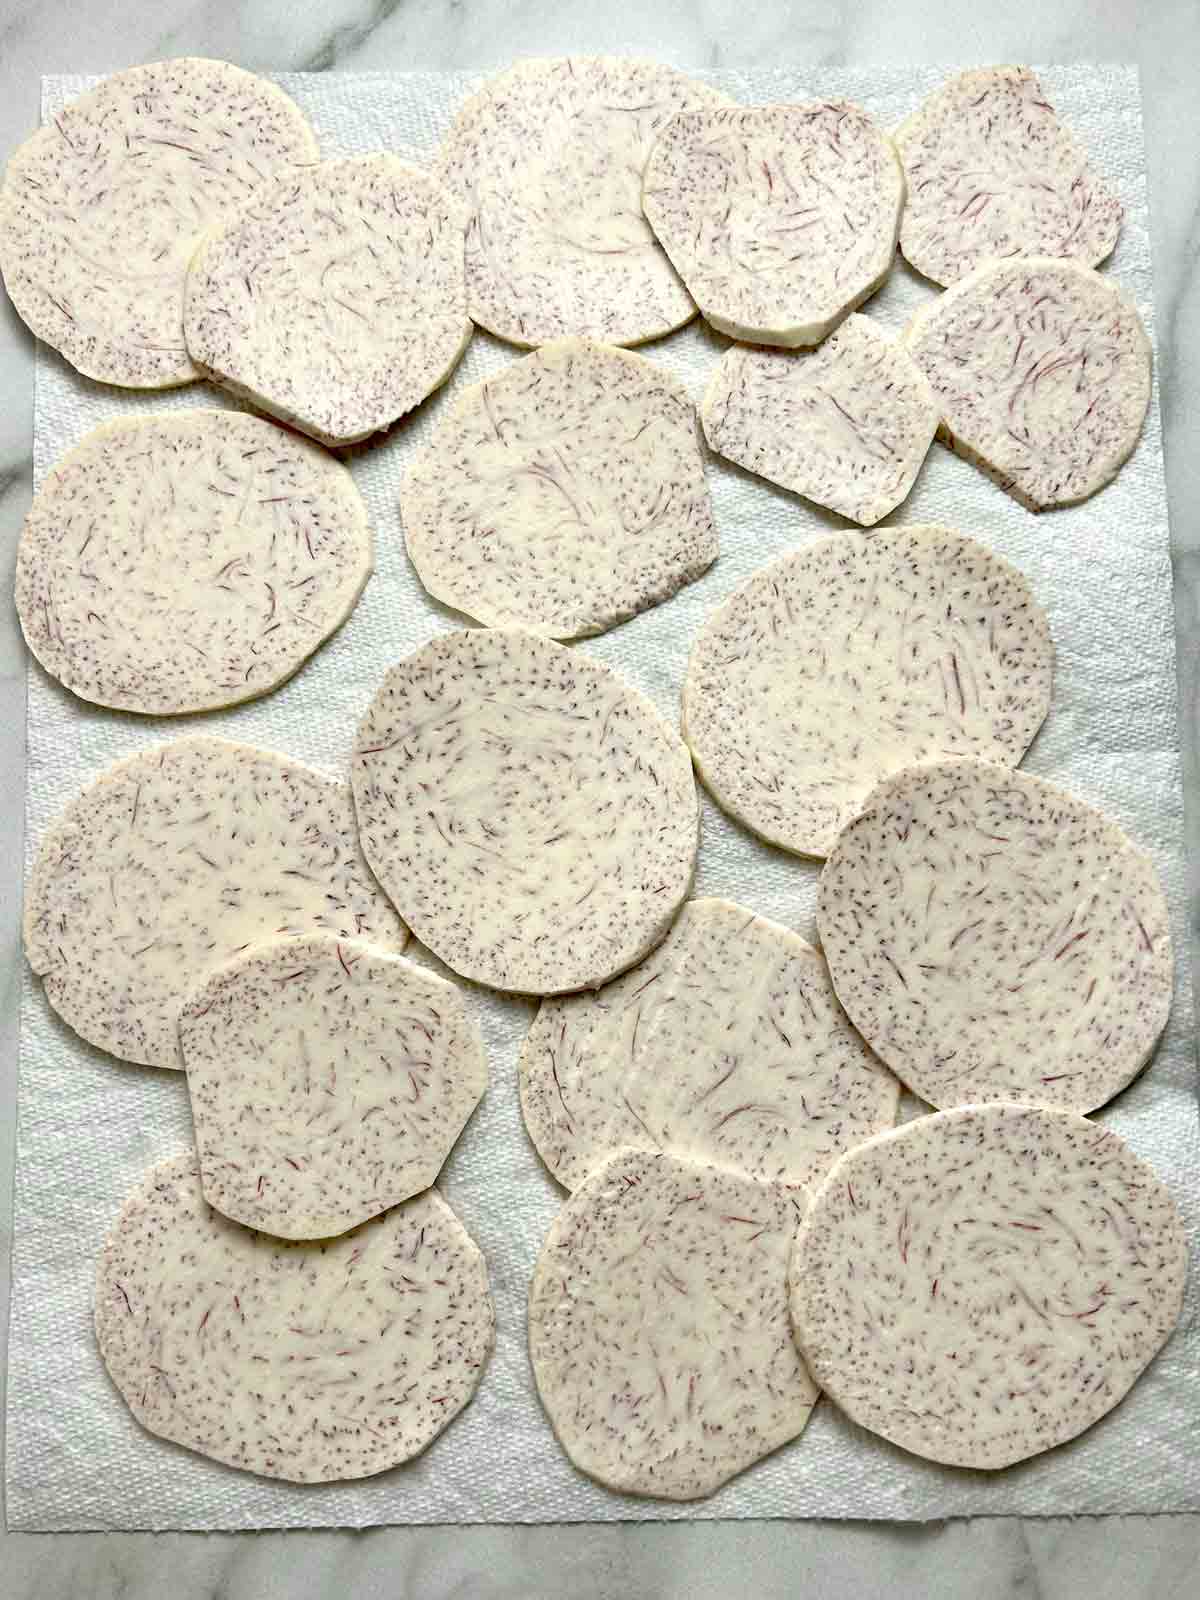
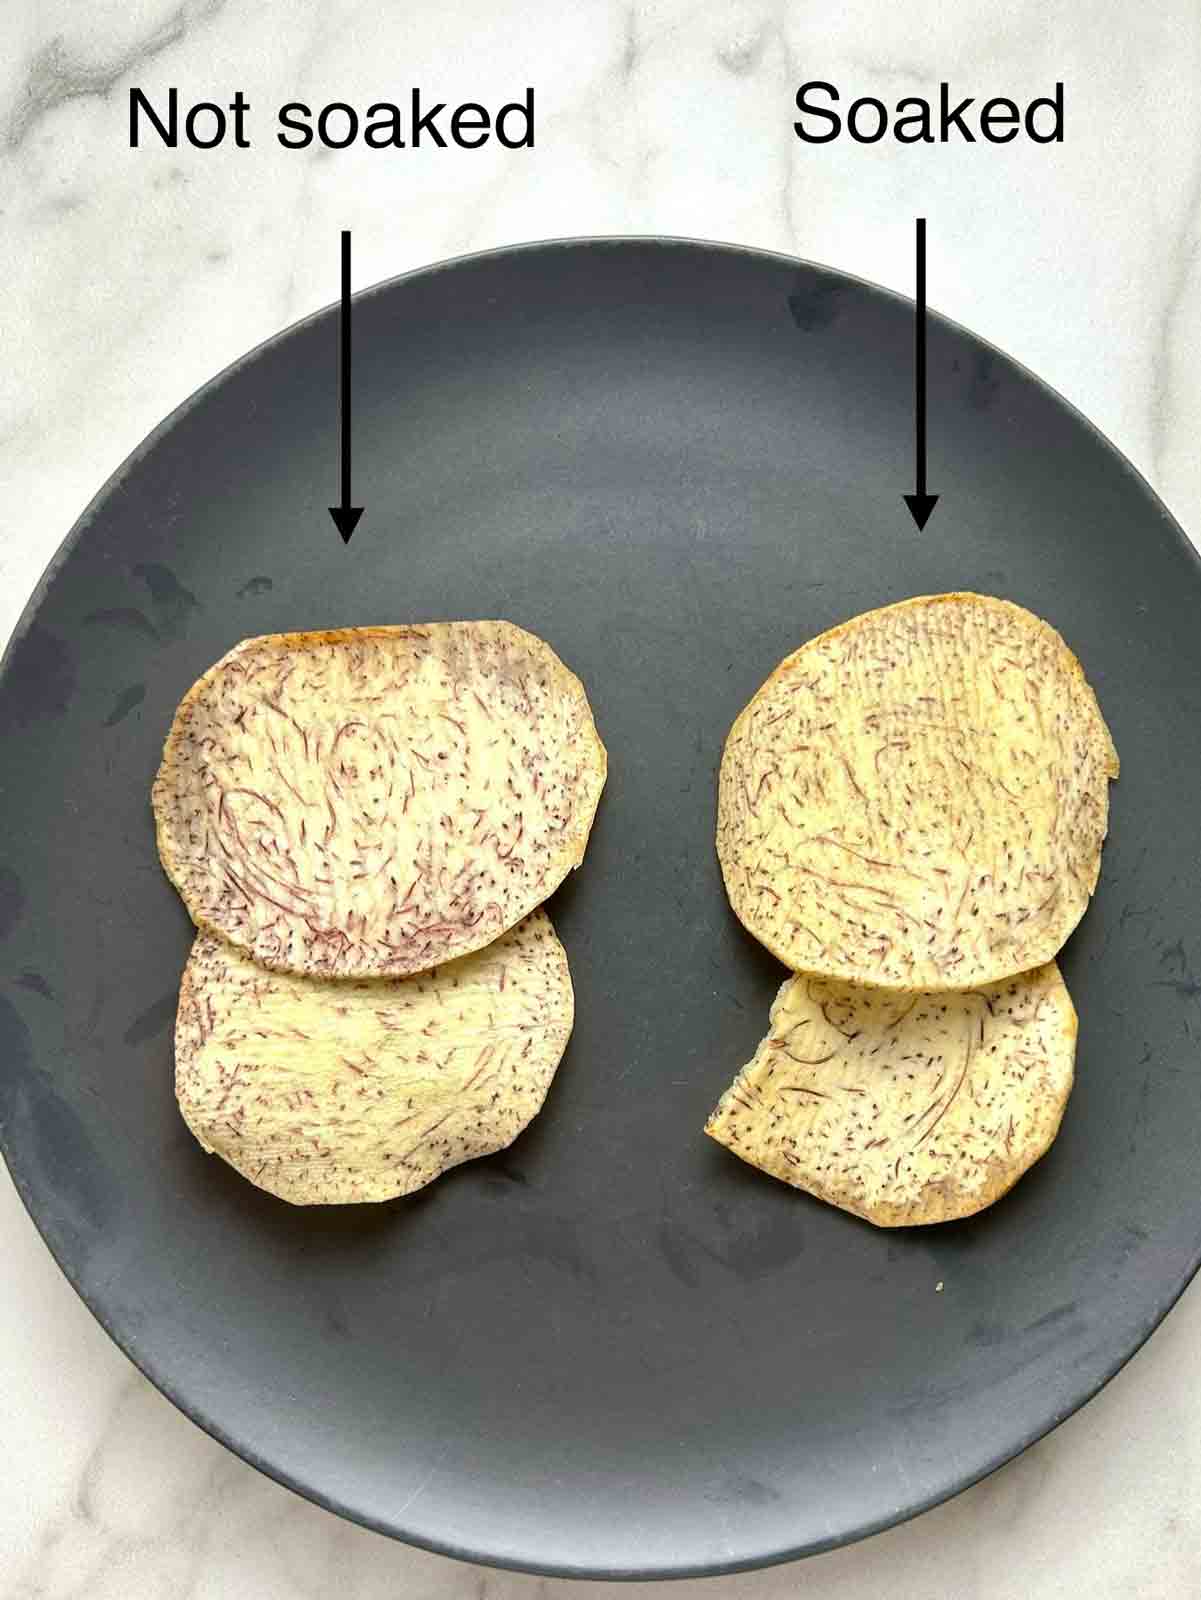
    As you can see from the picture above, there was barely a difference between the two. So save yourself some time and don't bother with soaking them.

    Deep-frying vs air-frying

    Here is the side-by-side comparison of the deep-fried vs air-fried chips:

    comparison of deep-fried and air-fried taro chips.

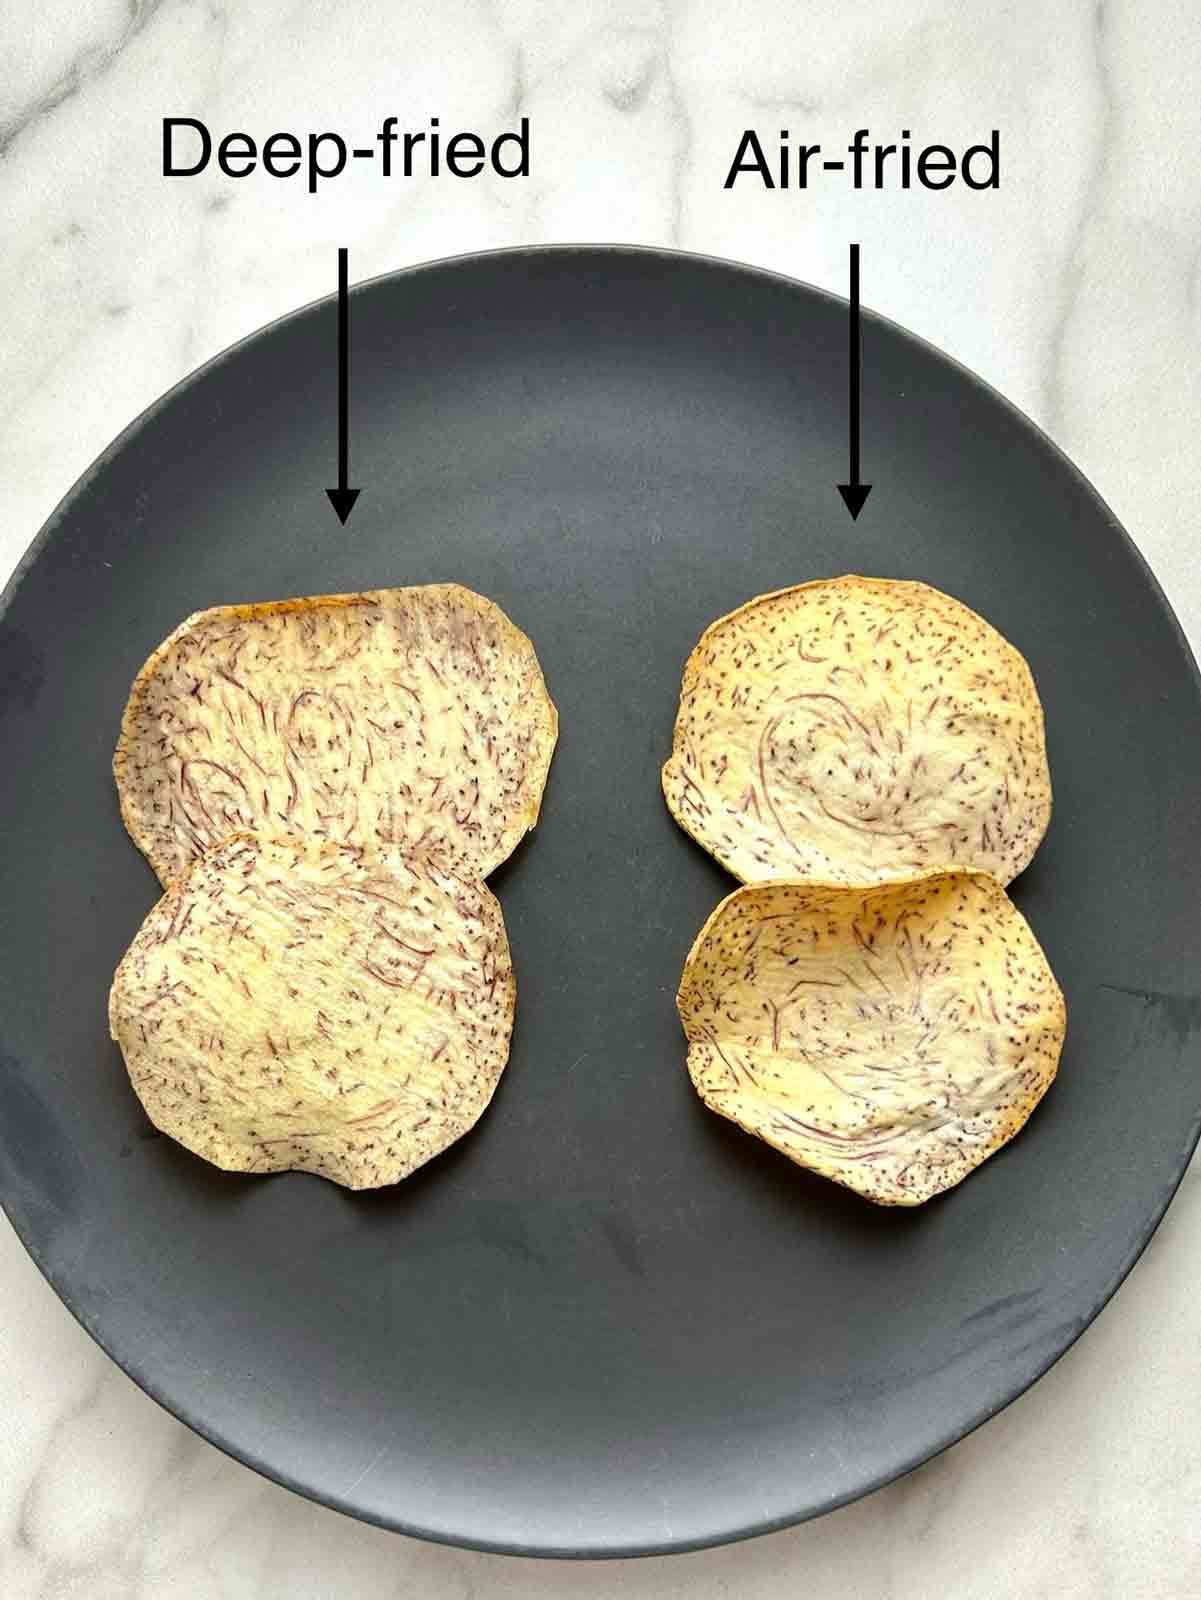
    Appearance-wise, they look very similar, but in my opinion, the deep-fried chips tasted way better. They were much more rich with the oil.

    cooked taro chips in air-fryer basket.
    chips being deep fried in hot oil.

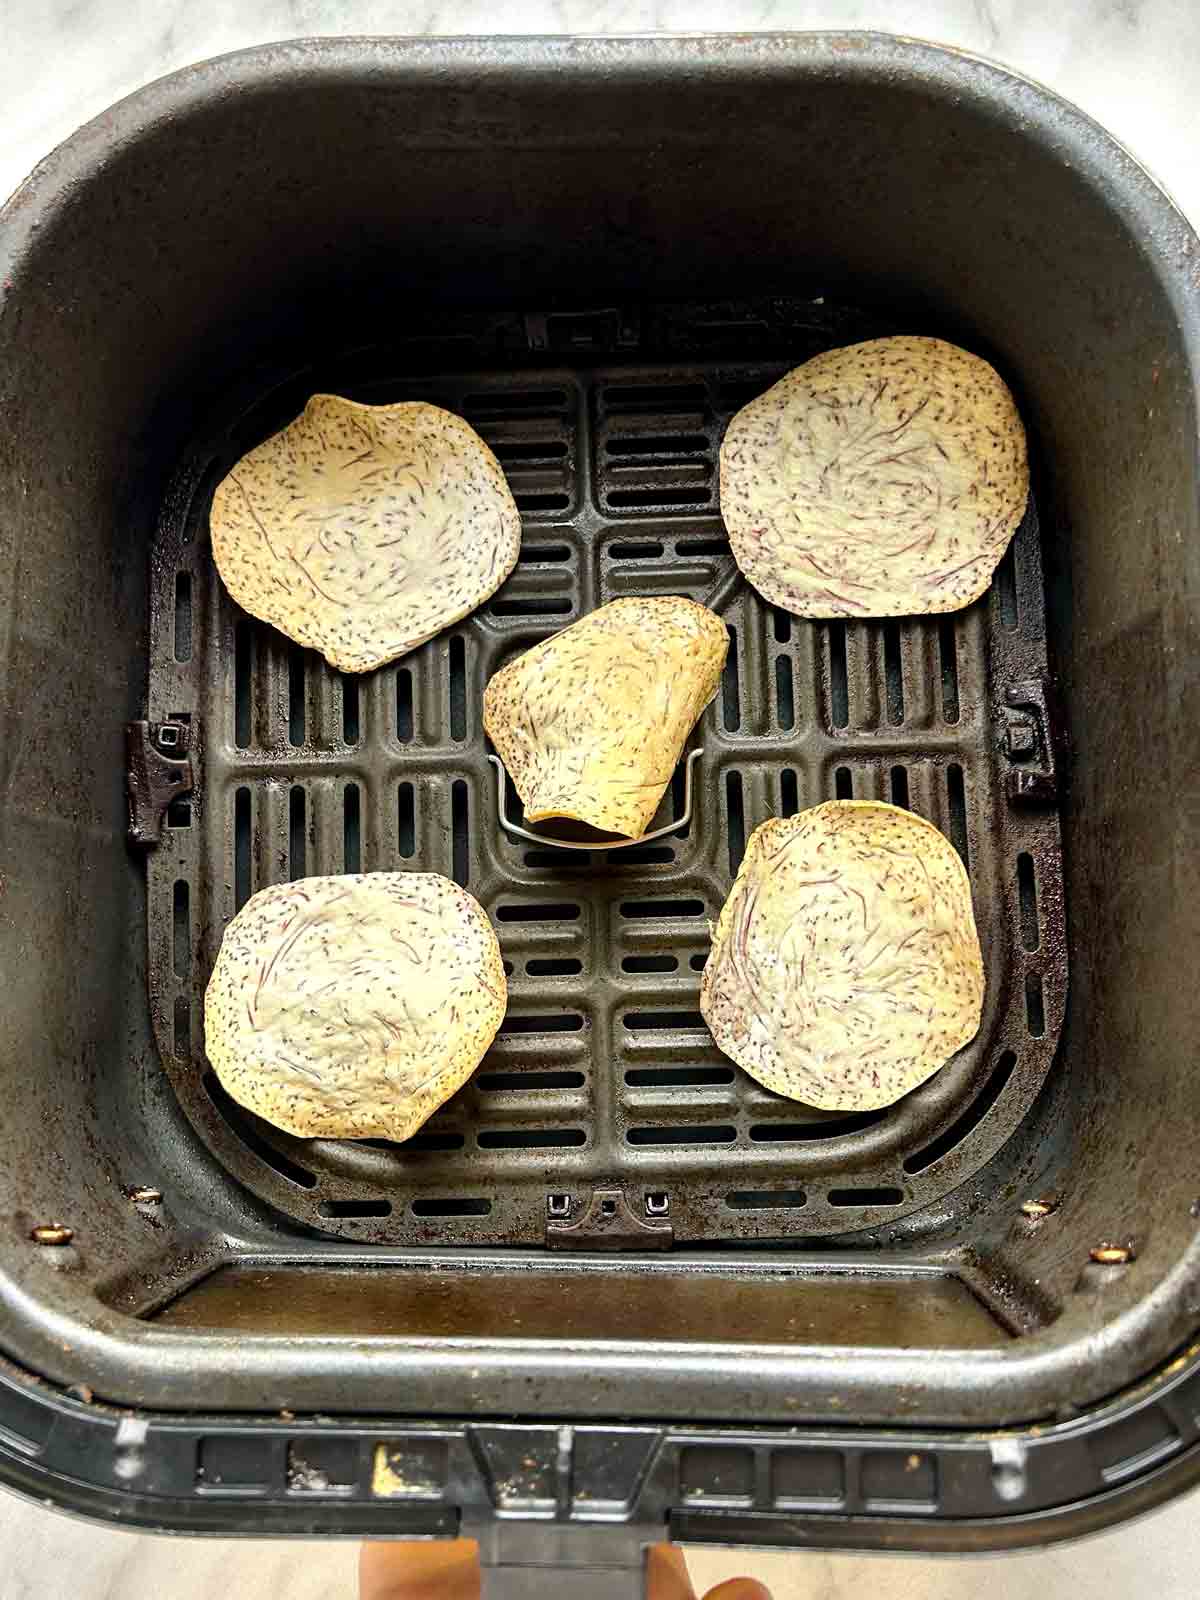
    For the air-fried chips, I initially cooked them at 400°F, but the edges got really burnt, so I reduced the temperature to 350°F for my second batch. They turned out much better.

    In terms of cooking time, deep-frying was much faster. It took me only about 5 minutes until they were very crunchy but air-frying took almost 15 minutes. In any case, I've included instructions for both in the recipe card below.

    taro chips on wooden board.

    Taro Chips (deep-fried vs air-fried)

    Thinly sliced taro can be turned super crunchy by deep-frying or air-frying. I tested both methods and I prefer the deep-frying but the air-frying was also very good. See the blog post for my full comparison.
    No ratings yet
    Print Recipe Pin Recipe Save Saved!
    Prep Time 15 minutes mins
    Cook Time 5 minutes mins
    Total Time 20 minutes mins
    Course Appetizer, Snack
    Cuisine American
    Servings 4 people

    Ingredients
      

    • 1 pound taro
    • oil for frying
    • salt

    Instructions
     

    • Peel the taro. Slice into 1/16-inch thick slices on a mandolin or with a sharp knife.
    • No need to soak the taro slices in water. They can be fried immediately.
    • Deep-fry at 350°F for 4-6 minutes until they are crunchy and light golden, or spray with oil and air-fry at 350°F for 14-16 minutes, flipping once in between.
    • Sprinkle with salt while they are still hot and enjoy!

    More Appetizers & Snacks

    • overhead shot of chicken caesar pasta salad on plate with fork.
      Chicken Caesar Pasta Salad
    • hand holding Bisquick sausage ball.
      Bisquick Sausage Balls
    • hand holding Bisquick sausage muffin with bite taken out of it.
      Bisquick Sausage Muffins
    • stack of dill pickle pinwheels on plate.
      Dill Pickle Pinwheels

    Reader Interactions

    Leave a Reply Cancel reply

    Your email address will not be published. Required fields are marked *

    Recipe Rating


    Primary Sidebar

    The blogger behind "Grumpy Recipes" plating some food for photography.

    Hello! Ever get so hungry that you get a little grumpy? Well, I'm here to fix that! My name is Grumpy and this is my recipe blog. I'm a passionate home cook who wants to share his favorite recipes with the world. Click the link below to learn more about my story.

    More about me →

    Latest Recipes

    • overhead shot of spoon lifting stuffed shells from casserole dish.
      Stuffed Shells With Ground Beef
    • plate of air fried pasta chips.
      Air Fryer Pasta Chips
    • A bowl of mango salsa with diced mango, red onion, and cilantro, mixed with red bell pepper. A spoon rests in the bowl.
      Mango Salsa
    • close up of spoon lifting green goddess dressing from glass bowl.
      Green Goddess Dressing

    Footer

    ↑ back to top

    • Privacy Policy
    • Contact
    • Subscribe

    As an Amazon Associate I earn from qualifying purchases.

    Copyright © 2026 Grumpy Recipes

    Rate This Recipe

    Your vote:


    A rating is required
    A name is required
    An email is required