• Skip to primary navigation
  • Skip to main content
  • Skip to primary sidebar
Grumpy Recipes
  • About
  • Recipes
menu icon
go to homepage
  • About
  • Recipes
  • Social

    • Facebook
    • Instagram
    • Pinterest
    • TikTok
    • YouTube
  • subscribe
    search icon
    Homepage link
    • About
    • Recipes
  • Social

    • Facebook
    • Instagram
    • Pinterest
    • TikTok
    • YouTube
  • ×
    Home » Recipes » Main Dishes

    Crispy Salted Egg Calamari

    Published: Jun 19, 2024 by Grumpy · This post may contain affiliate links · Leave a Comment

    Jump to Recipe

    I bet you've never had Salted Egg Calamari before. It's now my new favorite way to eat squid! Each bite is super crispy and coated in a salty, garlicky, and buttery seasoning.

    salted egg calamari on plate.

    I think the key to this recipe is getting the crust crispy. If it's not crispy, then the dish won't taste good. When I worked in restaurants, we used a very simple dredge made with cornstarch and flour.

    I have tested a few iterations, and I think the best combination is cornstarch, tapioca starch, and all-purpose flour. The crust ends up super light and crispy.

    The best part is that it can be used for a bunch of dishes, like deep-fried wings, or as a batter for deep-fried meats in Chinese-American dishes.

    Key Ingredients

    Squid/Calamari

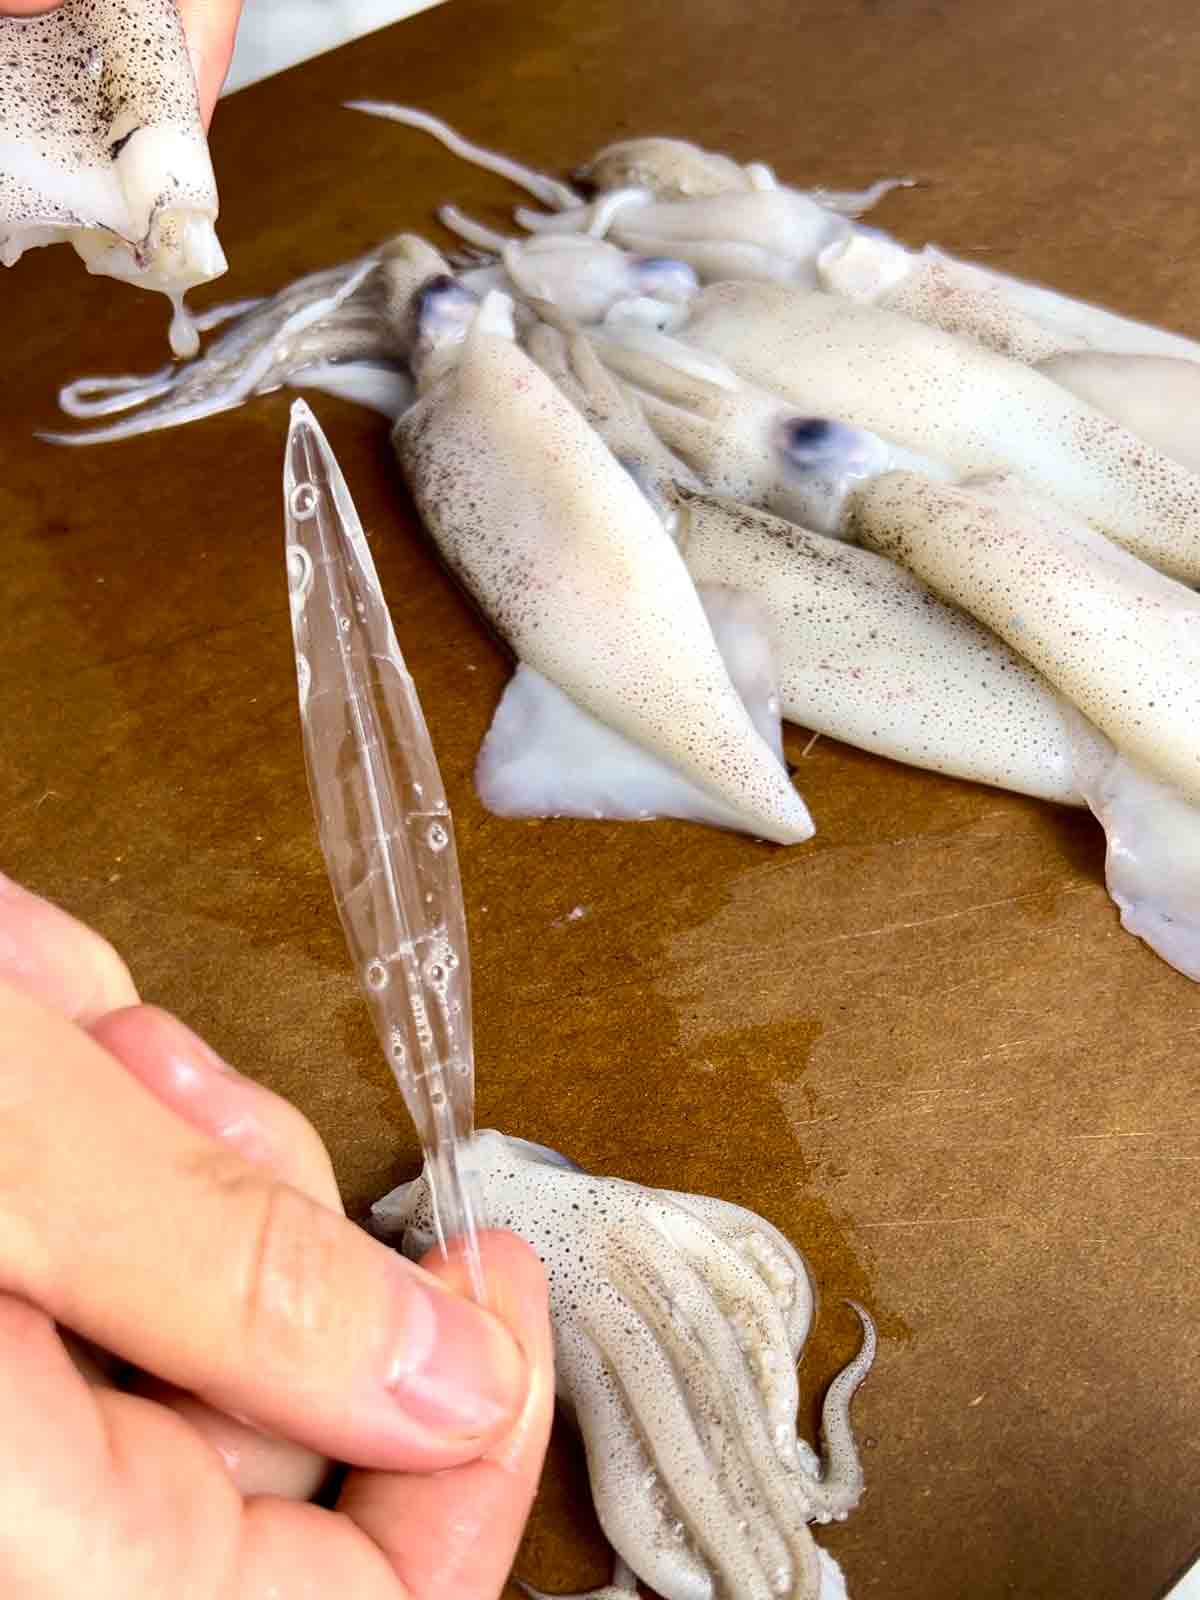
    I am using frozen whole calamari from my Asian grocery store. You need to clean them by removing the head, ink sac, and cartilage. I usually just use my fingers to rip these parts out.

    The cartilage looks like a thin piece of plastic and it is located in the trunk (right above the head). Use your fingers to pull it out. Then, cut the trunk into rings and leave the tentacles whole.

    hand pulling beak out of calamari trunk.

    Cornstarch, tapioca starch, and flour

    This might seem like overkill but hear me out. This combination results in the most crispy crust that STAYS crispy. I have been deep-frying foods my whole life and this combination always comes out the best. You can buy tapioca starch from most Asian markets. It usually comes in a blue bag.

    Salted Egg Yolks

    For this recipe, you will only need the yolks. I found mine in the refrigerated section of my Asian grocery store. They were in small vacuum-sealed bags.

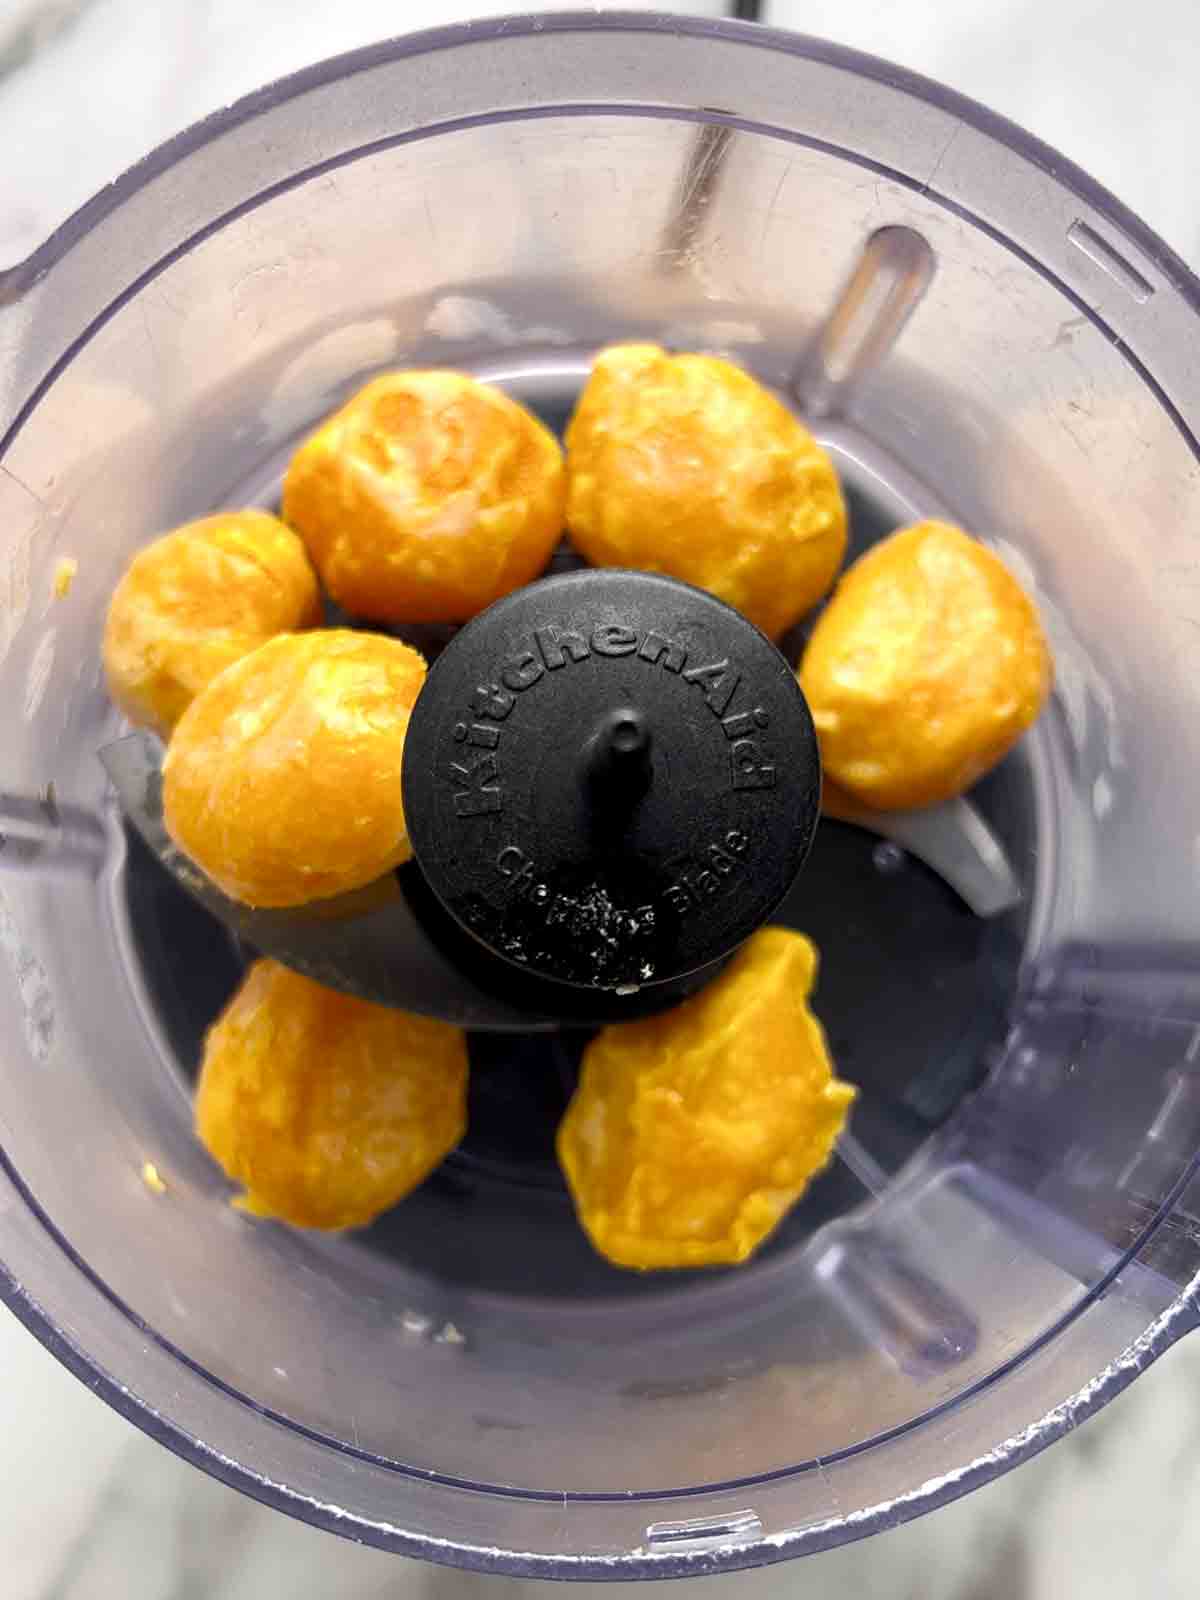
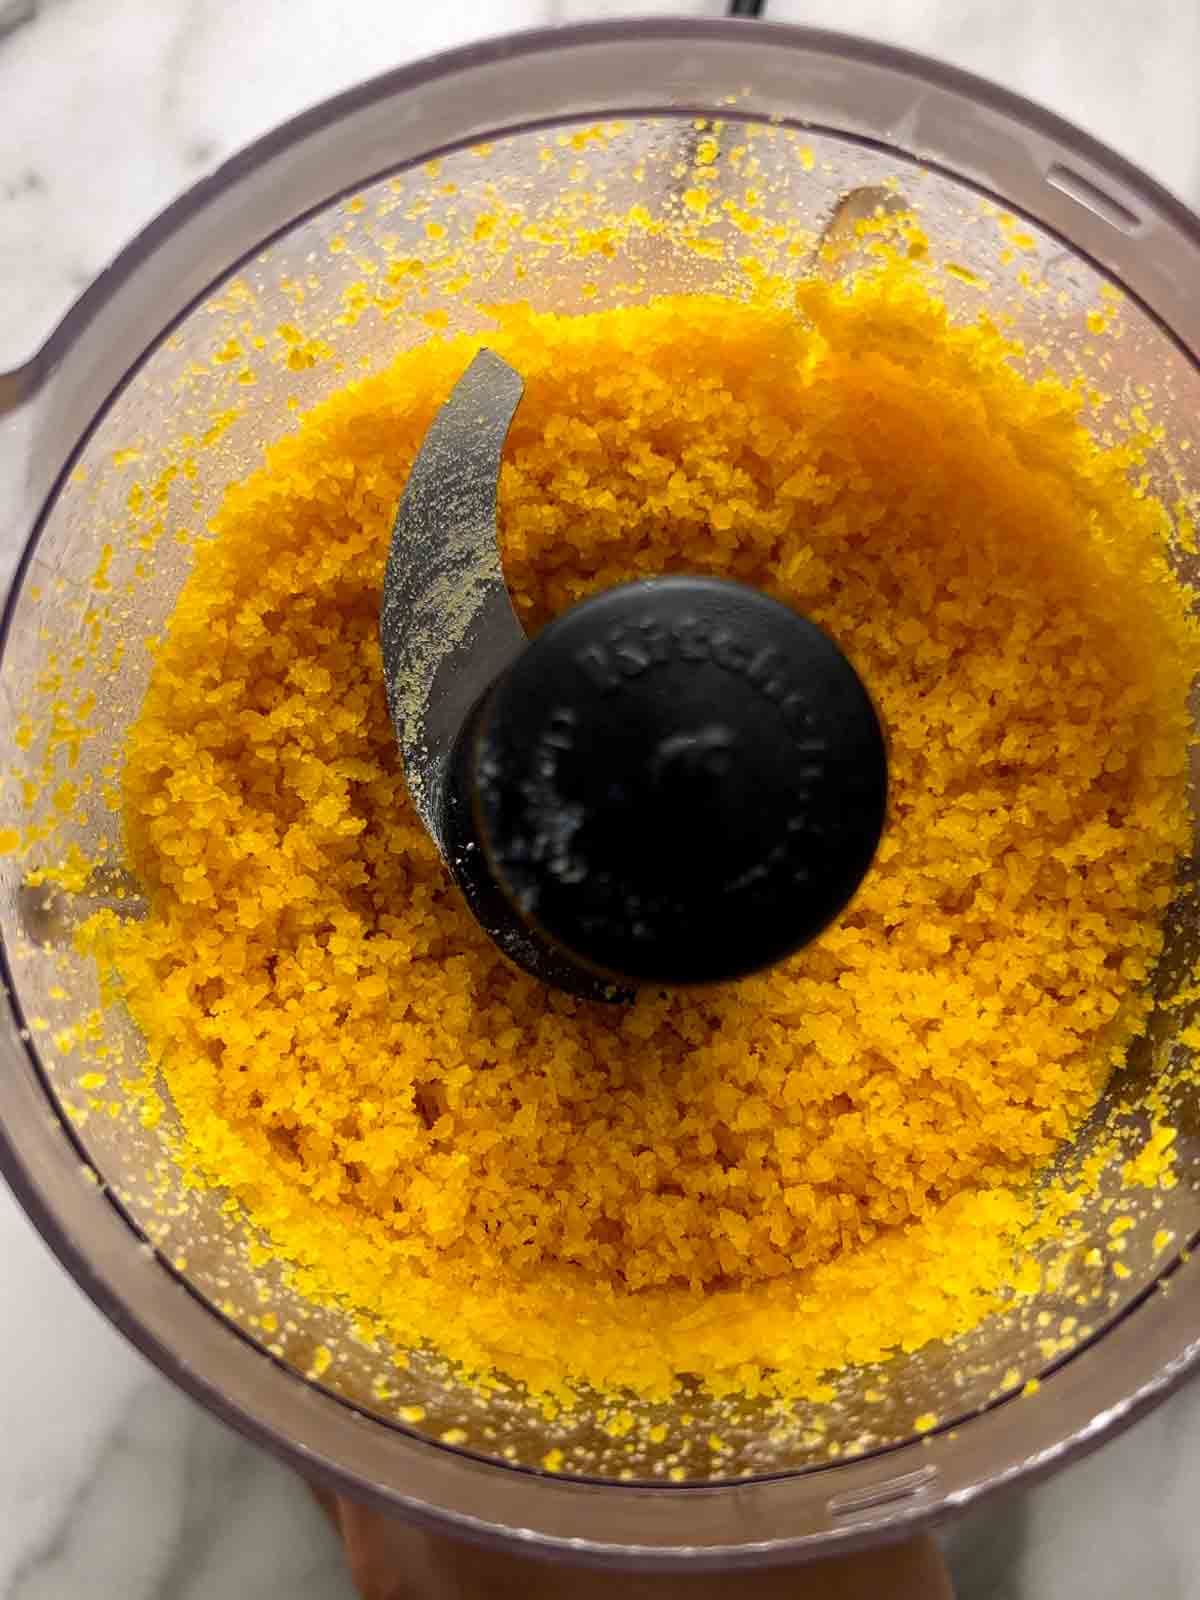
    The yolks need to be steamed for 10 minutes or microwaved for 2 minutes before using. Then, mash them up with a fork or a food processor. I usually prefer a food processor because it gets them into smaller pieces.

    whole salted egg yolks in food processor.
    salted egg yolks blended in food processor.
    salted egg calamari on plate.

    Crispy Salted Egg Calamari

    Crispy calamari meets one of my favorite flavors: salted egg yolks. I promise you this will become one of your favorite squid recipes. The seasoning is delicious and the crust stayed crispy the entire time my wife and I were eating them.
    5 from 1 vote
    Print Recipe Pin Recipe Save Saved!
    Prep Time 20 minutes mins
    Cook Time 10 minutes mins
    Total Time 30 minutes mins
    Course Main Course
    Cuisine American, Chinese
    Servings 4 people

    Ingredients
      

    • 1 pound calamari (tubes cut into rings and tentacles left whole)
    • ½ cup Chinese rice wine (or water)
    • ½ cup cornstarch
    • ¼ cup tapioca starch
    • ¼ cup all-purpose flour
    • 5 salted egg yolks
    • 3 tablespoons butter
    • 5 cloves garlic minced
    • ¼ teaspoon sugar

    Instructions
     

    • Put the salted egg yolks in a steaming dish and steam for 15 minutes or microwave for 2 minutes. Once they are soft, mash them into small pieces with a fork or use a food processor.
    • Rinse the squid and combine it with ½ cup of rice wine (or water) in a bowl.
    • In a medium bowl, combine the cornstarch, tapioca starch, and flour.
    • Take a handful of squid out of the rice wine and put it directly in the bowl of starch. Use your hands to coat each piece of squid in the dry mixture. Transfer to a plate or baking sheet. Repeat with the remaining squid.
    • Heat 1 inch of oil to about 350°F. Fry the squid in 2 or 3 batches until they are golden brown and crispy, about 2 minutes. Transfer to a paper towel-lined plate to dry.
    • In a large nonstick pan, melt the butter over medium heat. Add the garlic and cook for one minute. Add the salted egg yolks and sugar and cook for another minute. Add the fried squid and toss to coat evenly. Enjoy!

    Video

    More Main Dishes

    • close up of steak sliced into pieces with melted butter on top.
      Air Fryer Steak
    • close up of garlic butter pasta shells on plate.
      Garlic Butter Pasta
    • close up of slice chicken meatloaf on plate.
      Chicken Meatloaf
    • close up of two pork tenderloins; one is sliced.
      Air Fryer Pork Tenderloin

    Reader Interactions

    5 from 1 vote (1 rating without comment)

    Leave a Reply Cancel reply

    Your email address will not be published. Required fields are marked *

    Recipe Rating


    Primary Sidebar

    The blogger behind "Grumpy Recipes" plating some food for photography.

    Hello! Ever get so hungry that you get a little grumpy? Well, I'm here to fix that! My name is Grumpy and this is my recipe blog. I'm a passionate home cook who wants to share his favorite recipes with the world. Click the link below to learn more about my story.

    More about me →

    Latest Recipes

    • close up of spoon lifting green goddess dressing from glass bowl.
      Green Goddess Dressing
    • stack of gluten free pancakes with triangular section cut down through the top.
      Gluten Free Pancakes
    • Mexican street corn dip in bowl.
      Mexican Street Corn Dip
    • close up of coconut chia pudding in glass cup; fresh raspberries and blueberries on top.
      Coconut Milk Chia Pudding

    Footer

    ↑ back to top

    • Privacy Policy
    • Contact
    • Subscribe

    As an Amazon Associate I earn from qualifying purchases.

    Copyright © 2026 Grumpy Recipes

    Rate This Recipe

    Your vote:


    A rating is required
    A name is required
    An email is required

    Recipe Ratings without Comment

    Something went wrong. Please try again.