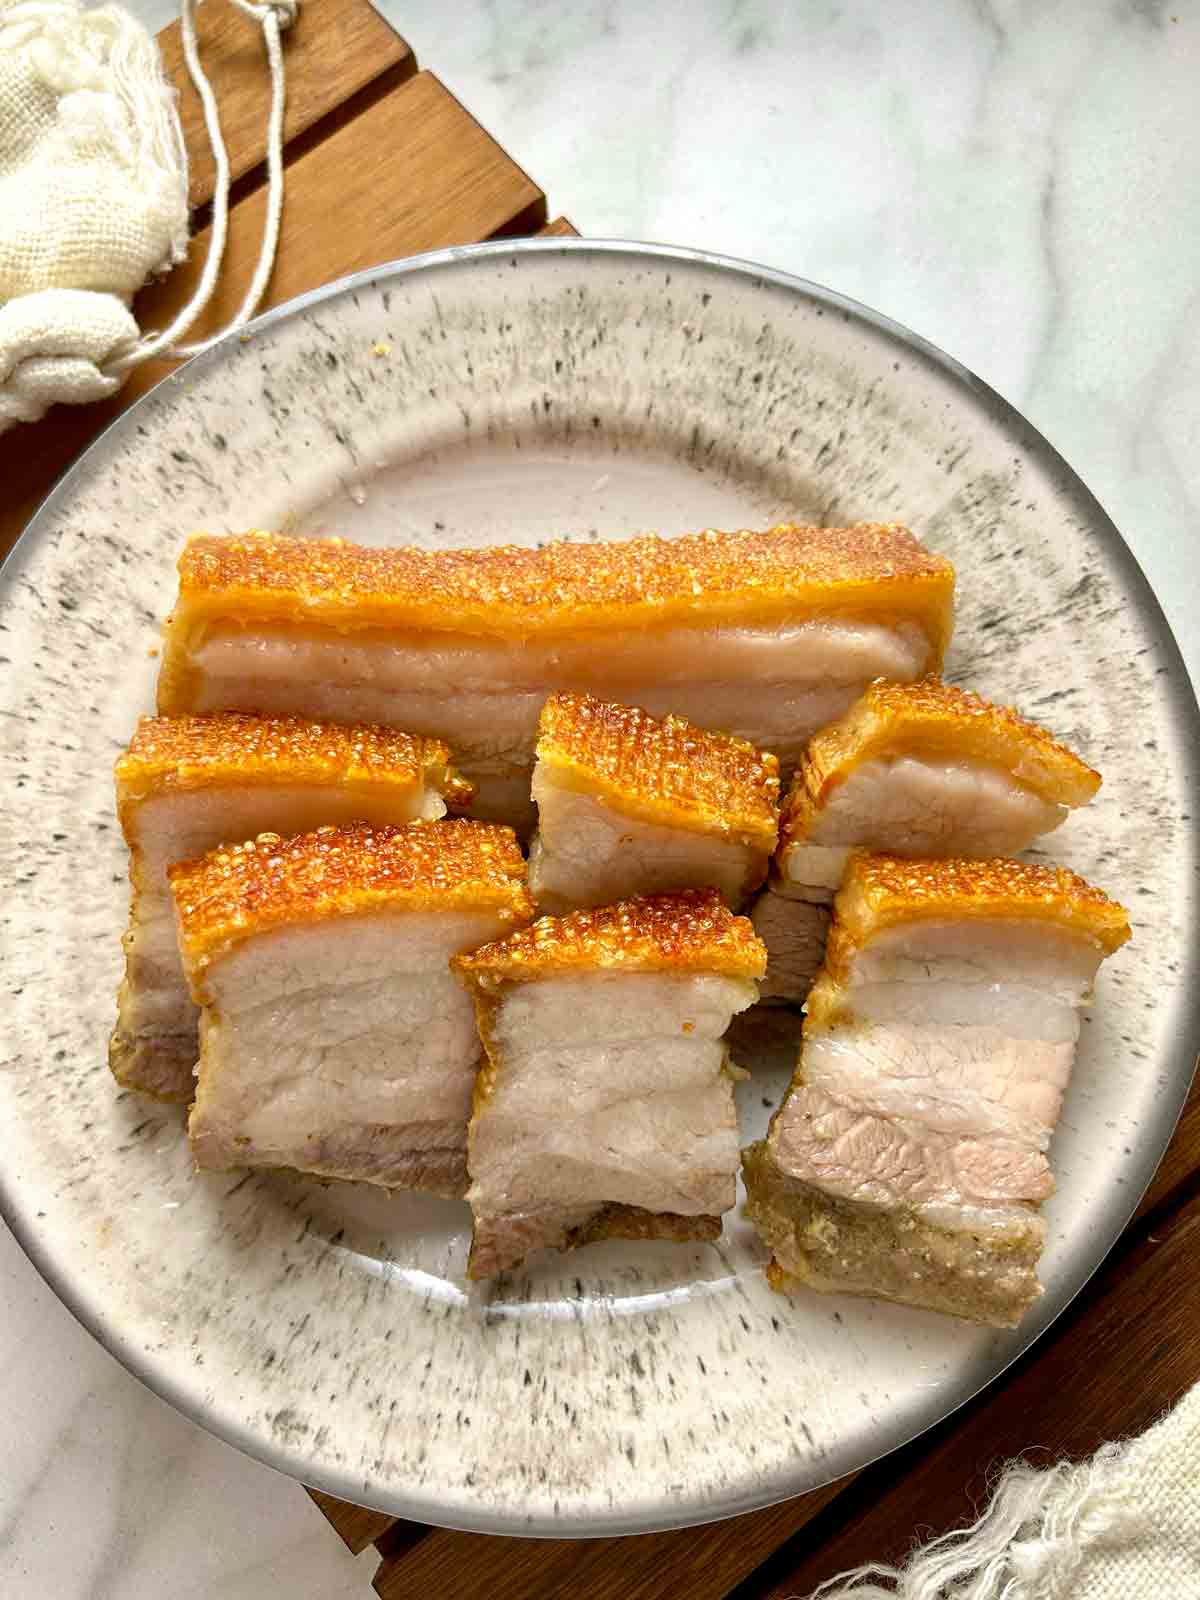
Crispy Pork Belly is without a doubt one of my favorite dishes to make for a big Chinese dinner. My wife's family absolutely loves it when I make it for them. In Cantonese, they call it "siu yuk," which means roasted meat. I've found that the air fryer works even better than the oven to get the crispy and crackly skin that everyone loves.
Crispy pork belly is one of the first dishes I remember going out to Chinatown with my family to get. We used to go to this place that would have the pork belly hanging from the windows, and they would cut the meat in front of us. My family used to get two boxes and eat it for lunch and dinner.
My favorite part was the crispy and puffy skin on top. The pork is boiled, then pricked hundreds of times, and left to air dry for 1-3 days. After that, the skin is treated with acid and a layer of salt to further dry it out. Then finally, the pork is roasted until the skin is crispy and crackly.
How to make crispy pork belly
1. Boil the skin
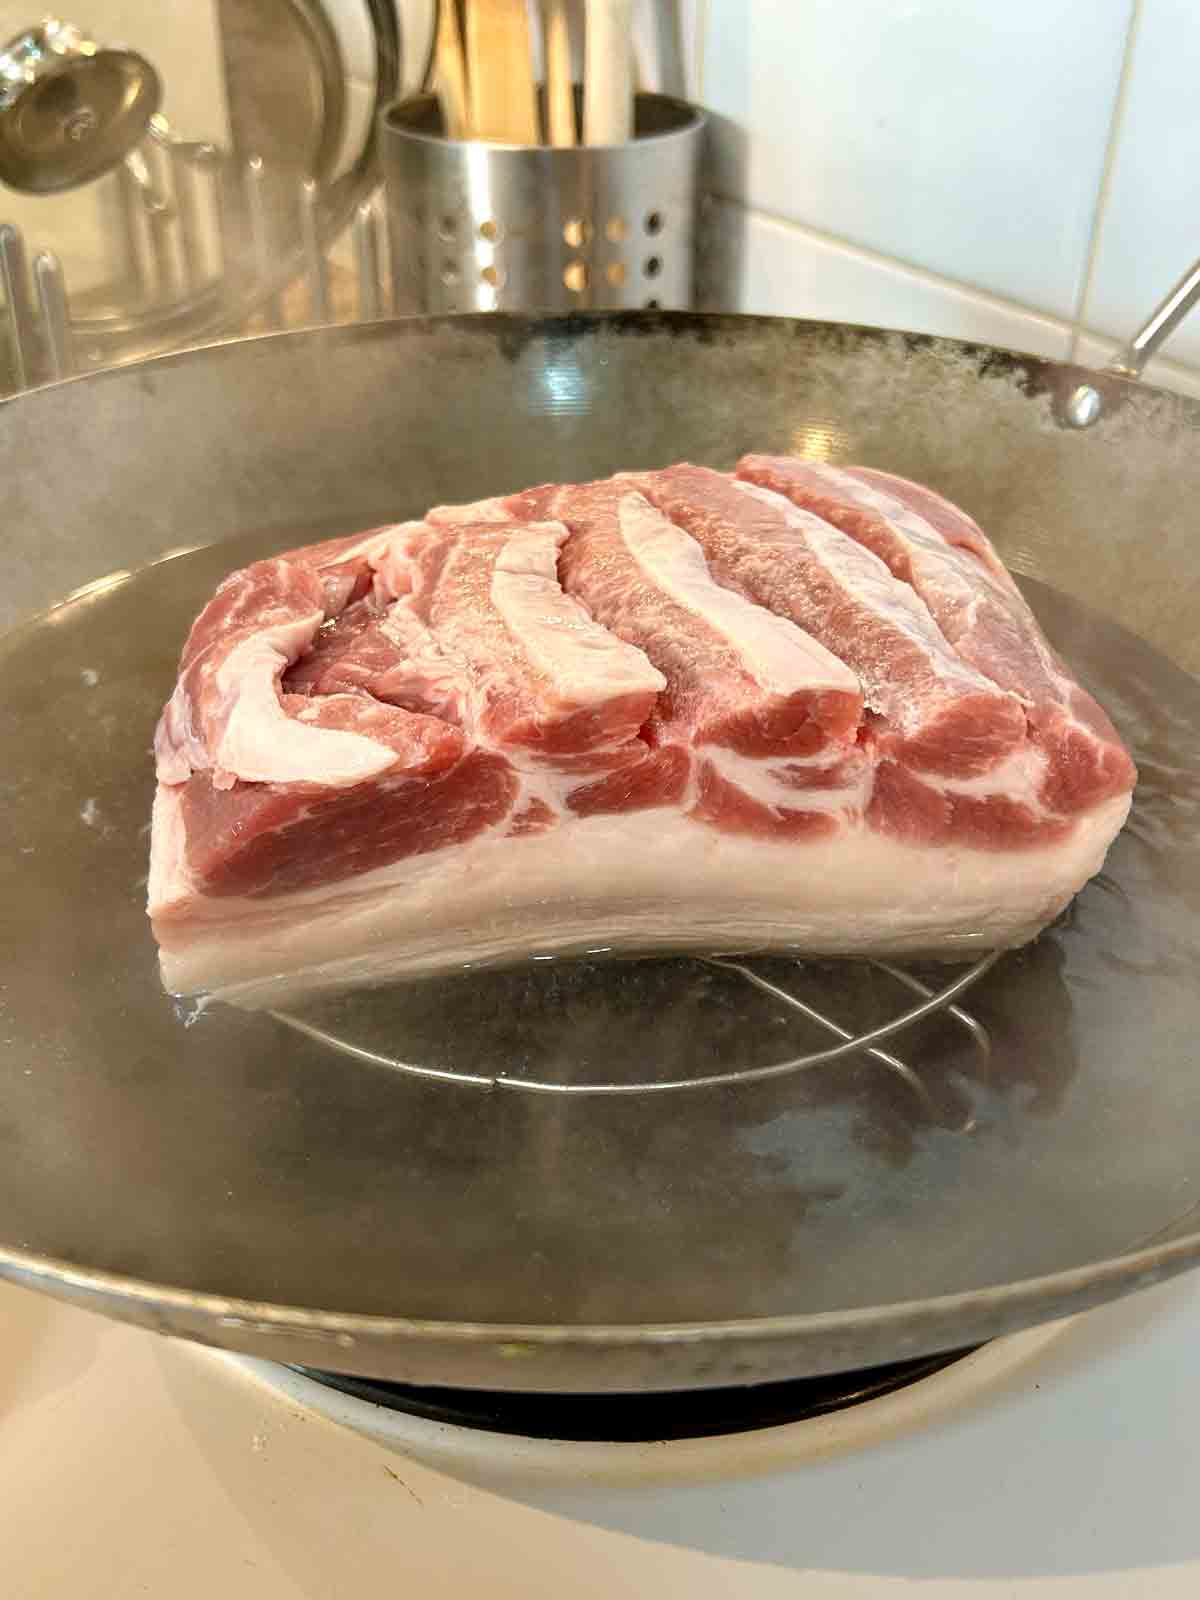
In my opinion, boiling the skin is the most important step to ensure the skin gets crispy and bubbly later. This is because boiling the skin converts the skin's collagen to gelatin. The bubbly texture comes from the gelatin expanding during the roasting stage. To boil the skin, I put a metal rack in boiling water and placed the pork on it so only the skin touched the water. I boiled it for about 10 minutes.
The conversion of collagen to gelatin requires moisture and heat. If you do not boil the skin, then you rely on the roasting part to do the conversion. The problem is that sometimes the skin dries out before it can turn into gelatin, which is why some people do not end up with bubbly skin.
2. Score the skin
Most recipes recommend pricking the skin with a metal skewer, toothpick, or pricking tool, but I have found scoring the skin with a box cutter works much better. Instead of poking the meat, I cut a very fine cross-hatch all over the skin.
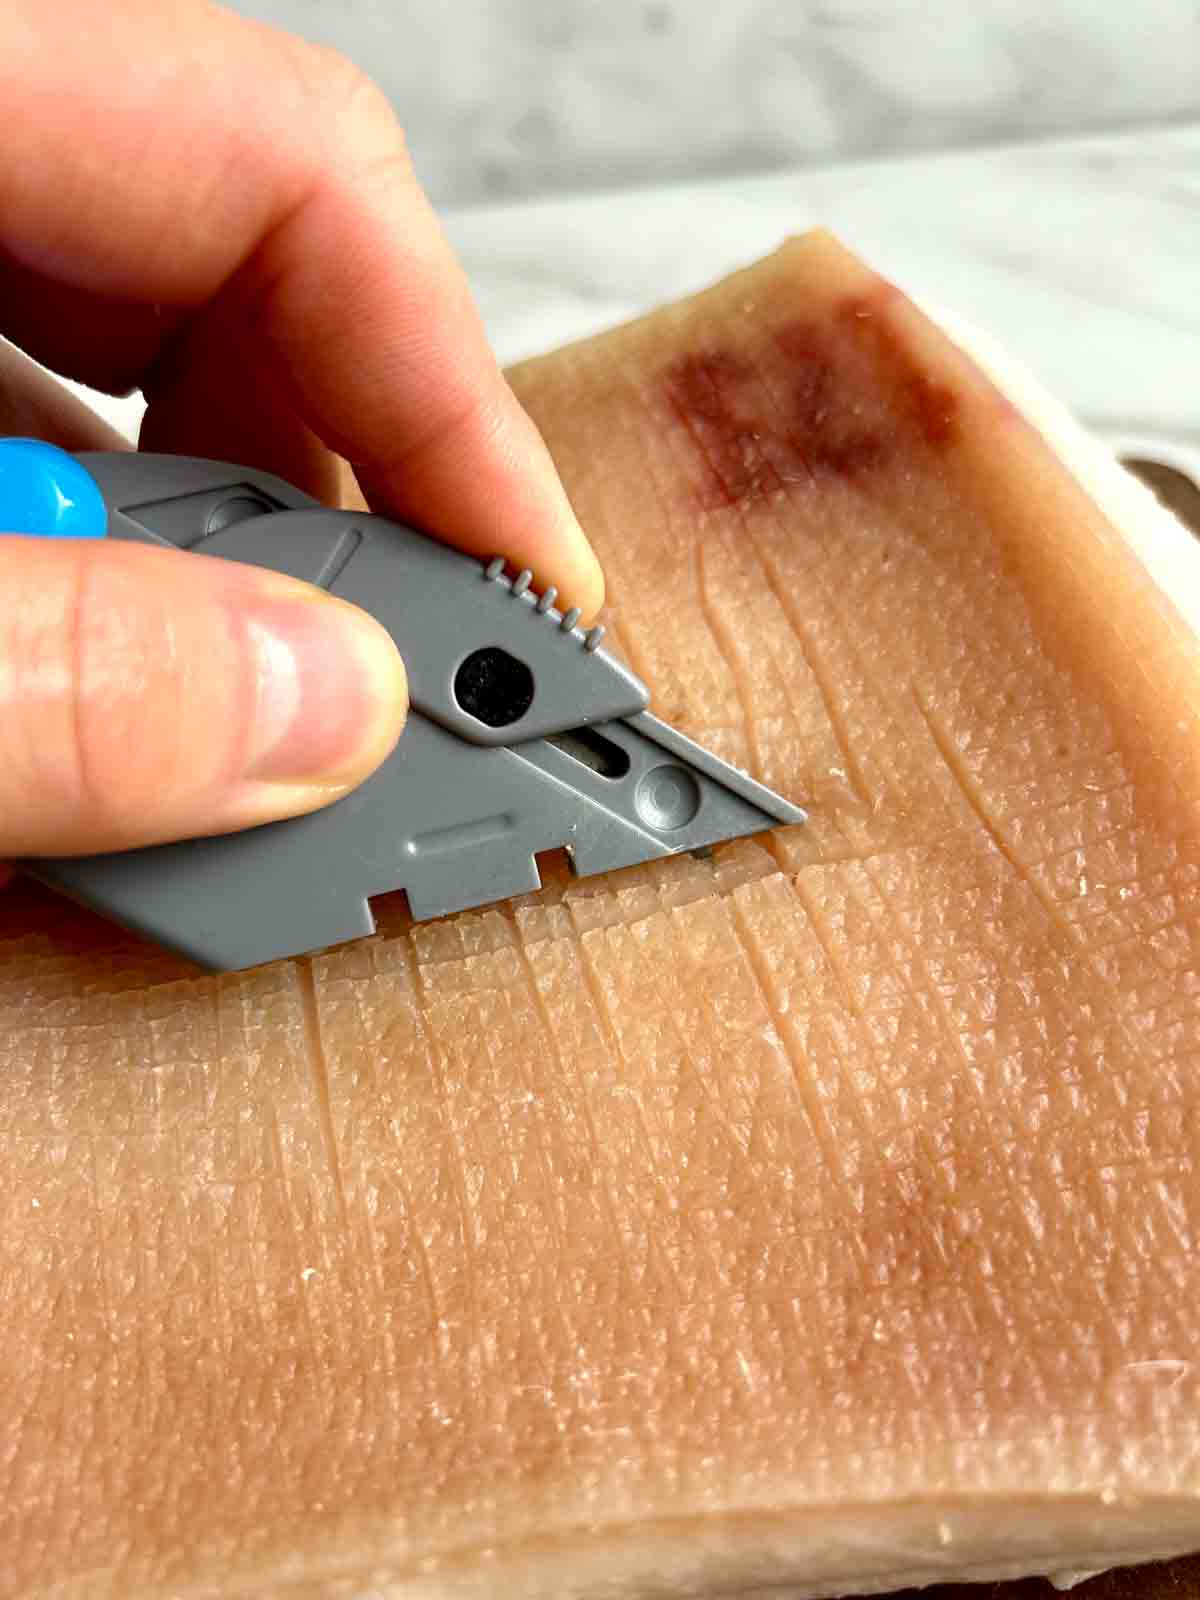
The box cutter is amazing for two reasons. First, it is extremely sharp, so it is very easy to cut through the skin. Second, you can adjust the length of the blade so that it doesn't go too deep into the pork belly and you don't cut into the meat (you only want to cut through the skin and fat).
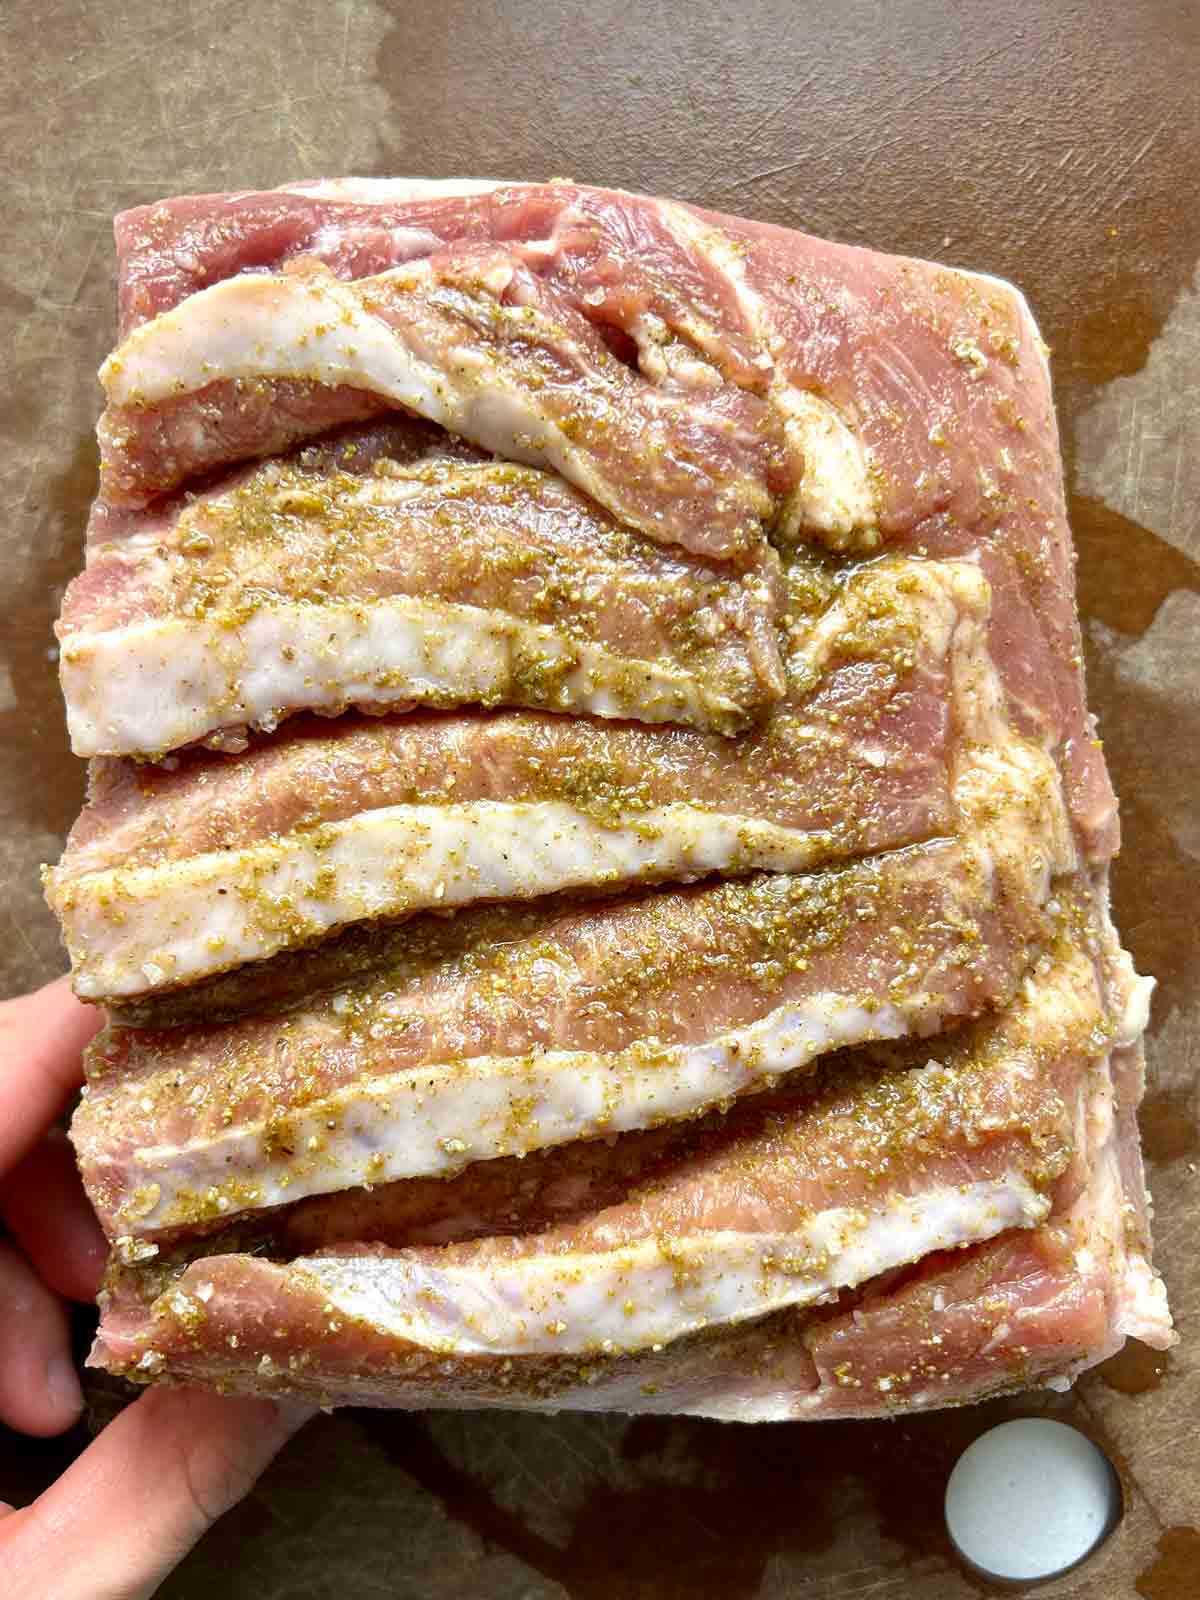
3. Season the meat side
This is extremely important for flavoring the meat. You want to make a series of shallow cuts across the bottom of the meat (about ½ inch deep and 1 inch apart), then massage a Chinese five-spice mixture into it.
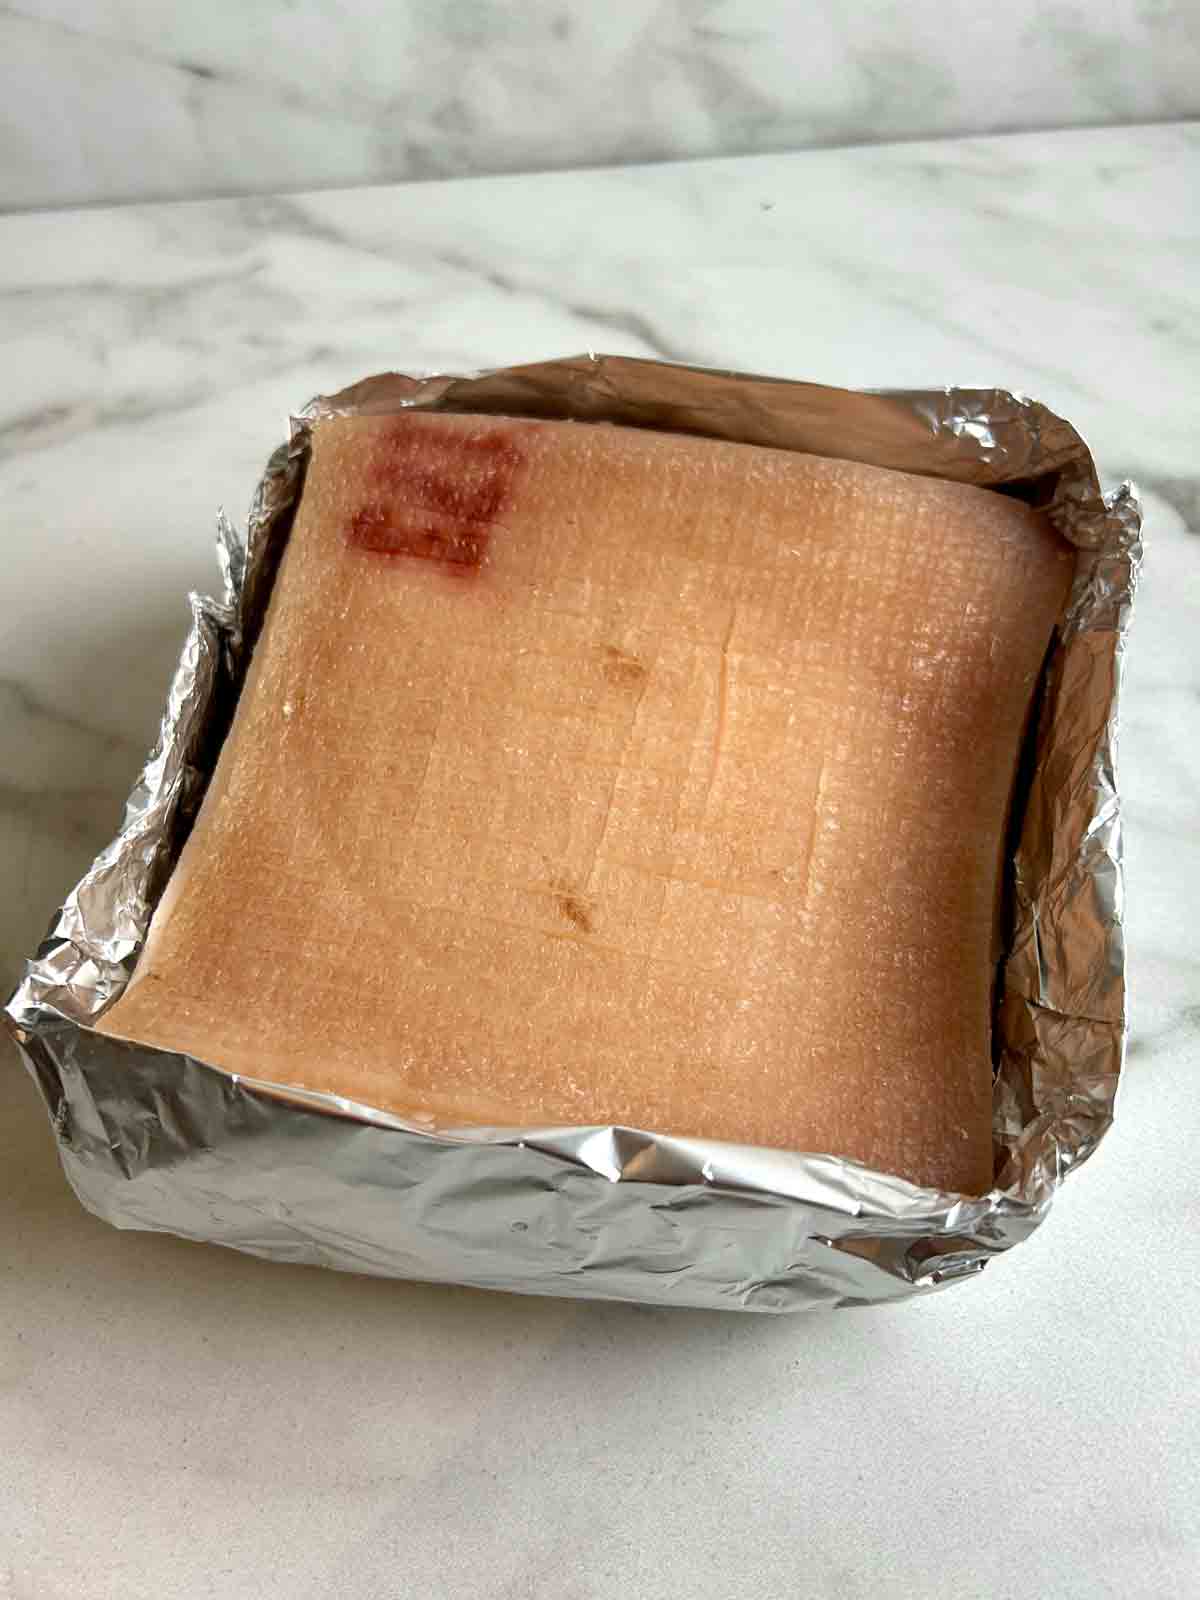
4. Make a tinfoil box
This is a very important step so that the pork belly stays nice and juicy while roasting. The idea is that the tin foil box will trap the juices and fat during cooking which will keep the meat moist and prevent it from overcooking.
5. Air dry for 24-48 hours
One of the most important steps for crispy skin is to air-dry the pork belly in the refrigerator. To do so, place the pork belly in the fridge, skin-side up and uncovered. I usually air-dry mine for at least 24 hours and up to 48 hours.
Another important thing I have learned is to make sure there is a good amount of space above the pork belly. Last time, I accidentally placed my pork belly too close to the tray above it, and it ended up not drying properly because the air circulation was basically cut off.
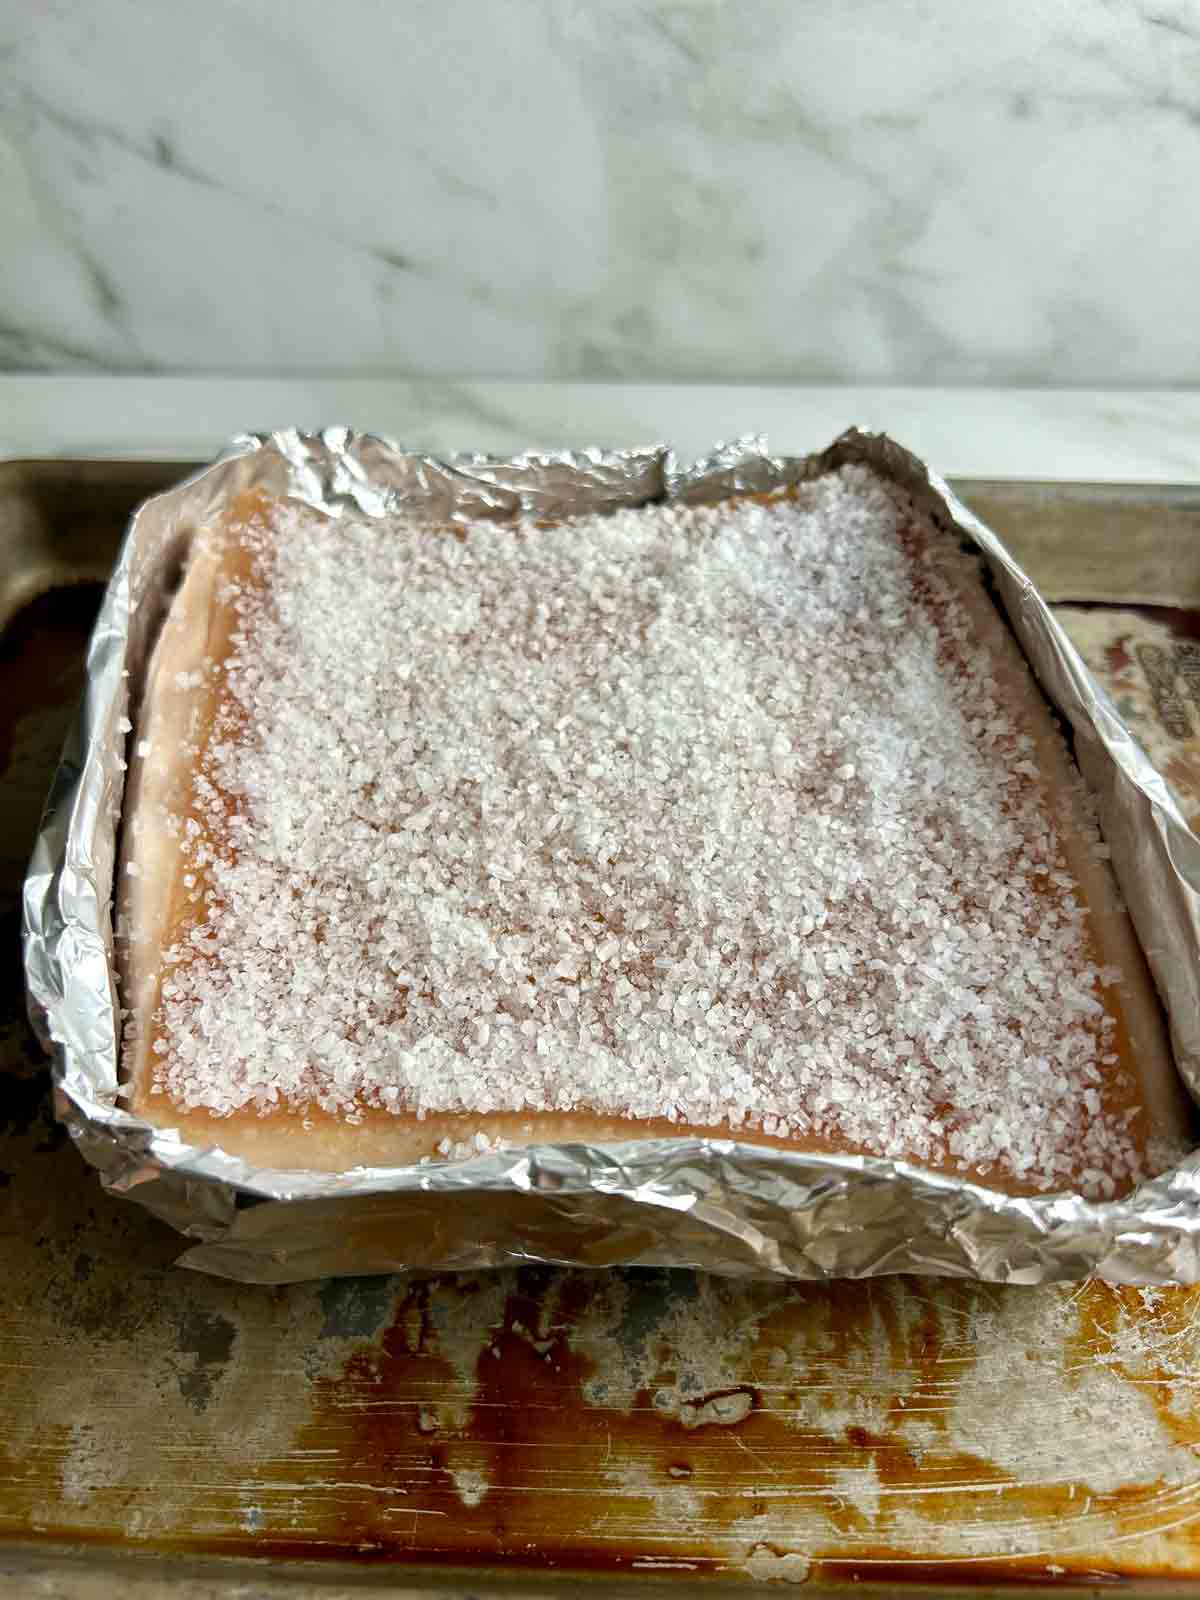
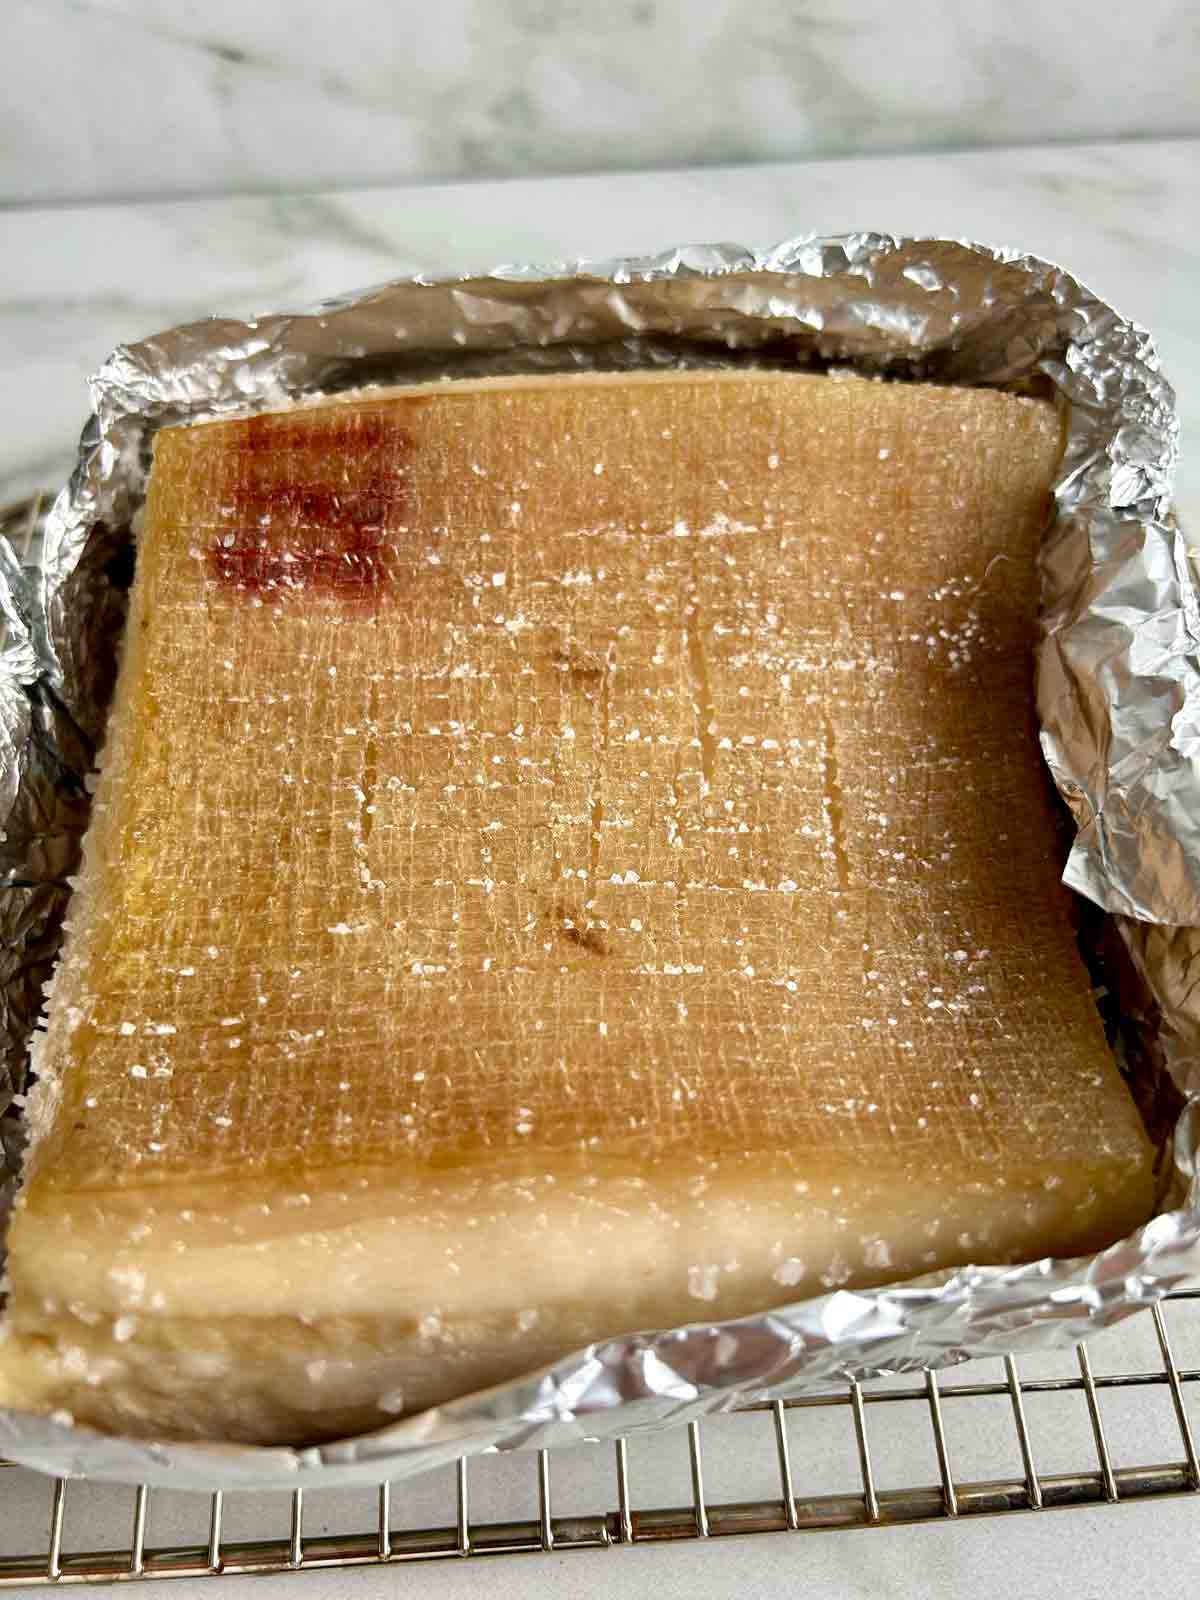
6. First roast at 250°F
The purpose of the first roast is to bring up the internal temperature of the meat and to dry out the skin further. First, brush the skin with vinegar and apply a thin layer of salt. The vinegar will tenderize the skin and the salt will draw out the remaining moisture. Roast for 30 minutes and then you can scrape off the salt with a knife.
7. Final roast at 400°F
Brush the skin with oil, then roast at 400°F for another 35-40 minutes until the skin is crispy and puffy and the inside is cooked through. Just look at how beautifully crispy and bubbly this skin looks:
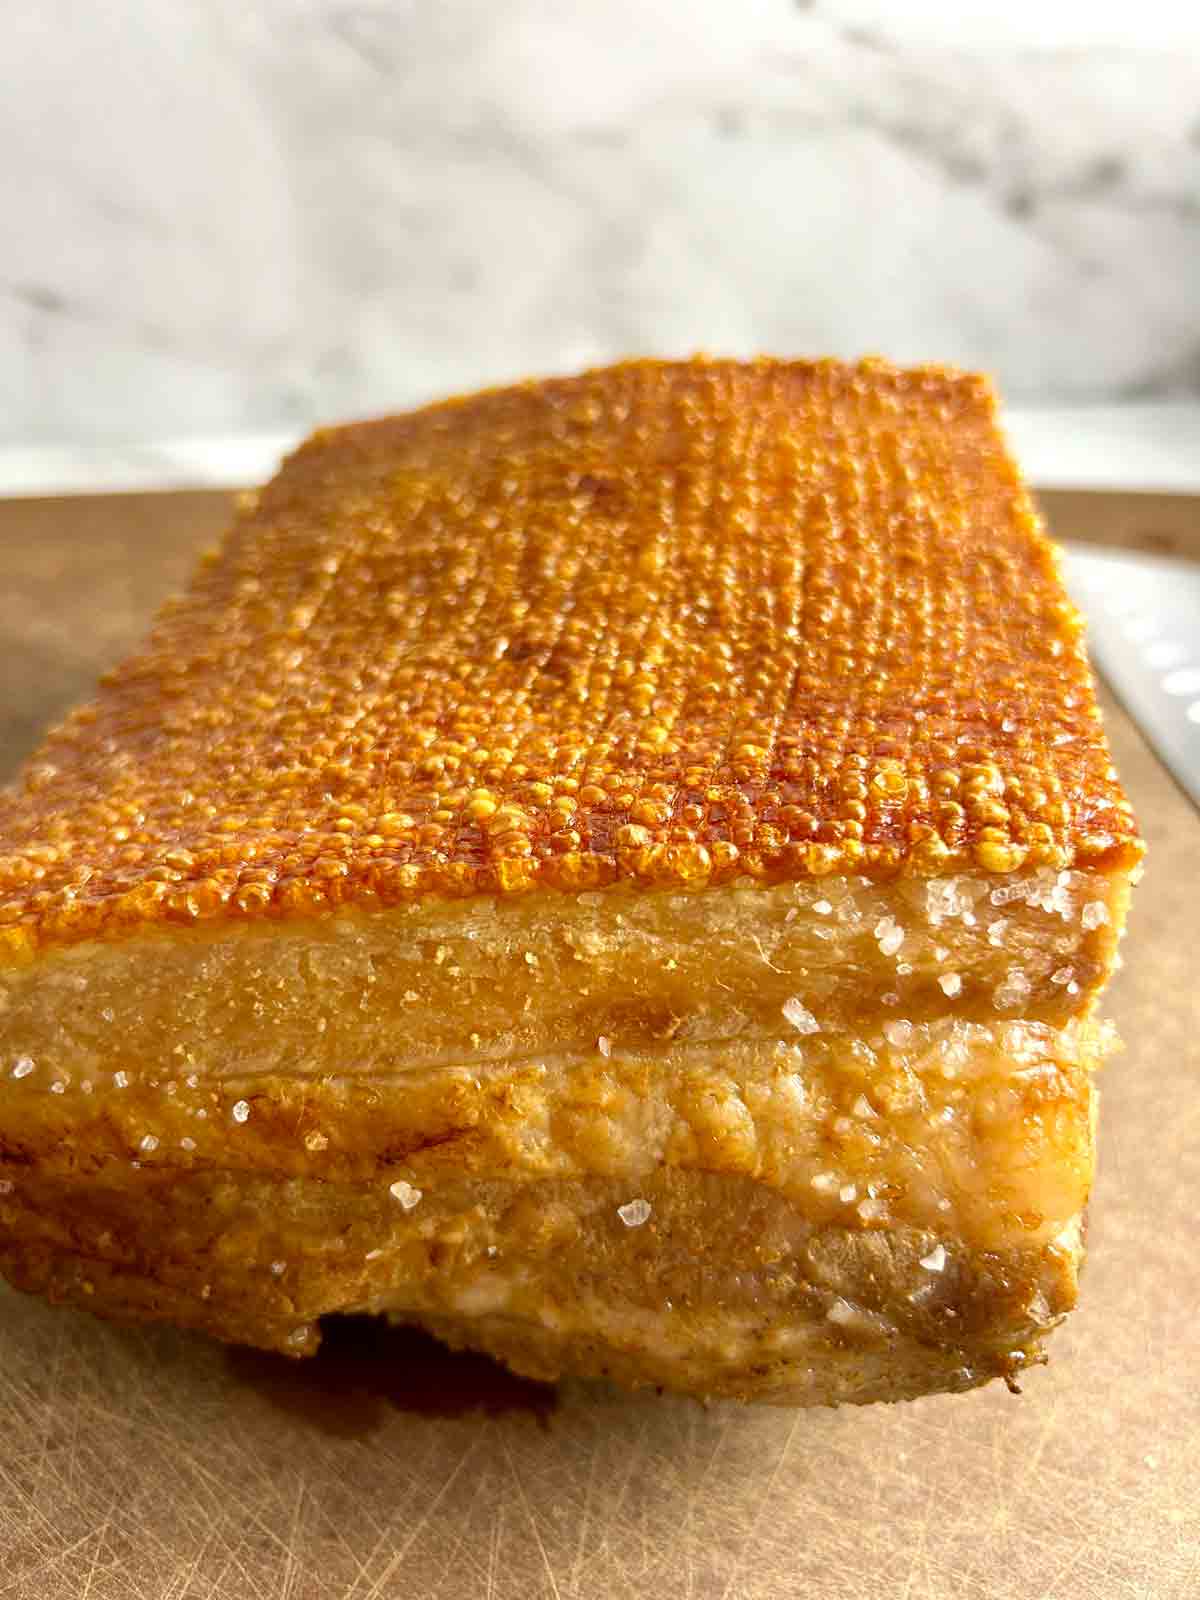
Note: My cut of pork belly was thicker than usual and I actually needed to cook the pork belly for an additional 20 minutes after the second roast. If the same happens to you, just make sure to turn the temperature down to 300°F so the skin doesn't burn.
Chinese Crispy Pork Belly (Air Fryer)
Ingredients
- 2 pounds slab of skin-on pork belly
- 1 ½ teaspoons salt
- 1 ½ teaspoons Shaoxing cooking wine
- 1 teaspoon Chinese five-spice powder
- 1 teaspoon sugar
- ½ teaspoon white pepper
- 1 teaspoon vinegar
- ¼ cup salt
Instructions
- Place a metal rack in the center of a large pan/wok. Fill the pan with enough water so that there is ½ inch of water above the rack. Lower the pork belly, skin-side down, into the water so that the skin rests on the rack and the meat is sticking out. Boil the skin for 10 minutes, then remove from the water.
- Using a box cutter, score a fine crosshatch all over the skin side. Make sure to only cut through the skin and fat, do not cut into the meat.
- Flip the pork belly over and make ½ deep cuts lengthwise along the meat.
- In a small bowl, combine the salt, Shaoxing wine, Chinese five-spice, sugar, and white pepper. Rub this mixture all over the meat side, making sure to get into the shallow cuts.
- Prepare a sheet of aluminum foil about 12 by 16 inches. Place the pork belly skin-side up in the center. Fold up the sides of the foil to create a snug box around the meat.
- Place the pork belly in the fridge for at least 24 hours and up to 48 hours.
- Preheat your air fryer to 250℉. Brush the vinegar on the skin and cover it with a layer of salt. Air fry for 30 minutes. Use oven mitts to hold the pork belly in the foil box above the sink and scrape off the salt with a knife.
- Increase the air fryer to 400°F. Air fry for another 35-40 minutes until the skin is golden brown, crispy, and very bubbly.
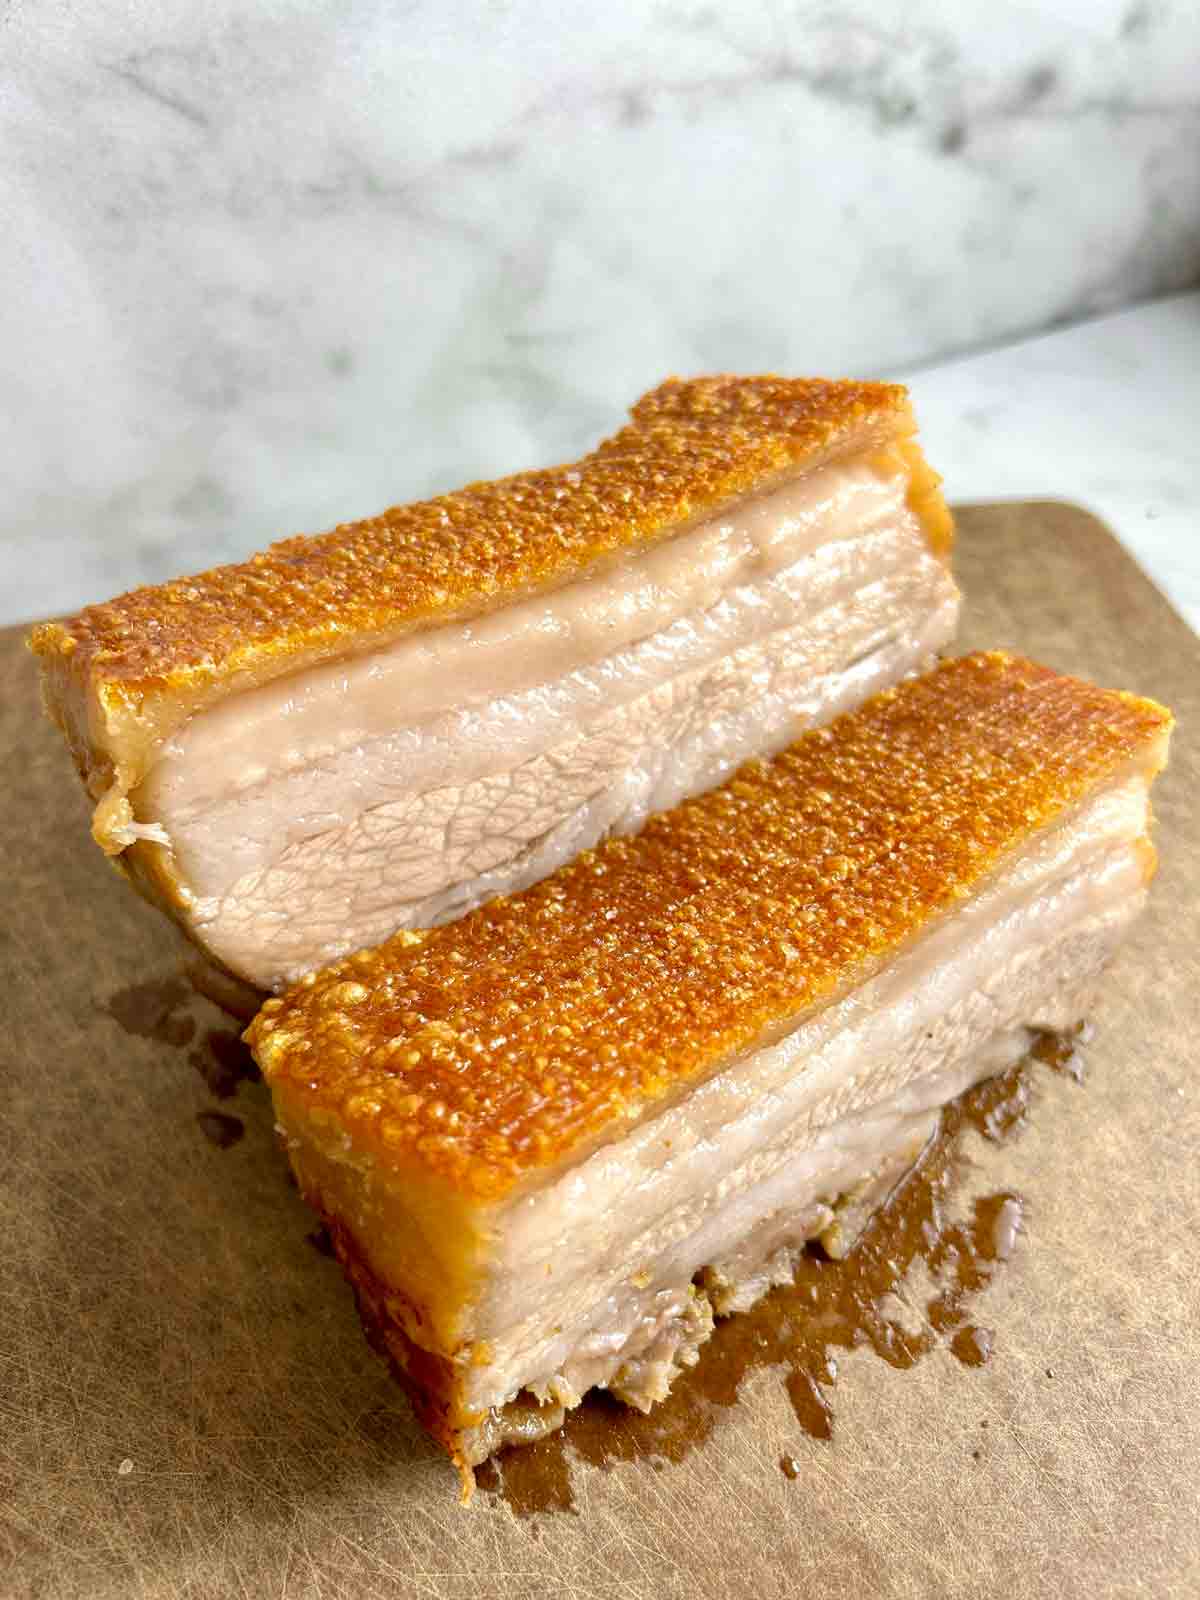
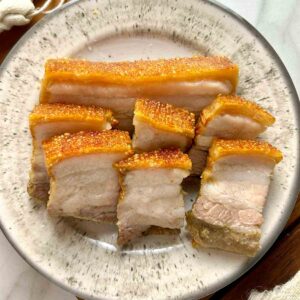
- Allow the meat to rest for about 10 minutes, then slice into pieces and serve.


Leave a Reply