Butter Chicken is my favorite Indian dish. I know that sounds basic/white-washed, but it's really true for me. I've spent so many years trying to perfect my butter chicken and I've finally landed on a recipe that tastes VERY close to the restaurant. I will show you the two key steps that have made the biggest difference for me.
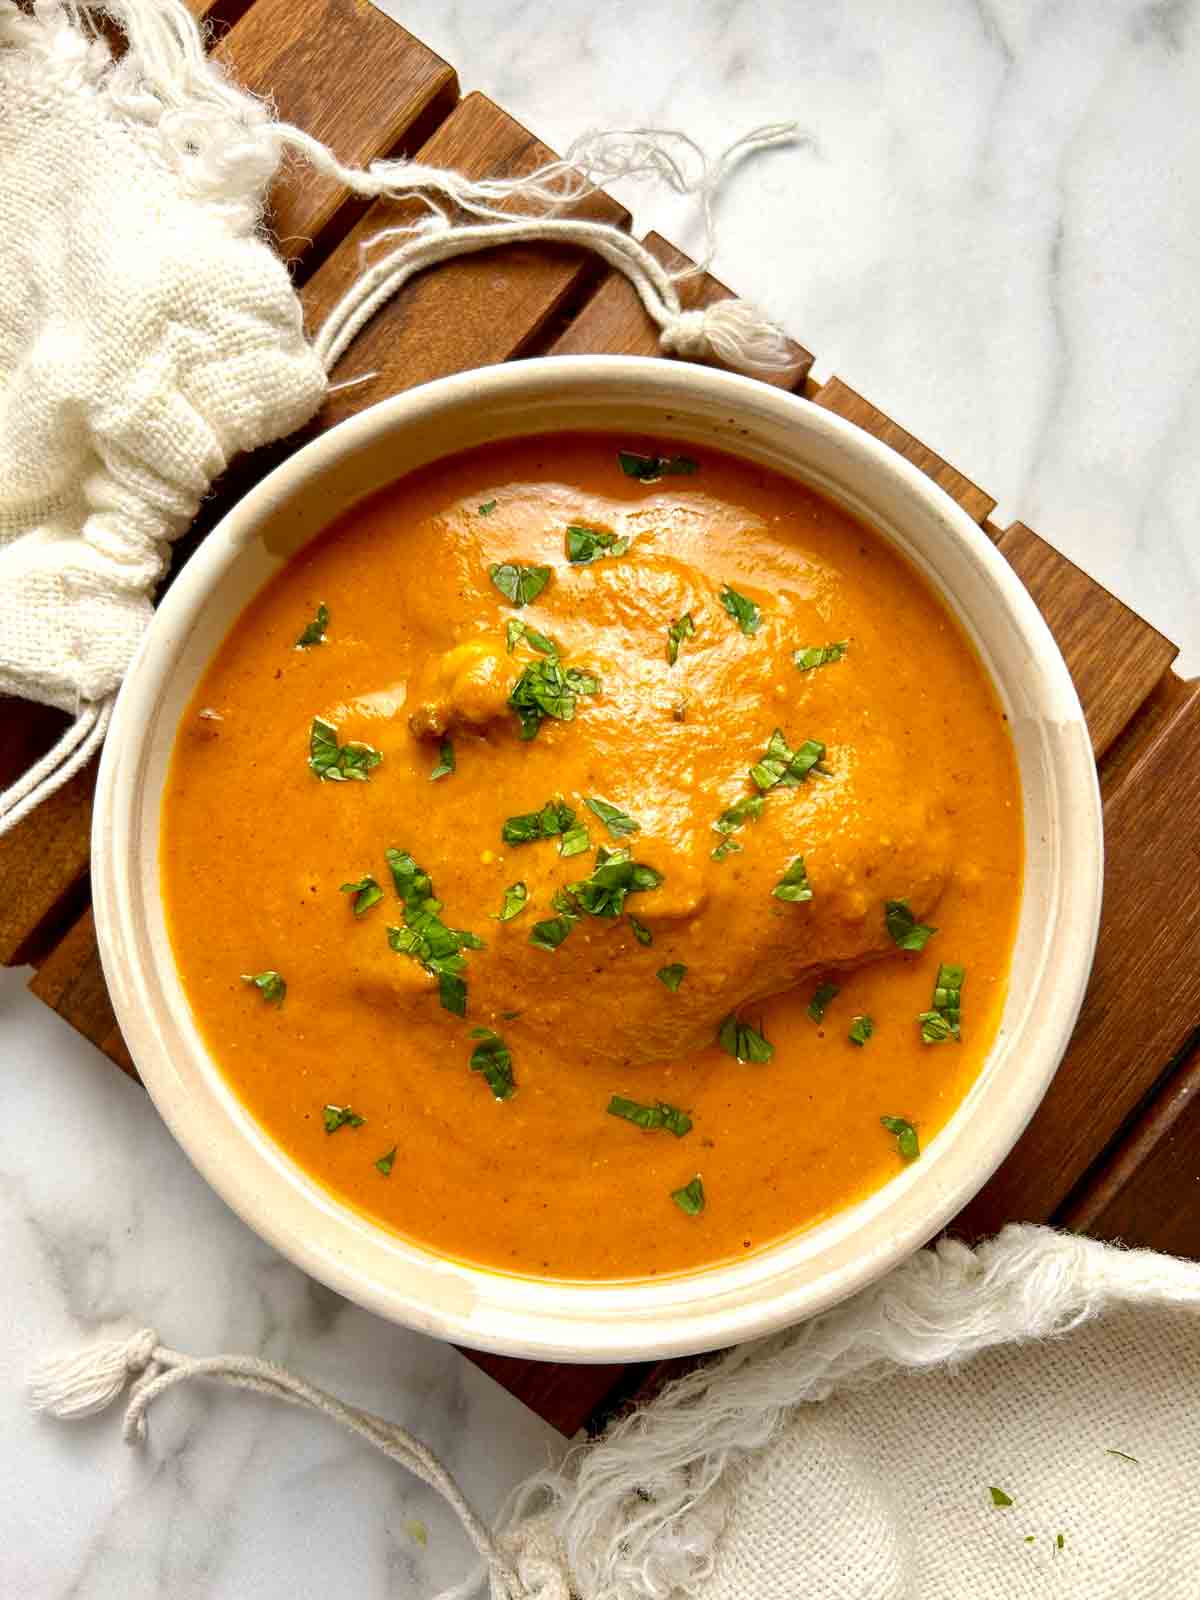
Before I became a food blogger, I made SOO many butter chicken recipes. When I was in middle school, I even asked my Indian classmates to ask their parents how to make it. I remember one girl directed me to food-india.com, which at the time was one of the more popular Indian food sites. It was similar to cooks.com back in the day before food blogging really took off.
Anyway, I did make the recipe on their site, but it did not taste like what I wanted. Restaurant-style butter chicken has a very specific taste which I could never replicate by following other recipes. Fast forward to now, I've accumulated much more knowledge on Indian cooking, and after at least a dozen attempts over the years, I think I've finally figured it out.
Important steps for butter chicken gravy
1. Cooking down the onions
This is an extremely important step to developing a complex flavor in your butter chicken. You want to cook the onions for at least 10-15 minutes until they develop a rich golden color. I highly recommend using a pan at least 10-inches wide as this will speed up the process quite a bit. This is what your onions should look like:
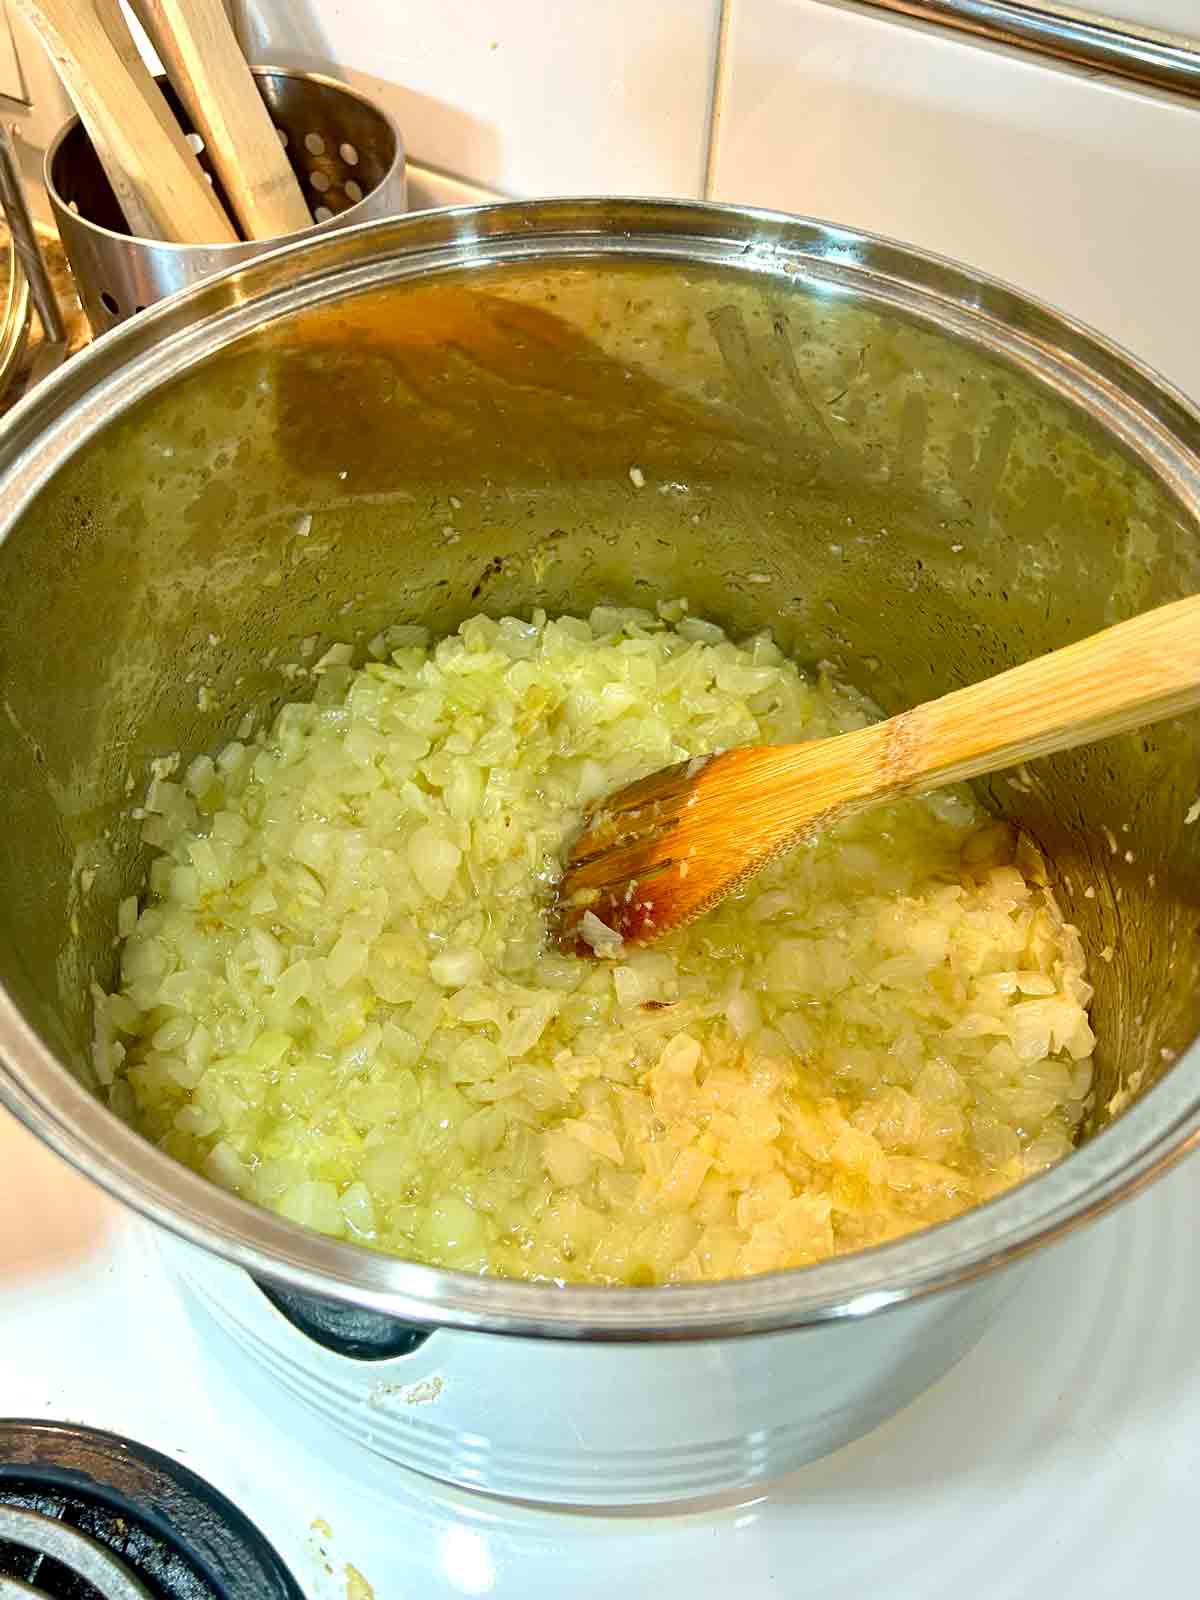
The darker you can get your onions (without burning), the better the flavor will be. And on another note, you need to use way more onions and garlic than you think. I'm using two large onions and an ENTIRE BULB of garlic which was about 12 cloves.
2. Simmer until the oil separates
This is a technique that I recently learned from an Indian friend. After you add the tomatoes, you want to simmer the mixture for at least 30 minutes to evaporate the moisture. This will concentrate the flavor and make the gravy much more intense. A good indication that enough water has evaporated is when the oil separates from the tomatoes. It should look like this:
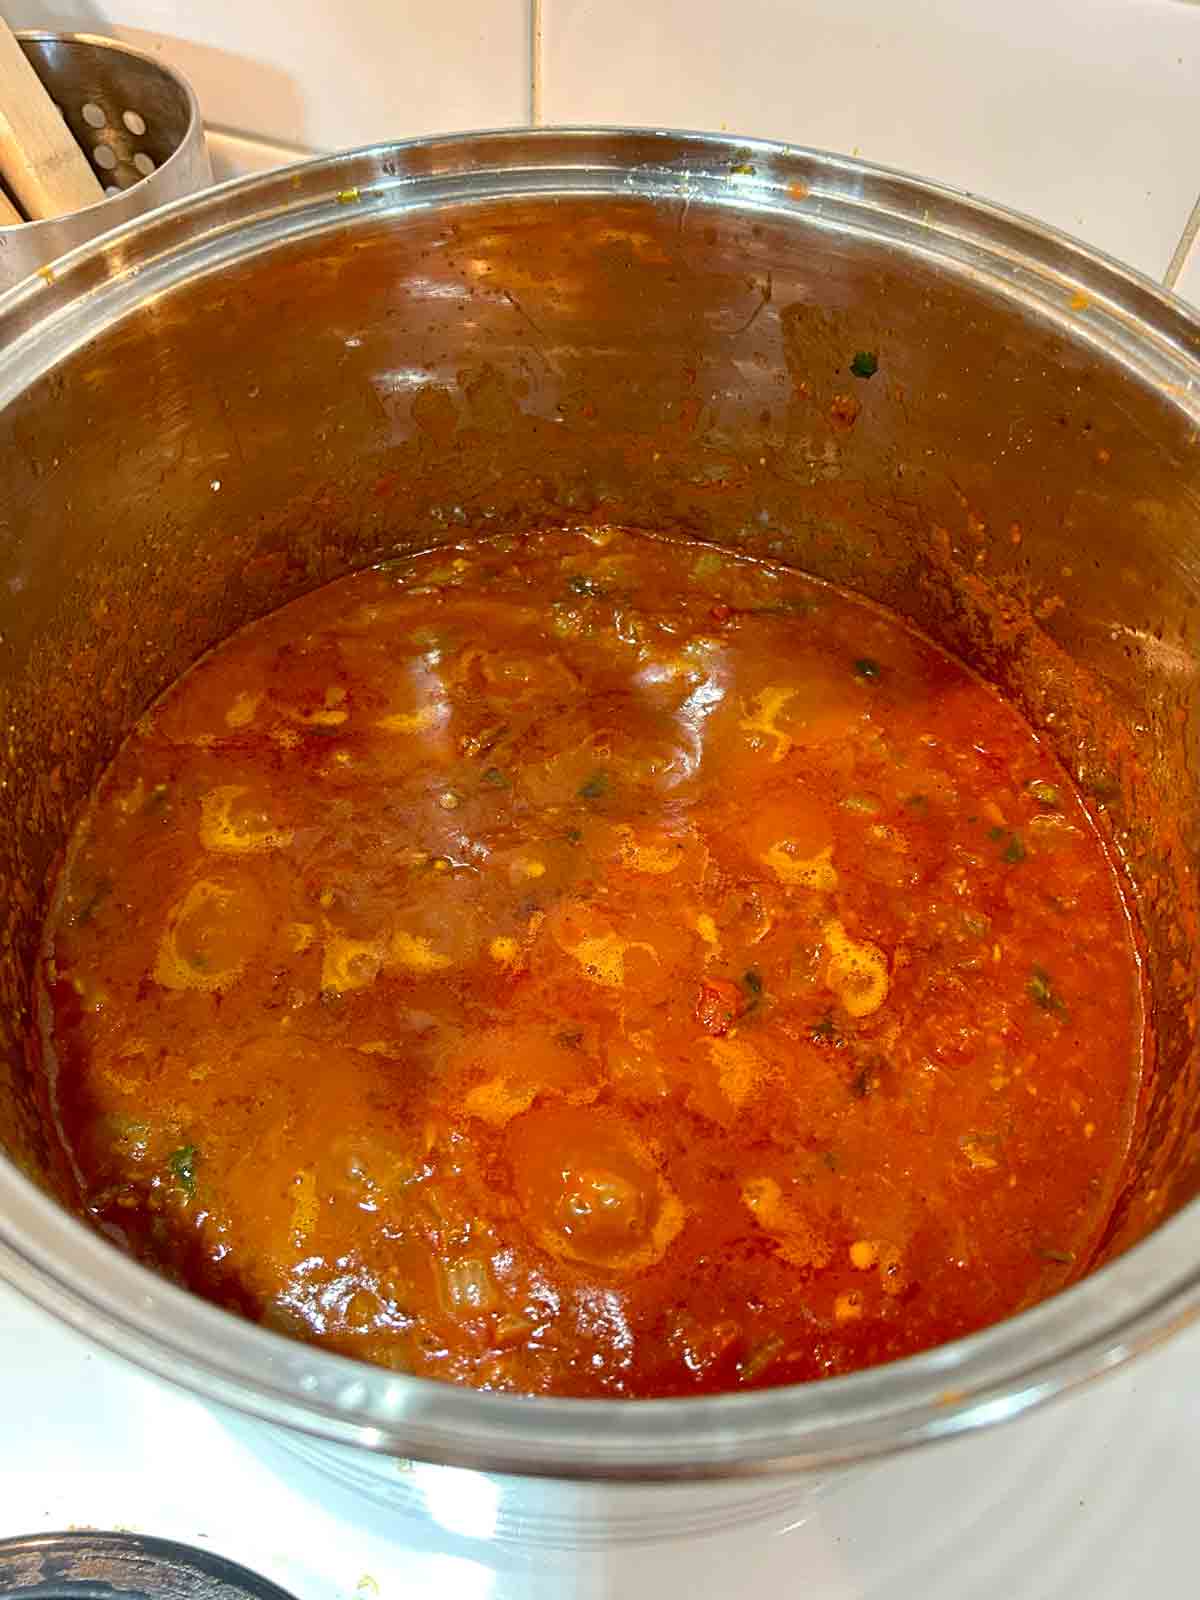
It's a little hard to see but small pools of oil are forming at the top. This is when you can stop simmering it.
3. Finish with caramelized almonds + sugar
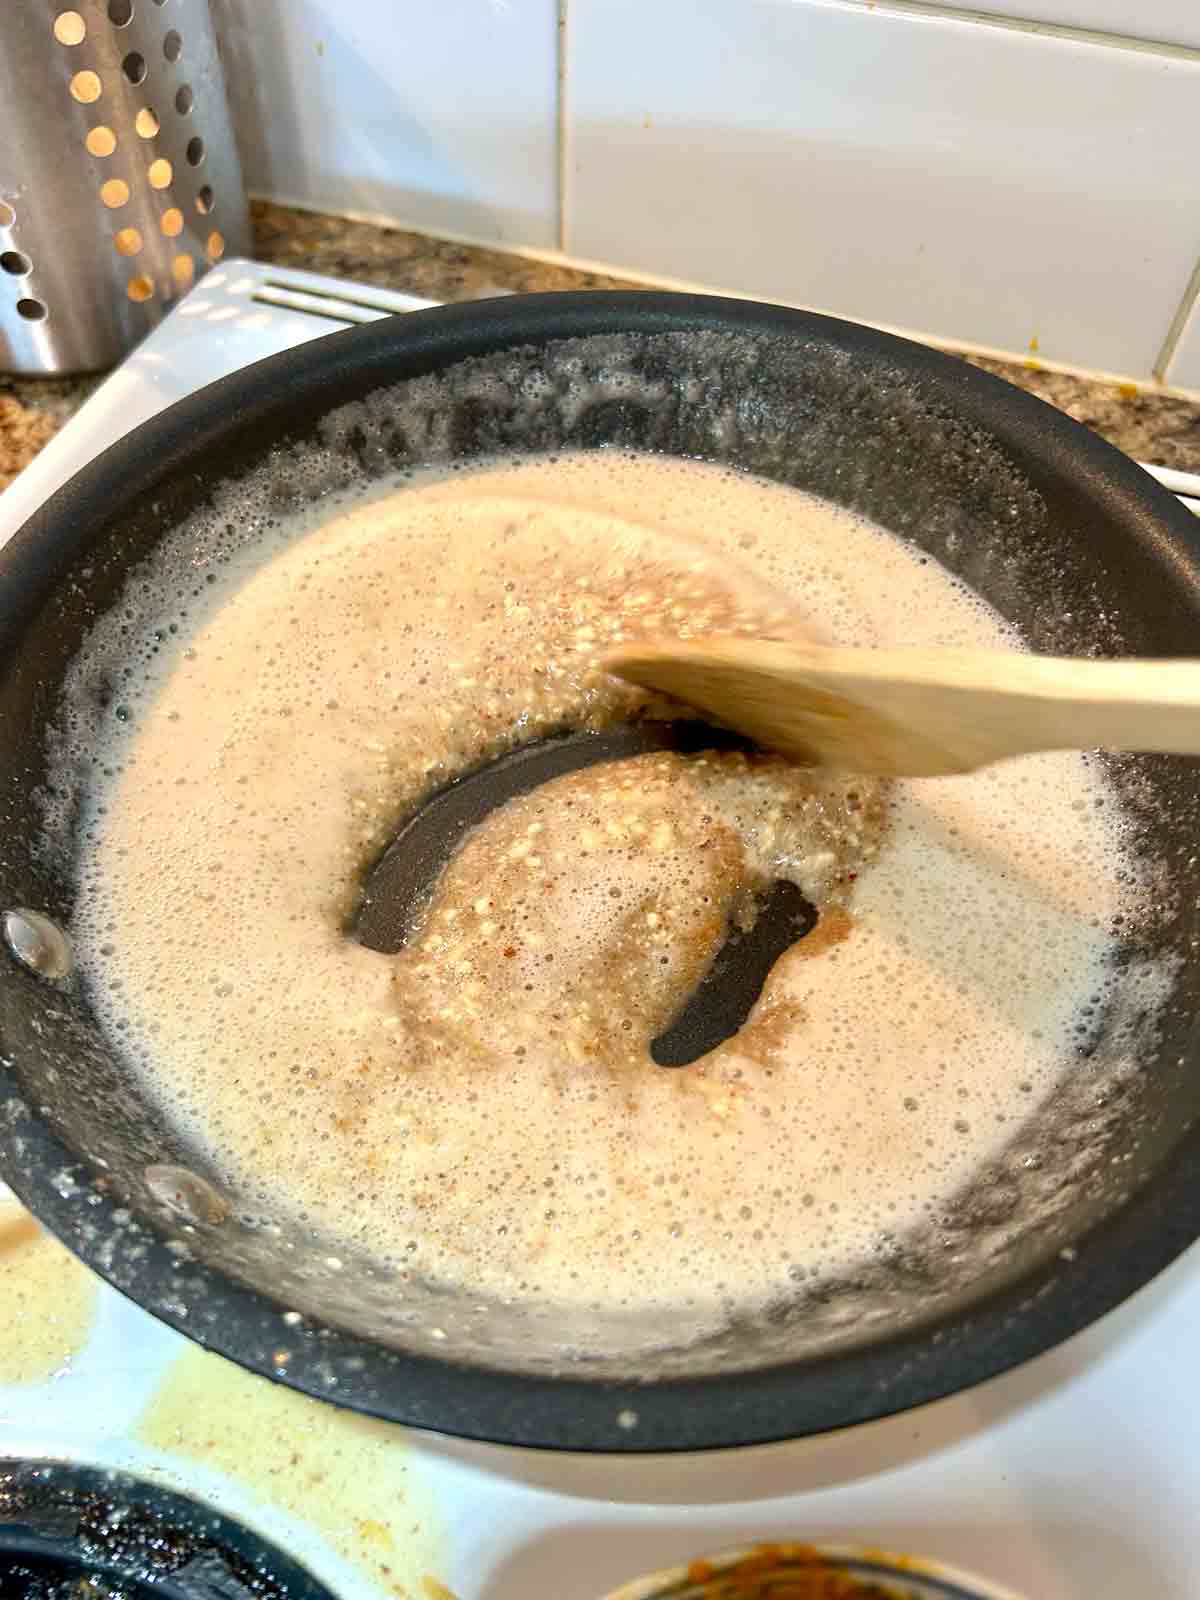
After watching a bunch of videos from Indian restaurants, I learned that restaurants make their butter chicken gravy in two stages. First, they cook a big batch of the base gravy. Then, for each individual order, they mix it with sugar, ground almonds, fresh spices, butter, and dairy.
The key step during this process is they fry the ground almonds and sugar in a bit of oil first. This caramelizes them and adds a ton of flavor to the curry. You don't need to do it per order since we're not a restaurant, but we should do it for the entire batch. Just get a small pan, fry the almonds and sugar, then dump it into the pot of gravy.
4. Add butter and yogurt
The final step is to add the butter and yogurt. One very important thing I have learned is to temper the yogurt first, otherwise the yogurt will curdle as soon as you put it in the gravy. To temper the yogurt, add the yogurt to a bowl, then slowly mix about ½ cup of the gravy. This will increase the temperature of the yogurt so it doesn't get shocked into curdling.
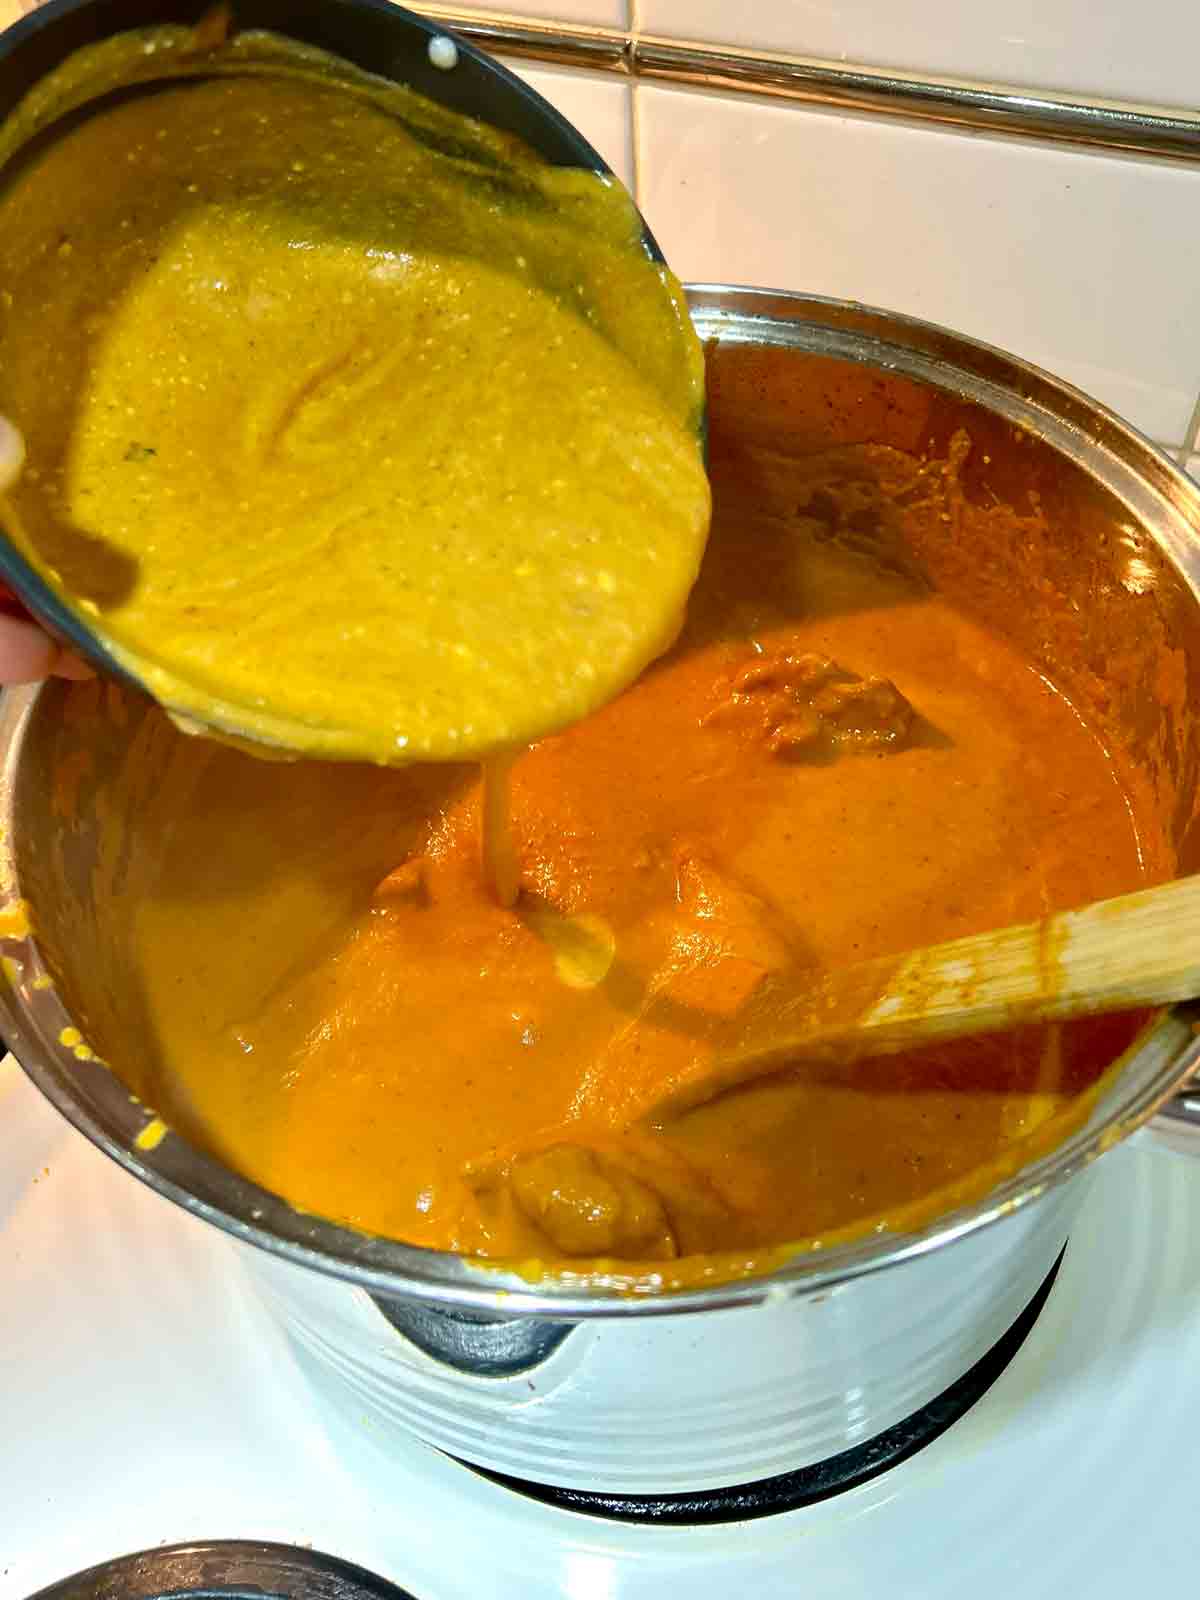
A lot of people like adding heavy cream, but I personally love the flavor of yogurt more. The reason is because it has a bit of acidity that balances the richness of the gravy.
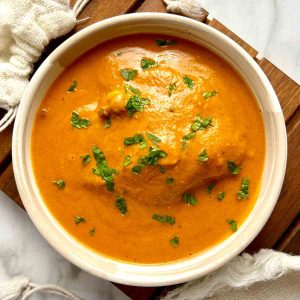
Butter Chicken
Ingredients
For the chicken marinade
- 2 pounds chicken thighs (or breasts; i used bone-in)
- 2 teaspoons Kashmiri chili powder
- 1 teaspoon turmeric
- ½ teaspoon salt
- 2 tablespoons lemon juice
- 1 tablespoon minced garlic (about 3 cloves)
- 1 tablespoon minced ginger
For the gravy
- ½ cup oil
- 2 large onions
- 3 tablespoons chopped garlic (about 9 cloves)
- 1 tablespoon chopped ginger
- 2 teaspoons ground cumin
- 2 teaspoons ground coriander
- 2 teaspoons Kashmiri chili powder
- 2 teaspoons salt
- 1 teaspoon garam masala
- ½ teaspoon turmeric
- ½ (6-ounce) can tomato paste
- 1 (28-ounce) can tomatoes (diced, whole, or crushed)
- ¼ cup chopped cilantro
Instructions
Chicken marinade
- In a large bowl, combine the chicken and marinade ingredients. Mix well and refrigerate for at least one hour and up to two days.
Gravy
- Heat a large pot over medium-high heat. Add the onions, garlic, and ginger. Cook for 10-15 minutes until the onions are golden. Make sure to stir often as the onions will try to stick to the bottom.
- Reduce the heat to medium. Add the cumin, coriander, Kashmiri chili powder, salt, garam masala, and turmeric. Cook for 30 seconds until they smell delicious.
- Add the tomato paste, canned tomatoes, and cilantro. Bring to a boil then simmer for 30 minutes, or until the oil starts separating from the gravy.
- Now either transfer it to a blender or use a hand blender to blend until smooth. I strongly prefer the regular blender because it can get the consistency more smooth.
Grill the chicken
- Heat a large pan over medium heat. Add 1 tablespoon of oil. Add 3-4 pieces of chicken skin-side down. Cook for 2-3 minutes until the skin is golden brown then transfer to the gravy. Repeat with the remaining chicken. You may need to rinse the pan between batches to get rid of burnt spices.
- When all the chicken is in the gravy, bring to a boil then reduce to a simmer. Cook for 15-45 minutes until the chicken is cooked through. The time mainly depends on if you used boneless or bone-in chicken.
Finish
- Heat the oil in a small pan over medium heat Add the ground almonds and sugar. Cook for 2-3 minutes until the almonds are browned and toasty (careful not to burn them). Pour the mixture into the gravy.
- Add the yogurt to a small bowl. Slowly mix in ½ a cup of gravy to the yogurt, then pour the mixture back into the gravy. This is to prevent the yogurt from curdling.
- Finally, add the butter and kasoori methi. Once the butter melts, it's ready to eat!


Leave a Reply