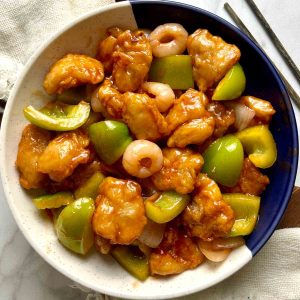
Back with another classic buffet dish and my all-time favorite food: Sweet and sour chicken. It's one of the most famous Chinese-American foods and I will show you how easy it is to make at home.
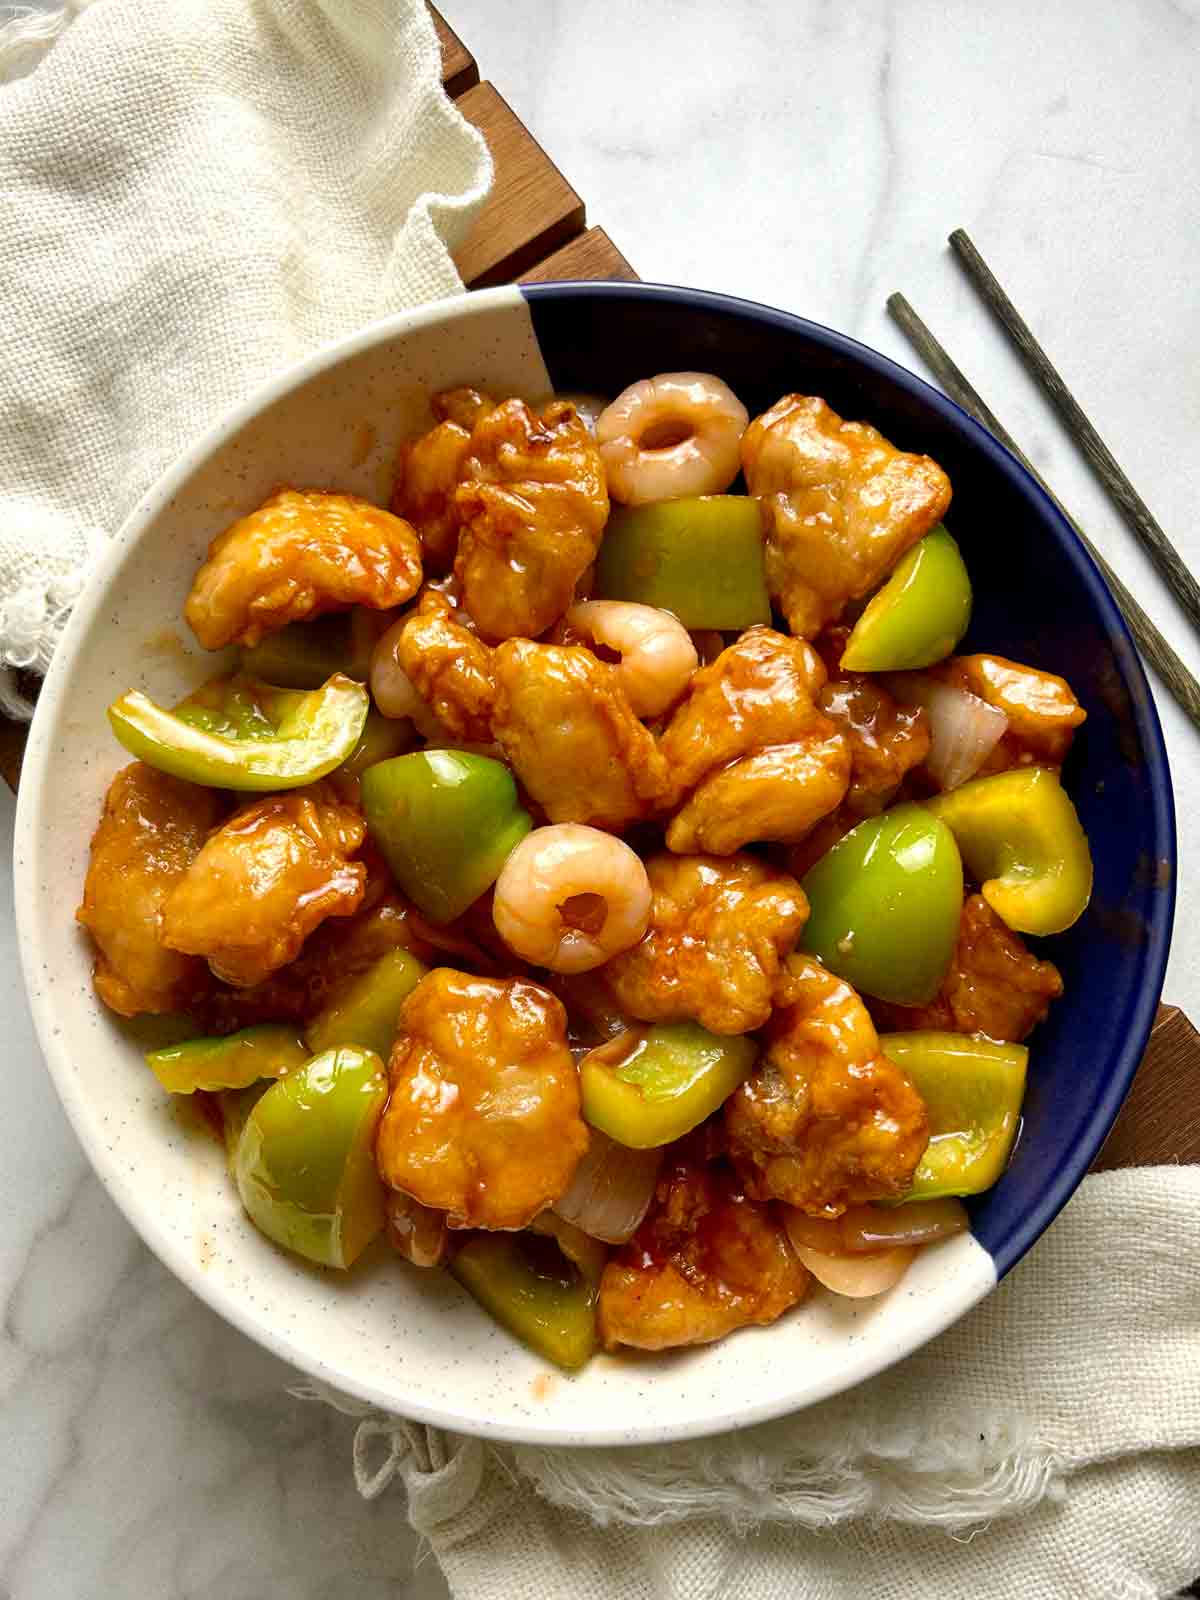
Growing up, I remember sweet and sour chicken being my favorite food. My family would always order whenever we went to the buffet, food court, or Chinese restaurant. Something about it is just perfect. It's sweet and tangy and has an amazing combination of textures from the juicy chicken to the crispy coating.
This recipe is the result of over a decade of trial and error. I'm very particular about the taste of my sweet and sour chicken, so I have gone through dozens of iterations to get the sauce right. I truly believe my recipe rivals some of the best Chinese restaurants.
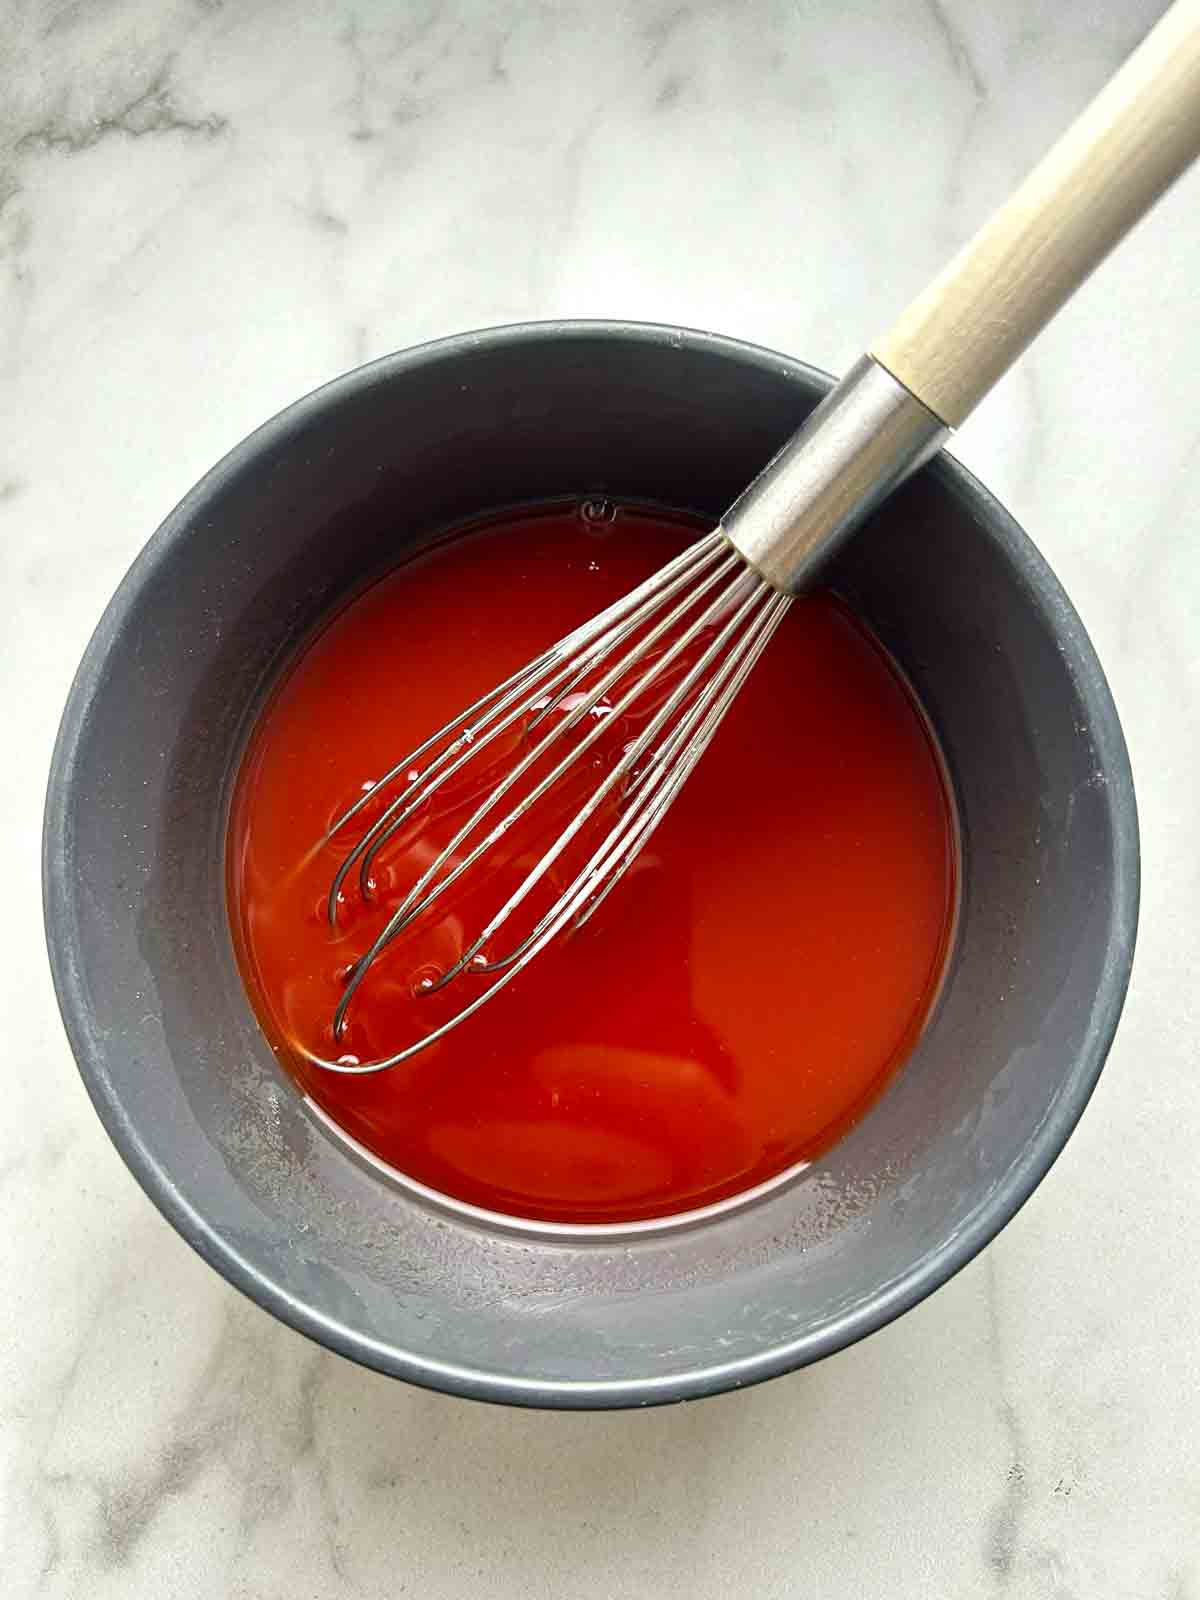
The sweet and sour sauce
The problem with most sauces is that they either taste like ketchup or are not sweet enough. I don't know why, but people are afraid to add too much sugar in their home cooking. But if you are going to eat sweet and sour chicken, you might as well go all out.
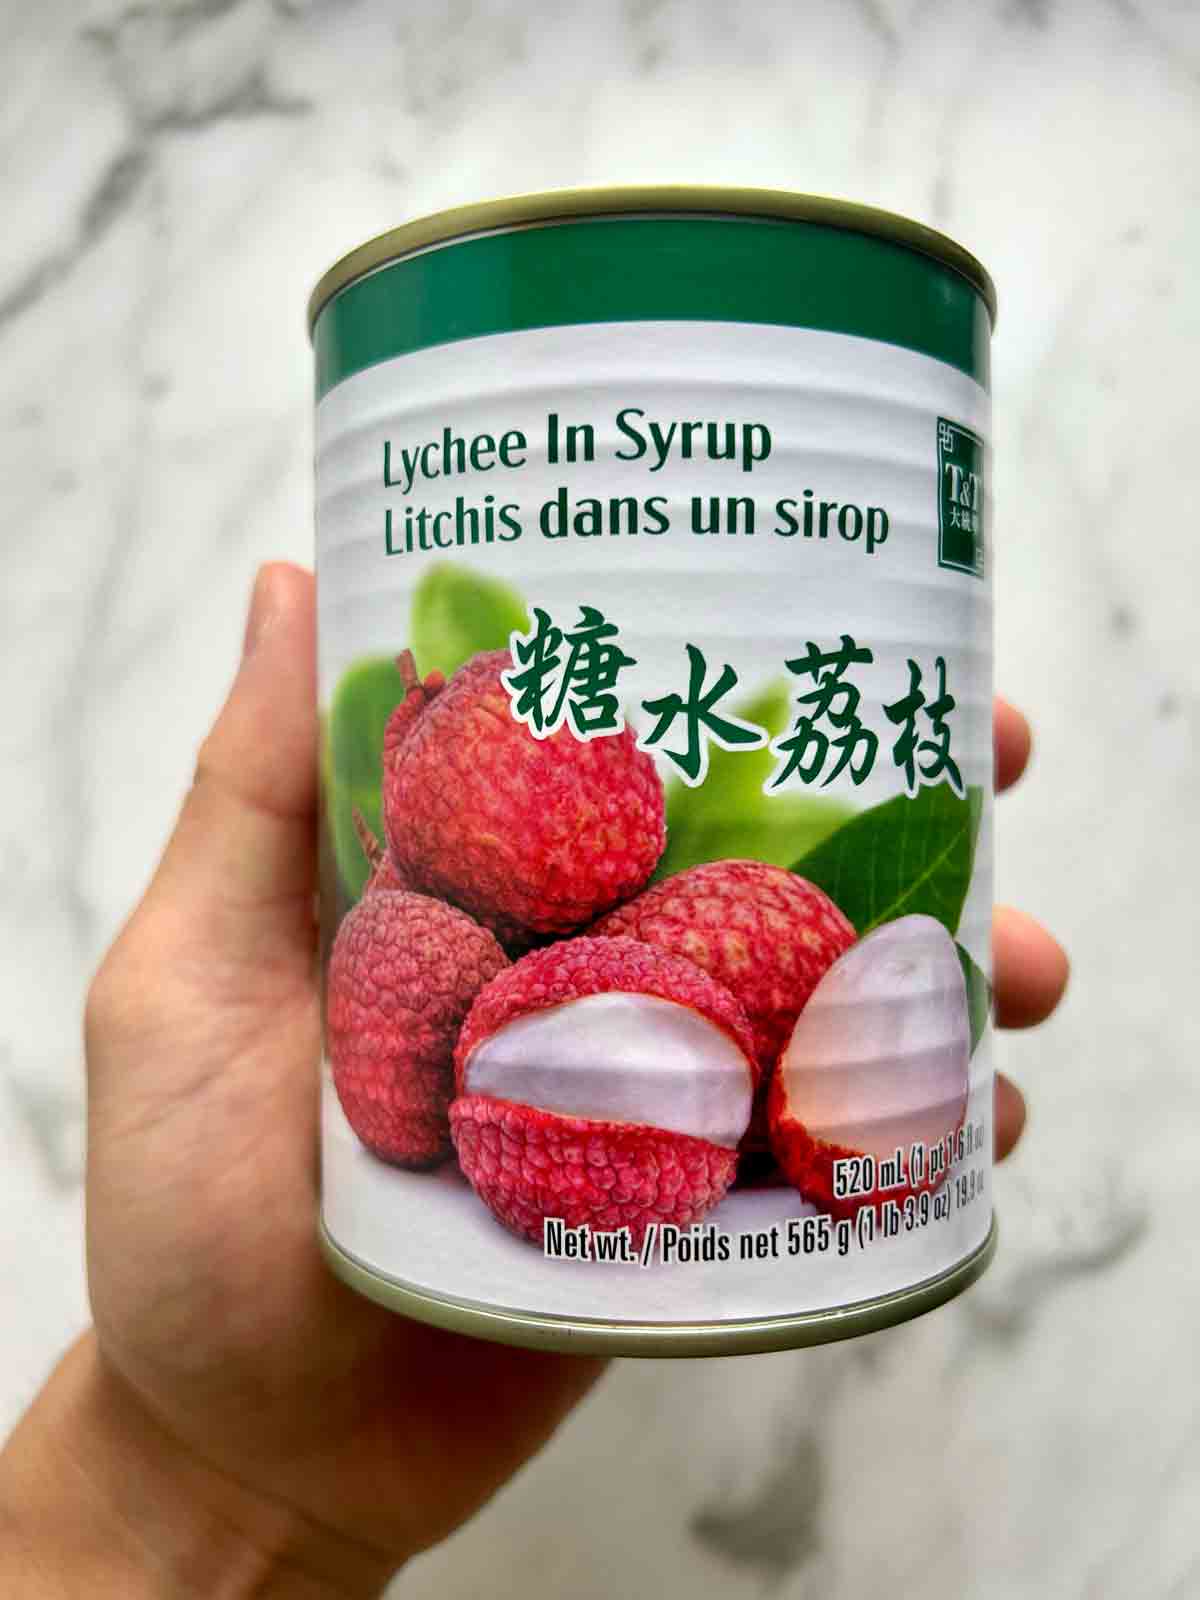
For this recipe, I'm using lychee juice. I've been eating at some higher-end Chinese restaurants lately and I noticed they all use it in their sweet and sour sauce.
The crispy coating
The coating is made with a combination of cornstarch, tapioca starch, and baking powder. That's right, you do not need any flour. I have found that starch-based coatings come out much more crispy than flour-based ones.
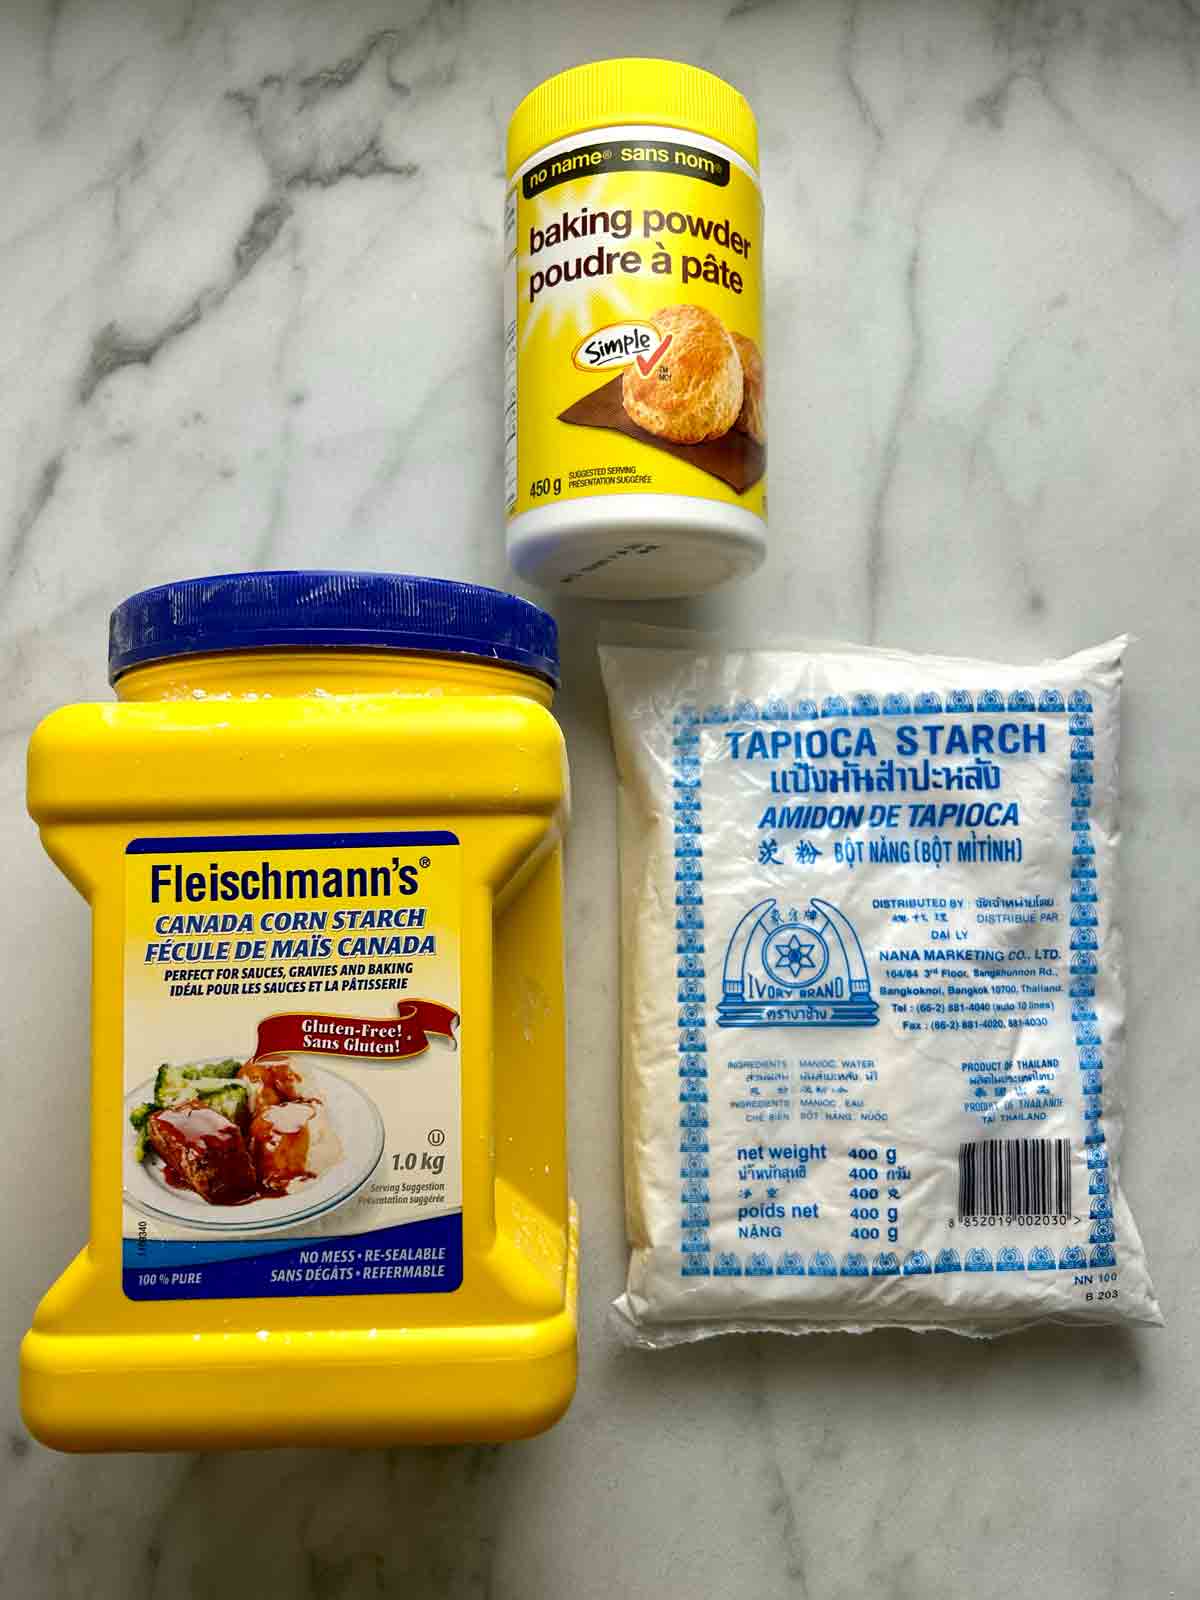
The key is the combination of starches. For the crust to be crispy, you need both tapioca starch and cornstarch. When my mom tried it, she was surprised at how crispy it was. She thought all starches were the same, but I explained to her they were different. Tapioca starch adds an amazing chewy texture, and when combined with cornstarch, it tastes just like the restaurants.
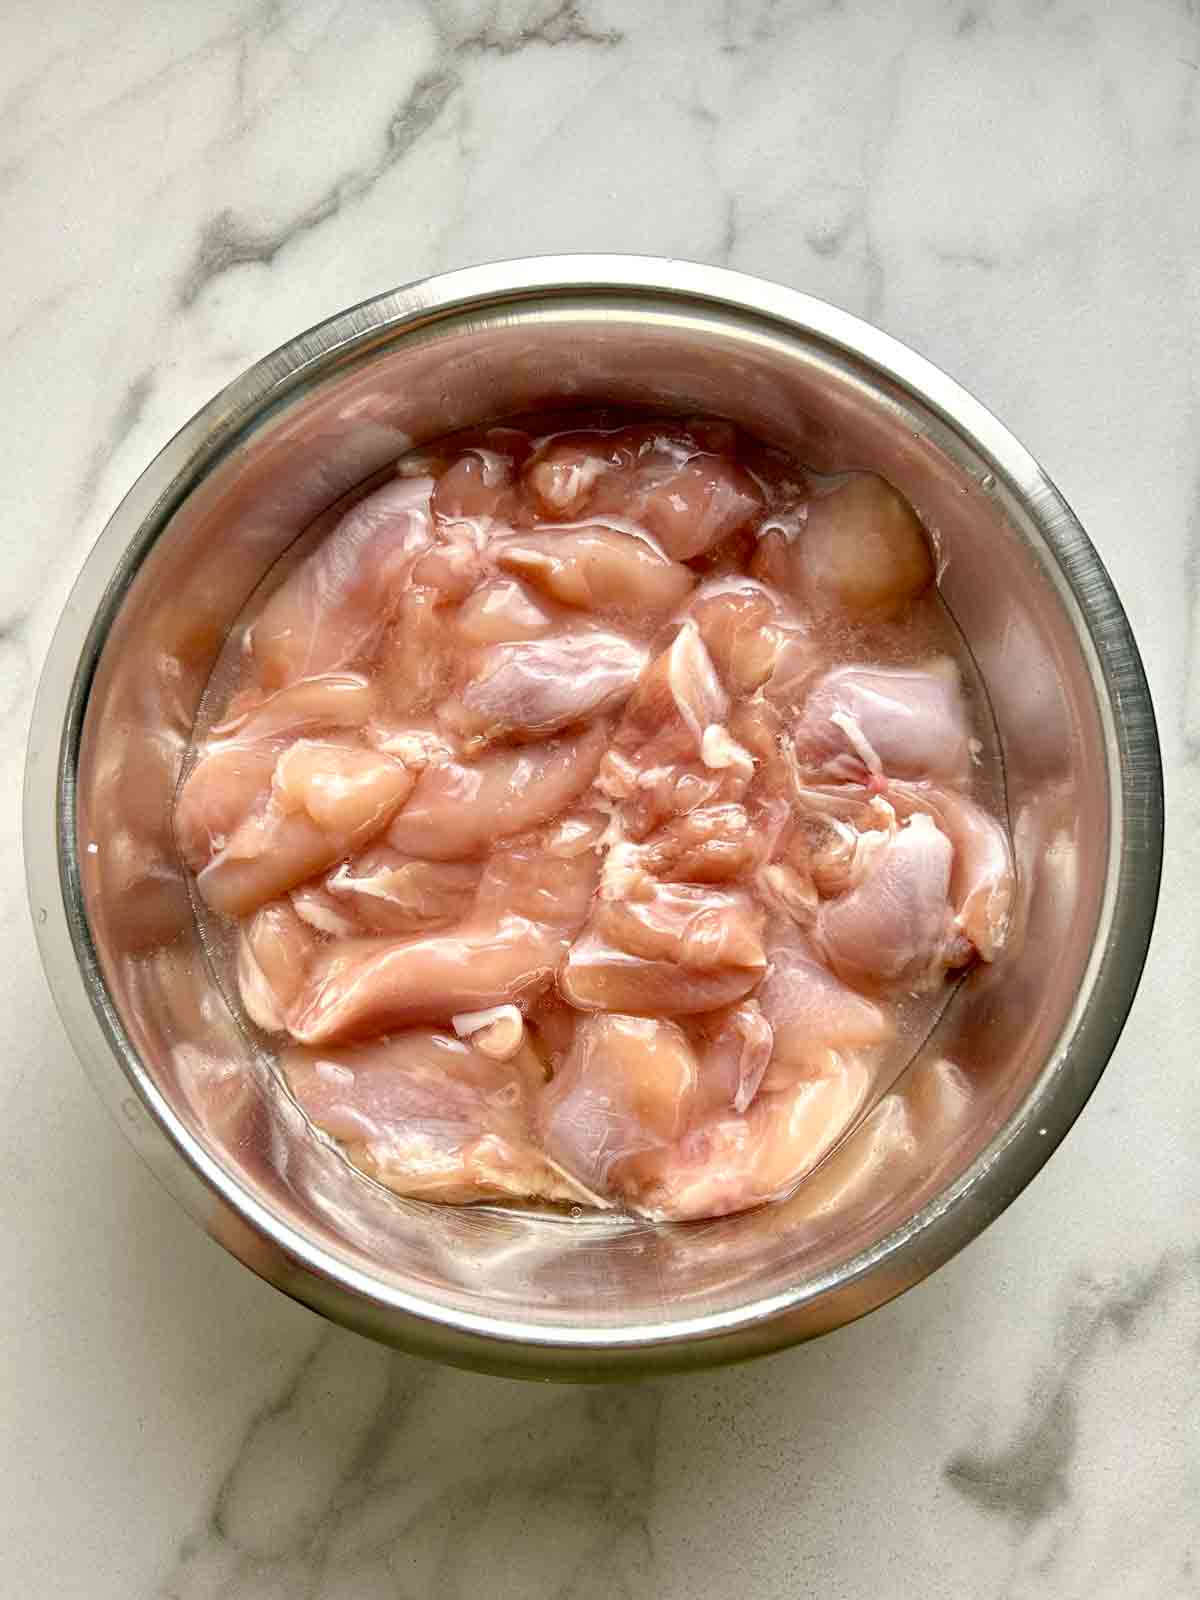
Marinate the chicken
This will make the chicken much juicier and more flavorful. I typically marinate mine overnight for the best results, but if you're strapped for time, even 40 minutes will make a big difference.
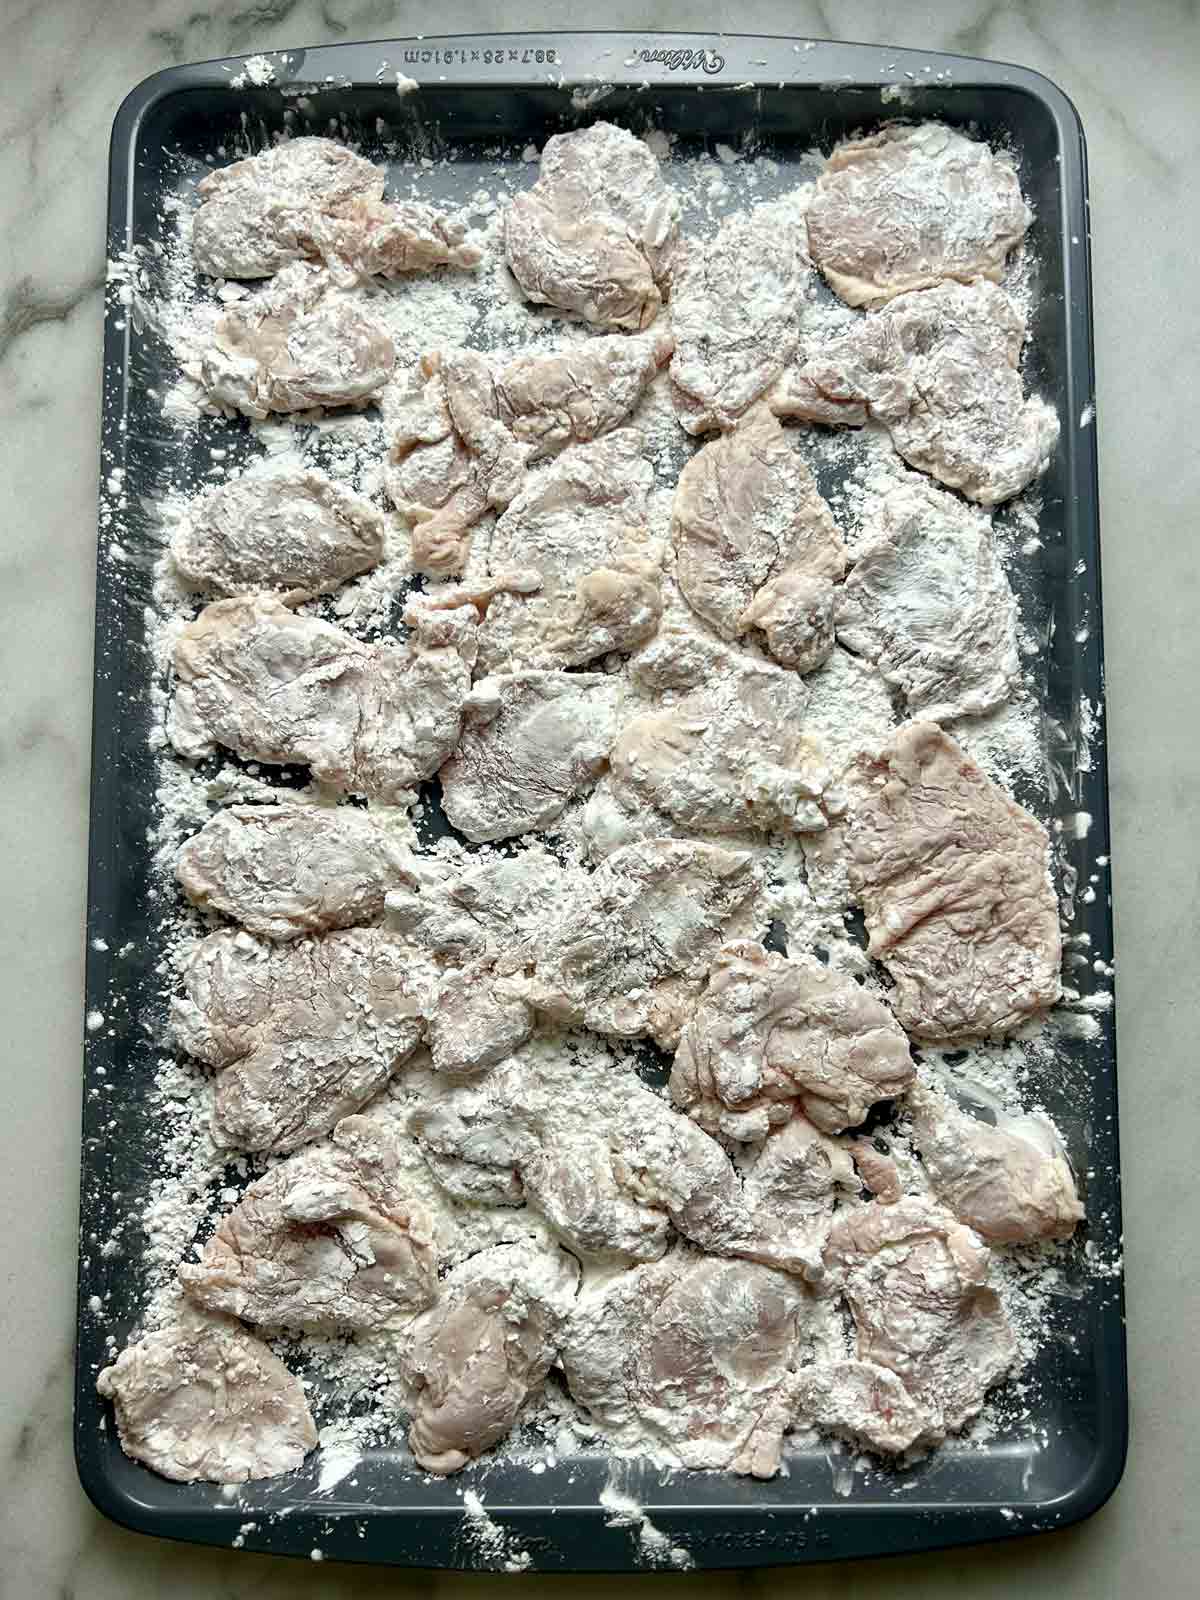
Dredge the chicken
Before dredging, I like to mix in a spoonful of the starch mixture with the marinade. This helps the coating stick better to the chicken and makes the crust thicker.
After that, just coat each piece of chicken in the starches and transfer to a baking sheet. Make sure you let the chicken rest for at least 10 minutes after dredging. This gives time for the starches to hydrate properly. If you skip this step, the chicken will have white specks of starch on the crust after frying.
Frying the chicken
Starting with a high temperature is key for getting a crispy crust. I recommend heating the oil to around 375°F. Once you add the chicken, the temperature should drop to around 350°F. If the temperature gets too low (below 300°F) the crust will start absorbing excess oil and will not be as crispy.
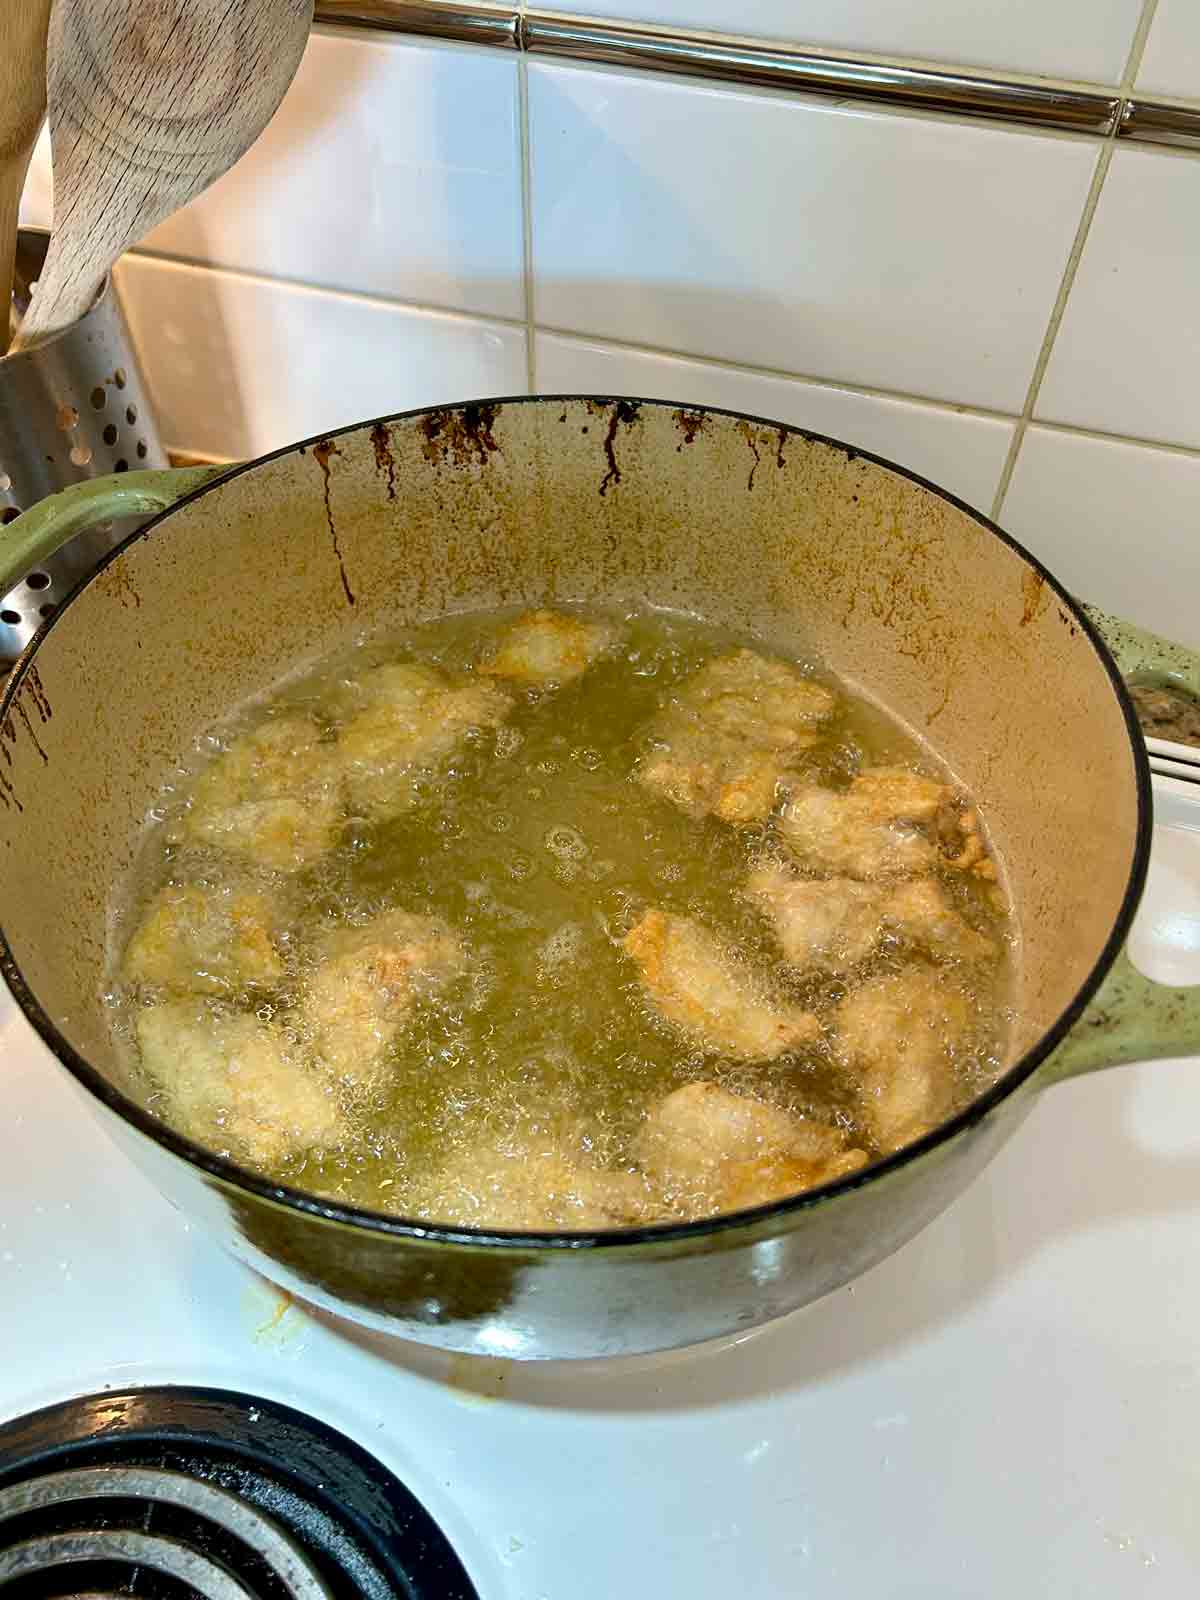
Don't cook all the chicken at once! Do it in 2-3 batches. If you cook it all at once, the oil temperature will drop too much. After every batch, give the oil a few minutes to come back to 375°F before starting the new batch.

Sweet And Sour Chicken
Ingredients
Marinade
- 1 pound boneless chicken thighs (or breasts)
- 1 large egg white
- 2 tablespoons water
- 1 teaspoon sugar
- ½ teaspoon salt
Sweet and sour sauce
- 3 tablespoons ketchup
- 6 tablespoons brown sugar (firmly packed)
- 3 tablespoons white vinegar
- 1 ½ teaspoons cornstarch
- ½ teaspoon salt
- ¼ cup lychee juice (from a can of lychees)
- 5-6 drops red food coloring (optional)
Dredge
- 1 cup cornstarch
- ½ cup tapioca starch
- 1 teaspoon baking powder
Stir-fry
- 1 tablespoon neutral oil
- 1 clove garlic (minced)
- ½ small onion (chopped)
- 2 small bell peppers (different colors preferred)
Instructions
- In a medium bowl, combine the chicken and marinade ingredients. Massage the meat with your hands for one minute then marinate in the fridge for at least 40 minutes (I usually marinate mine overnight).
- In a small bowl, combine the sauce ingredients and set aside.
- In a medium bowl, combine the tapioca starch, cornstarch, and baking powder.
- Remove the chicken from the fridge and add a spoonful of the starch mixture to the chicken. Mix well.
- Working one at a time, take a piece of chicken and toss it in the dredge. Gently squeeze the chicken so that the starches stick. Transfer to a baking sheet and allow the chicken to rest for at least 10 minutes.
- Heat about 1 inch of oil to 375°F. Cook the chicken in several batches for 4-5 minutes until golden brown and crispy. After each batch, let the oil reheat to about 375°F. Transfer the chicken to a paper towel-lined plate to dry.
- In a large nonstick pan, heat 1 tablespoon of oil over medium heat. Add the garlic and onions and cook for 1 minute. Add the bell peppers and cook for another minute. Add the sauce mixture and cook until it bubbles and thickens. Add the chicken and toss to coat everything. Enjoy!


Leave a Reply