• Skip to primary navigation
  • Skip to main content
  • Skip to primary sidebar
Grumpy Recipes
  • About
  • Recipes
menu icon
go to homepage
  • About
  • Recipes
  • Social

    • Facebook
    • Instagram
    • Pinterest
    • TikTok
    • YouTube
  • subscribe
    search icon
    Homepage link
    • About
    • Recipes
  • Social

    • Facebook
    • Instagram
    • Pinterest
    • TikTok
    • YouTube
  • ×
    Home » Recipes » Seafood

    Salmon Tataki (with a blowtorch)

    Published: Sep 5, 2024 by Grumpy · This post may contain affiliate links · Leave a Comment

    Jump to Recipe

    I've been on a mission to make Salmon Tataki at home and I finally got a blowtorch to try it! After a few attempts, I have finally landed on a method that produces a beautiful char and smokiness. The best part is it is very simple to do and takes less than 5 minutes.

    plate of salmon tataki.

    If you saw my last post on salmon sashimi, you know I used Costco's farmed salmon. I decided to use that again today. There's a lot of speculation on how safe it is, and I covered it in the previous post so go check it out if you're curious.

    Blowtorch vs searing for salmon tataki

    In my experience, a blowtorch is much better for salmon tataki than searing in a pan. The reason is because salmon tataki should be completely raw on the inside and only a thin layer should be cooked on the outside. Searing is much more likely to overcook the inside and it does not give the same level of charring on the outside.

    What blowtorch am I using?

    I'm using the Iwatani Pro butane torch. I got this on Amazon for relatively cheap (around $70). It was very easy to use and honestly made the salmon tataki taste just like the restaurant. I actually bought my torch a few weeks ago and I've already used it for a few different things, like melting cheese on burgers and making creme brulee.

    Iwatani blow torch with butane canister attached.

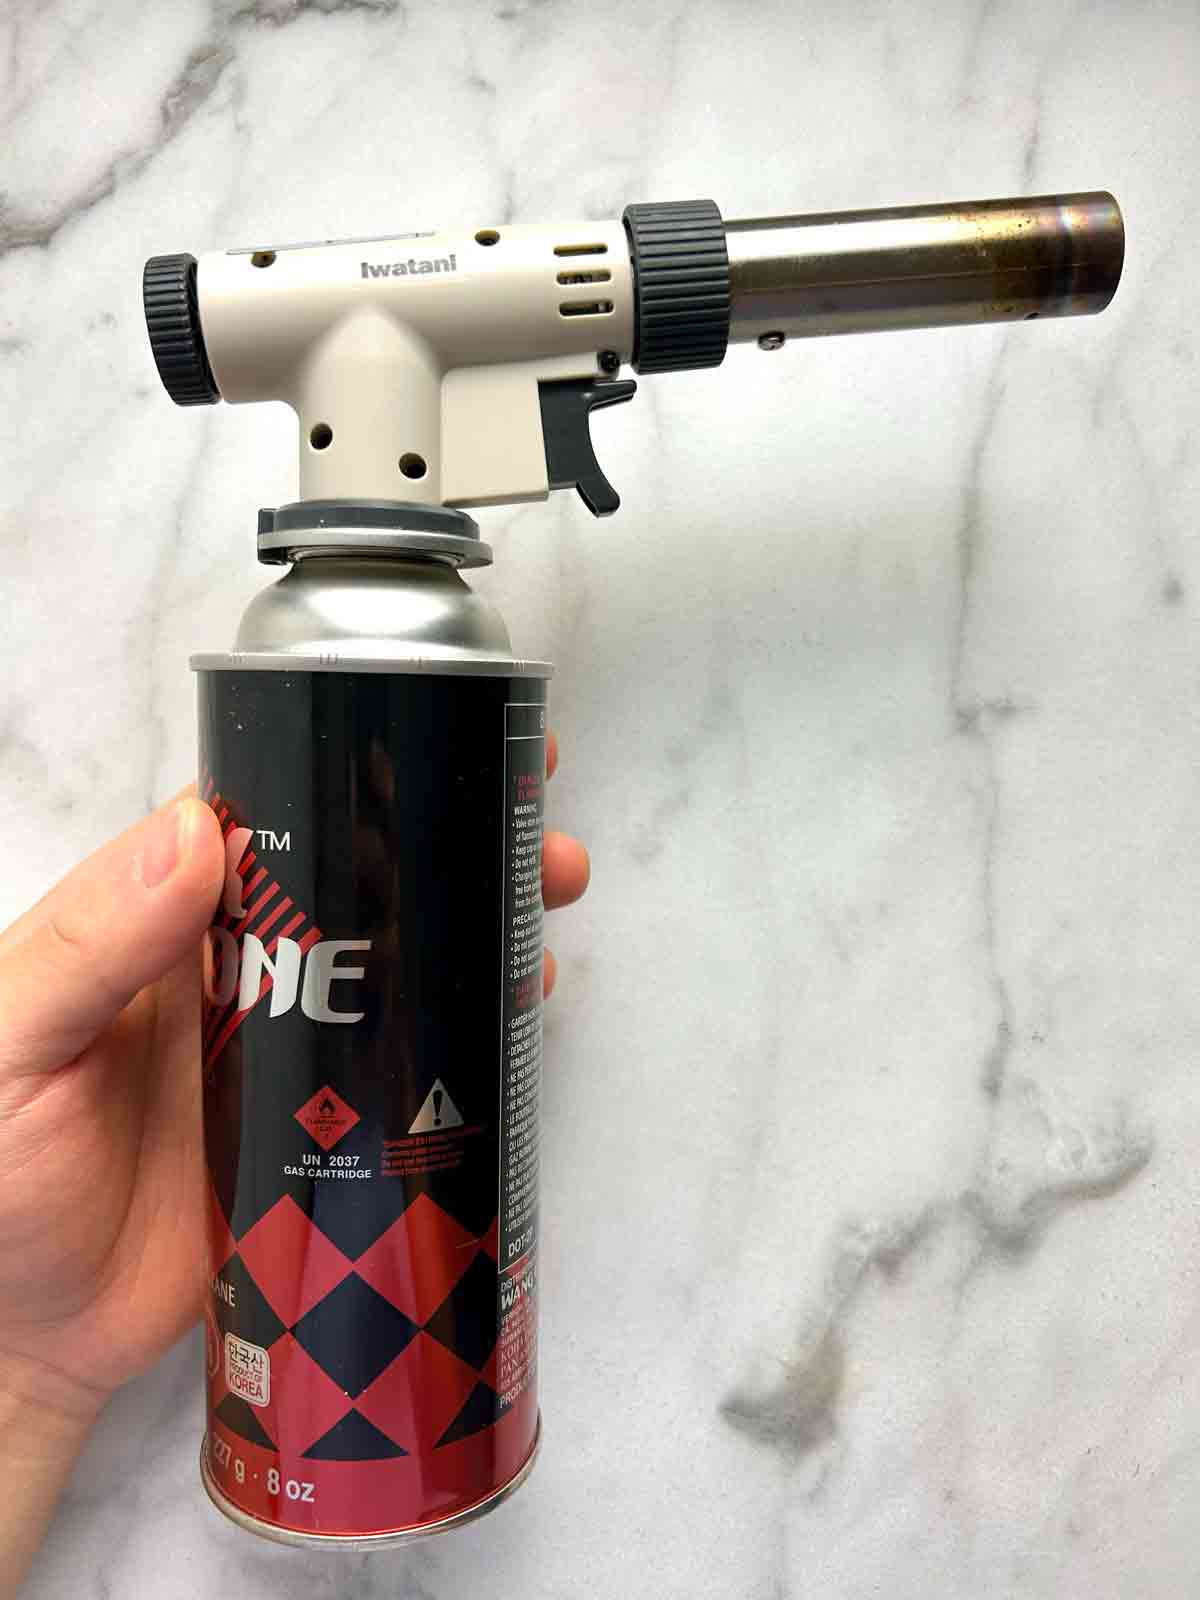
    For the butane, you want to use the same kind that you would use for hotpot or barbeque stoves. It usually comes in 8-ounce containers. When I first bought the butane torch, I actually bought the wrong type of butane (2.75-ounce cartridge) because Amazon recommended the wrong one on the product page. So if you buy the Iwatani, just make sure you buy the correct butane.

    How to torch the salmon.

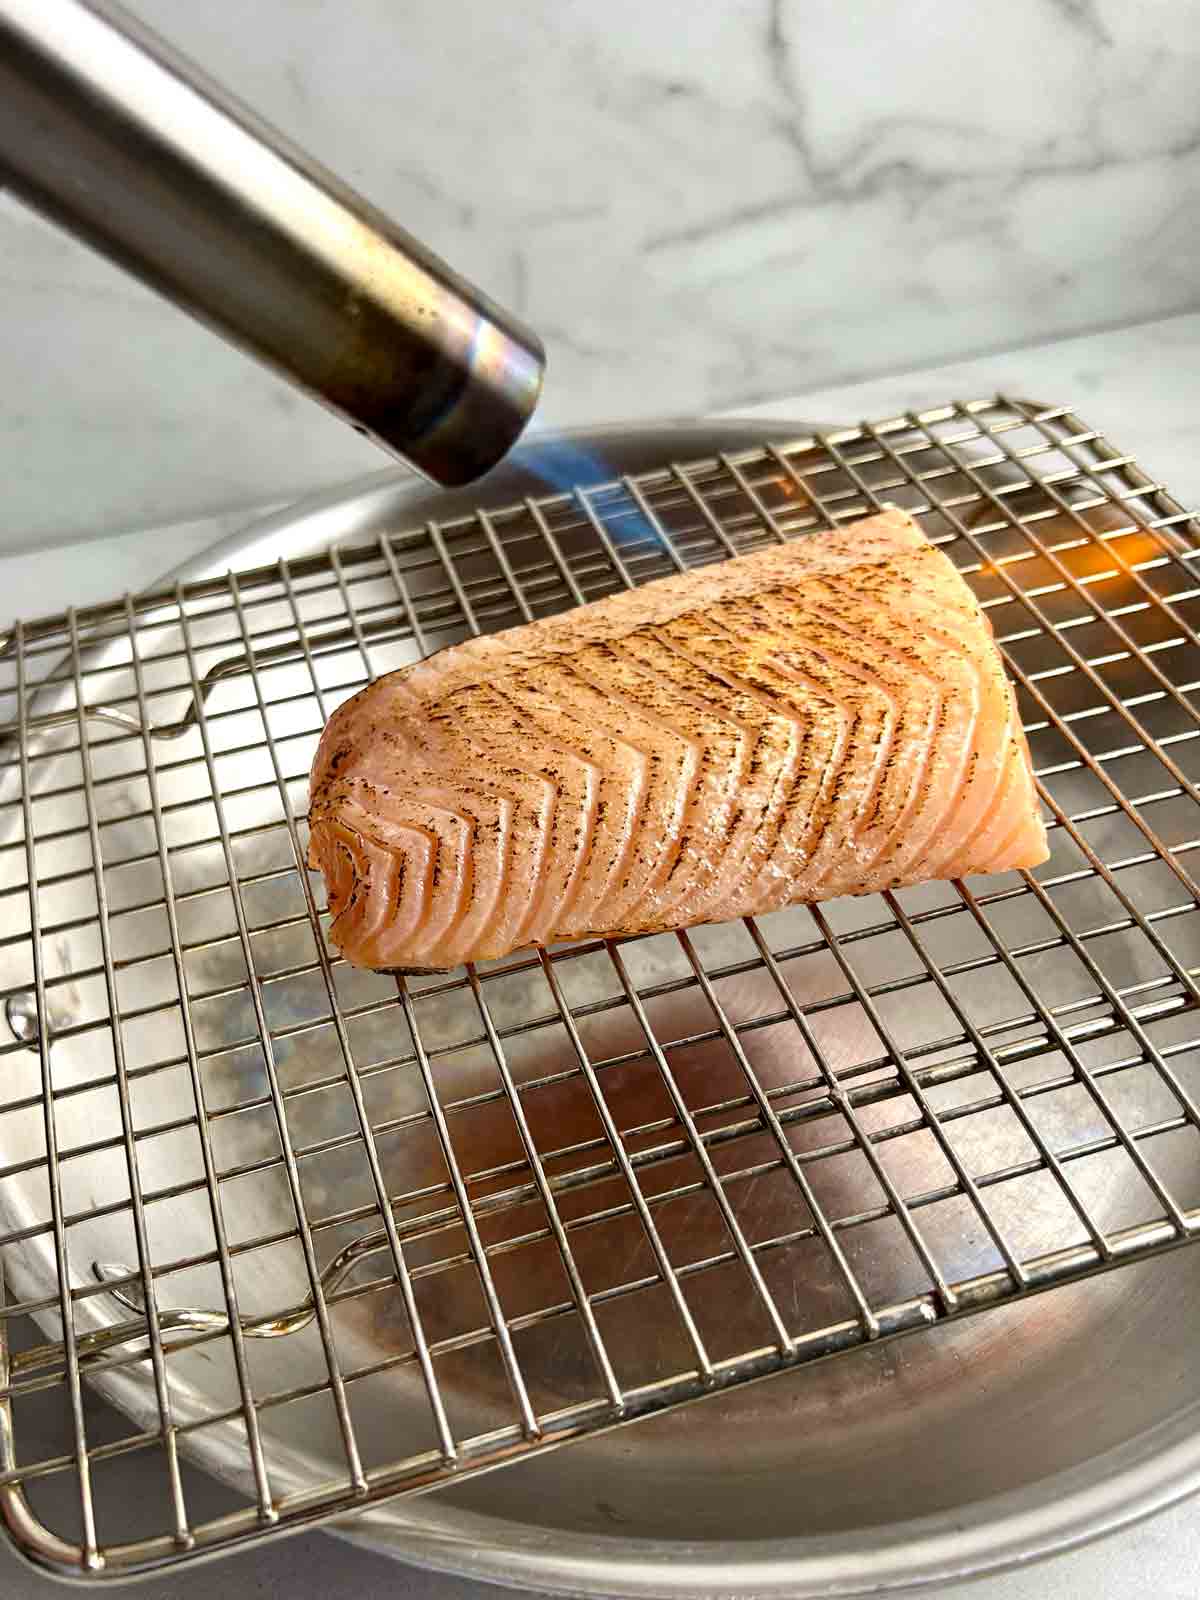
    The most important step is to slice the salmon first. The first time I did this, I made the mistake of torching the salmon first, and the salmon completely fell apart when I sliced it. It's because the cooked parts become very delicate after torching.

    Here's my epic fail:

    unsliced salmon fillet being torched with blowtorch on wire rack.
    messy slices of salmon tataki with many uneven and broken pieces.

    And here's when I sliced the salmon first:

    salmon slices being torched with blowtorch on wire rack.
    close up of salmon tataki slices which were sliced before torching.

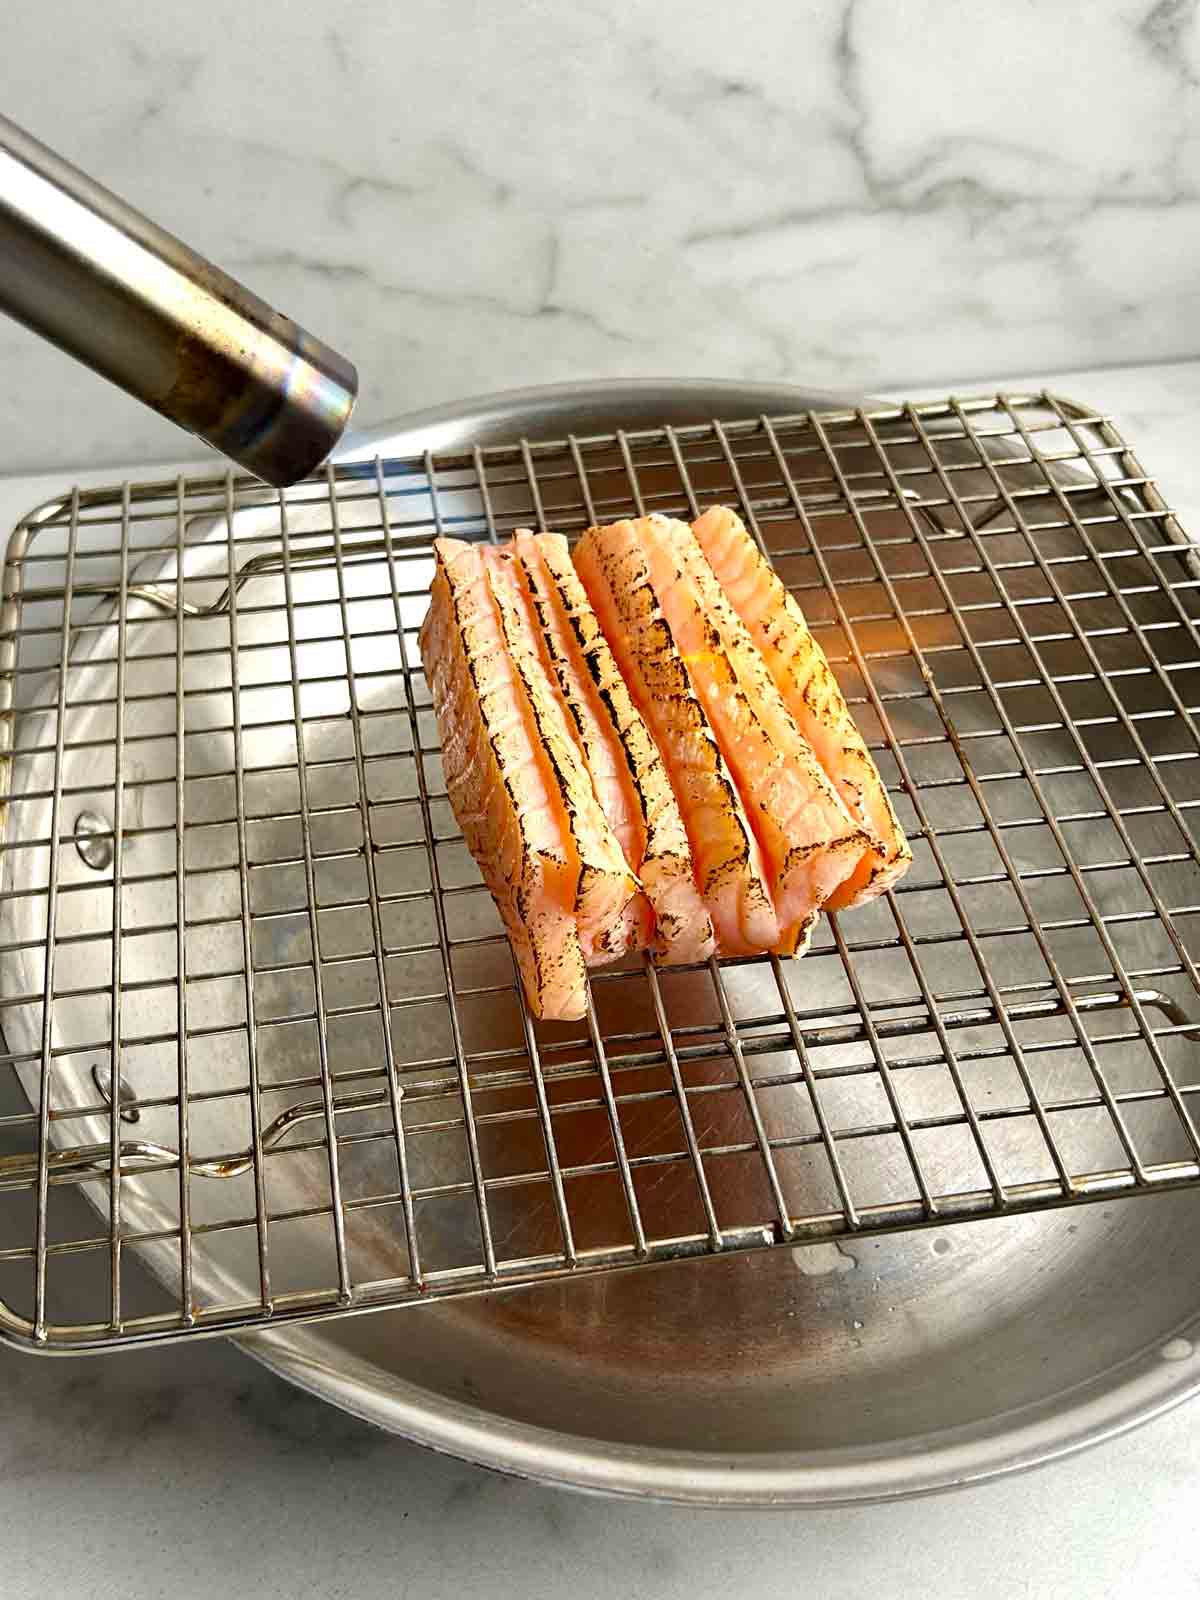
    As you can see, the results were much better. The pieces were beautifully charred and they did not fall apart.

    Note: Make sure you do the torching on a wire rack or something that can withstand a lot of heat (I used a stainless steel pan) as the flames can get very hot. Definitely do not do this on glass or anything that has a nonstick coating.

    plate of salmon tataki.

    Salmon Tataki (with a blowtorch)

    I finally got to try making salmon tataki with a blowtorch! Make sure you slice the salmon first as the salmon tends to fall apart if you slice it after torching.
    No ratings yet
    Print Recipe Pin Recipe Save Saved!
    Prep Time 10 minutes mins
    Cook Time 1 minute min
    Total Time 11 minutes mins
    Course Main Course
    Cuisine Japanese
    Servings 2 people

    Ingredients
      

    For the salmon

    • salmon fillets
    • ½ teaspoon oil

    For the ponzu sauce

    • 1 tablespoon soy sauce
    • 1 tablespoon rice vinegar
    • 1 tablespoon lemon juice
    • 1 tablespoon mirin
    • ¼ teaspoon dashi powder

    For serving

    • wasabi

    Instructions
     

    • Prepare a wire rack on top of a stainless steel pan or cast-iron pan (just something that is strong enough to withstand the flames from a blowtorch).
    • Cut the salmon into slices about ¼-inch thick and arrange them standing up next to each other on the wire rack.
    • Brush the top and sides with oil. Torch all over for 1-2 minutes until thoroughly charred.
    • To make the ponzu sauce, just combine all the ingredients together in a small bowl. Enjoy!

    Notes

    Note: I'm using Costco fresh farmed salmon for this. Check out my other post on salmon sashimi for the full breakdown of why I chose to use it.

    More Seafood

    • shrimp ceviche in shallow bowl.
      Shrimp Ceviche
    • spoon lifting cocktail sauce from bowl.
      Cocktail Sauce
    • plate of honey garlic shrimp with sesame seeds and parsley garnished on top.
      Honey Garlic Shrimp
    • plate of cocktail shrimp with sauce.
      Quick and Easy Shrimp Cocktail

    Reader Interactions

    Leave a Reply Cancel reply

    Your email address will not be published. Required fields are marked *

    Recipe Rating


    Primary Sidebar

    The blogger behind "Grumpy Recipes" plating some food for photography.

    Hello! Ever get so hungry that you get a little grumpy? Well, I'm here to fix that! My name is Grumpy and this is my recipe blog. I'm a passionate home cook who wants to share his favorite recipes with the world. Click the link below to learn more about my story.

    More about me →

    Latest Recipes

    • cheeseburger sliders on baking sheet.
      Cheeseburger Sliders
    • slice of peanut butter pie on plate.
      Peanut Butter Pie
    • close up of plate of biscuits.
      Easy Homemade Biscuits
    • bowl of edible cookie dough.
      Edible Cookie Dough

    Footer

    ↑ back to top

    • Privacy Policy
    • Contact
    • Subscribe

    As an Amazon Associate I earn from qualifying purchases.

    Copyright © 2025 Grumpy Recipes

    Rate This Recipe

    Your vote:


    A rating is required
    A name is required
    An email is required