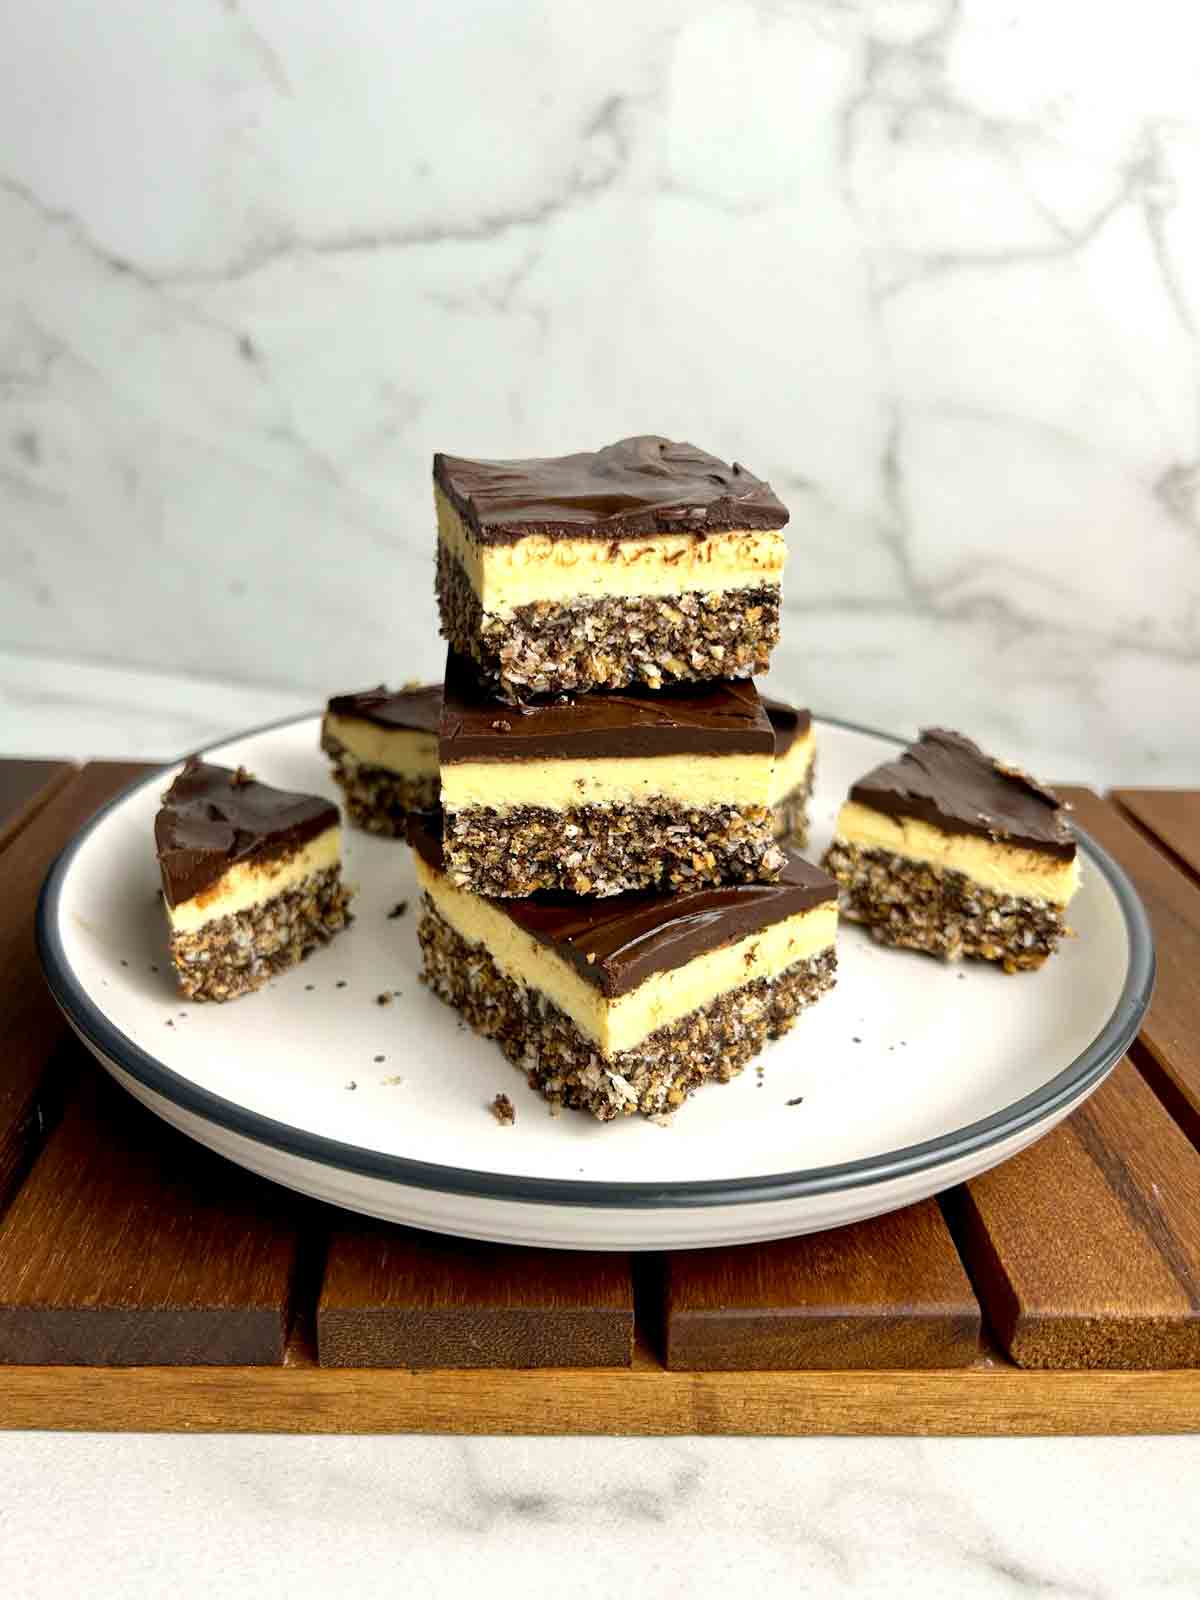
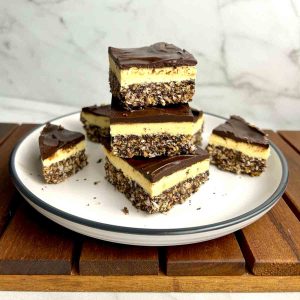
Nanaimo Bars are one of Canada's greatest inventions. I grew up only two hours away from Nanaimo and I can't believe I never made them until now. This was my first time making them but it was way easier than I expected. Now I will never buy them from a bakery again!
If you visit Vancouver Island, you're bound to find Nanaimo bars everywhere you go- in coffee shops, grocery stores, bakeries, etc. I grew up in Victoria and even our school bake sales had them. I used to have a friend whose mom owned a bakery shop, and she would even give us free Nanaimo bars sometimes.
Joyce Hardcastle is the one who created the original recipe in 1986 at the Ultimate Nanaimo Bar competition in Nanaimo. Today, I will be sharing her recipe, but with just a few modifications to my own taste. For example, I prefer dark chocolate chips over semi-sweet so I will be using that for the chocolate layer.
The bottom layer
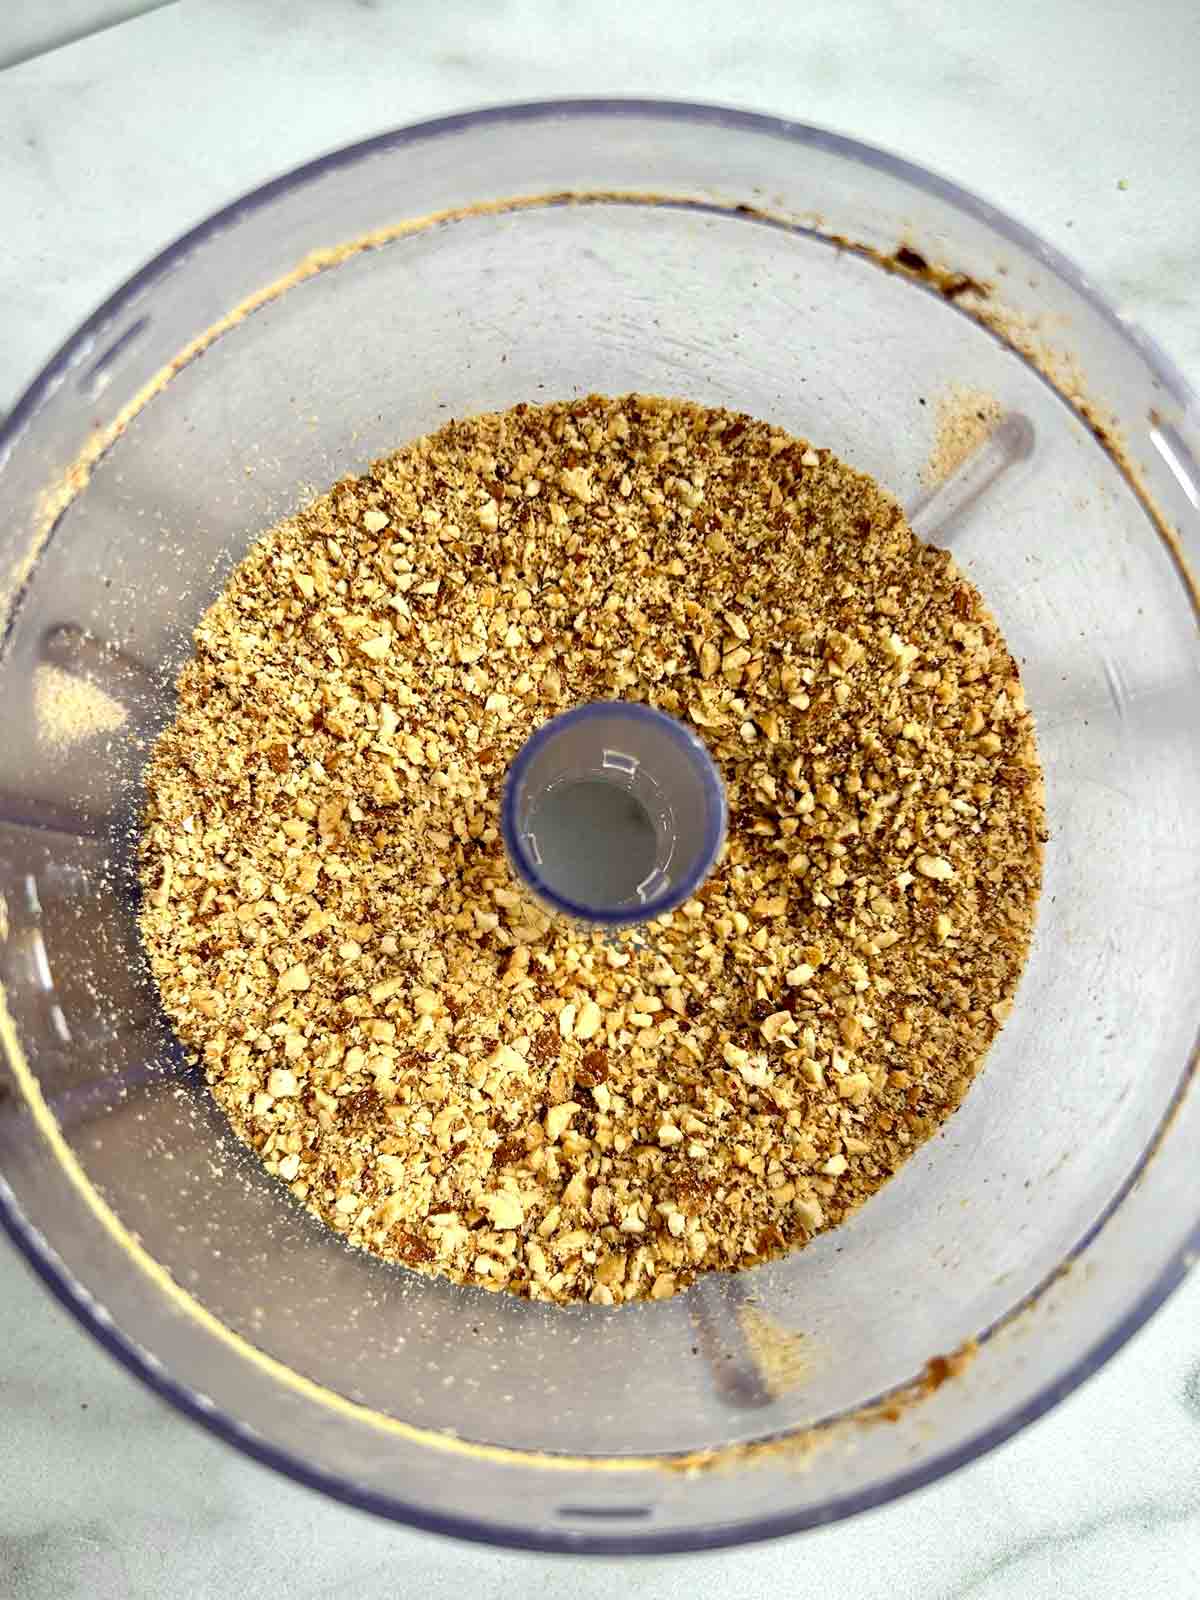
This is actually my favorite layer because of the variety of textures from the almonds and coconut. One thing I would highly recommend is to roast the almonds beforehand. I did it for about 5 minutes at 400°F in my air-fryer and then blended it in a food processor.
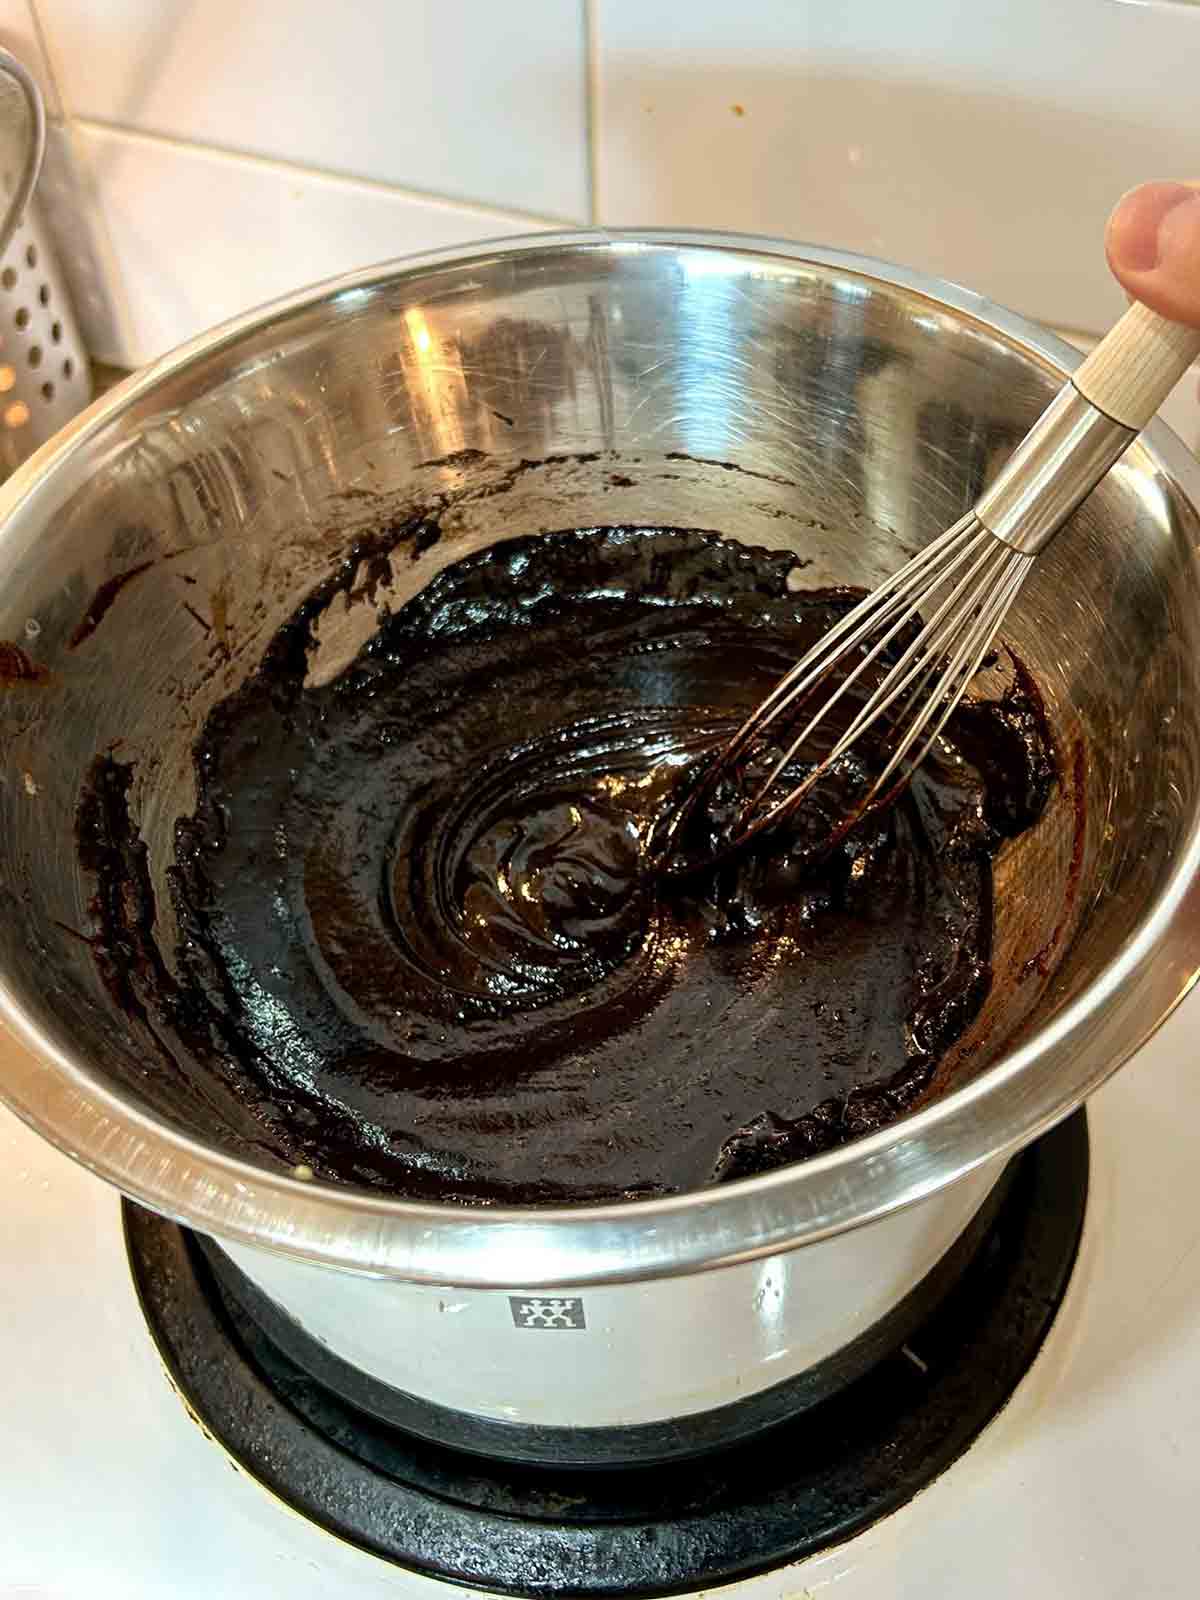
To melt the chocolate, I used a double boiler setup with a stainless steel pot and metal bowl. When you whisk in the egg, it will thicken immediately, but then you want to continue cooking it for 2 minutes until it cooks through. Then just mix it with the almonds, graham crackers, and coconut and press into the dish.
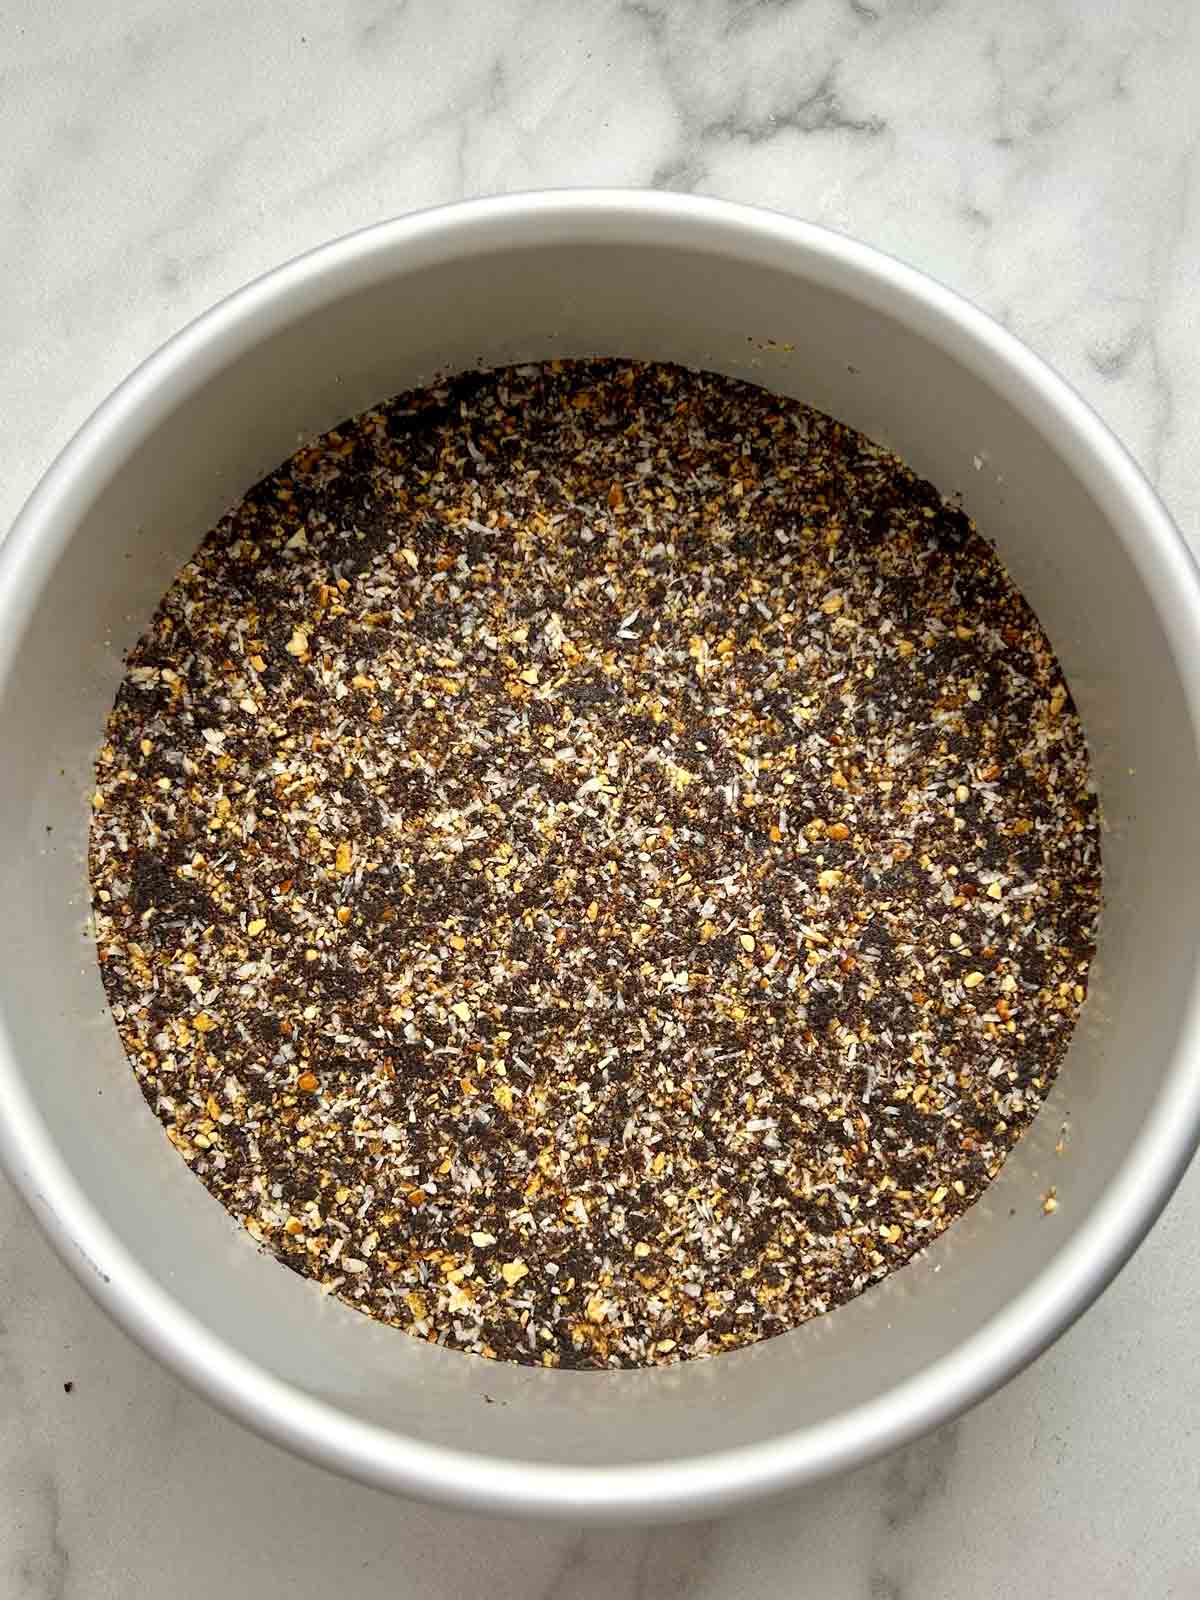
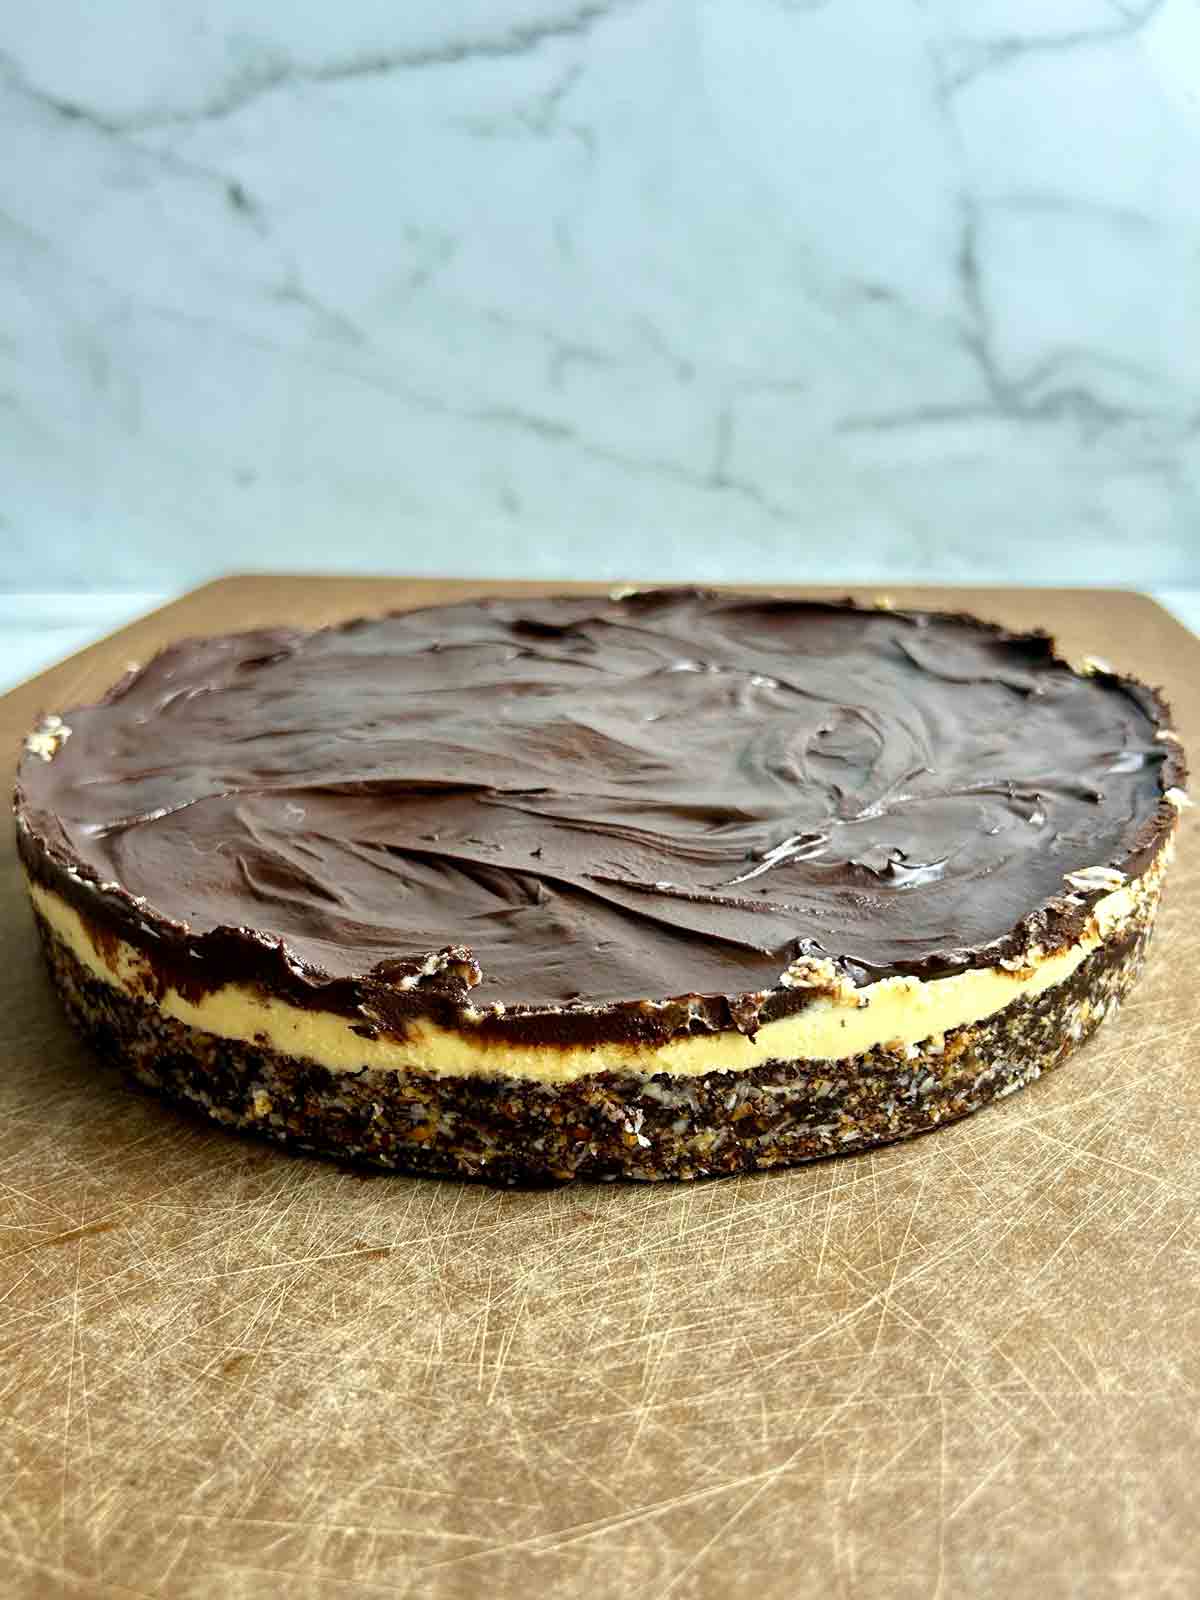
I ended up using a round cake pan because I didn't have a square baking dish. It worked out good but I had to remove some of the filling because the round pan has less surface area than a square pan.
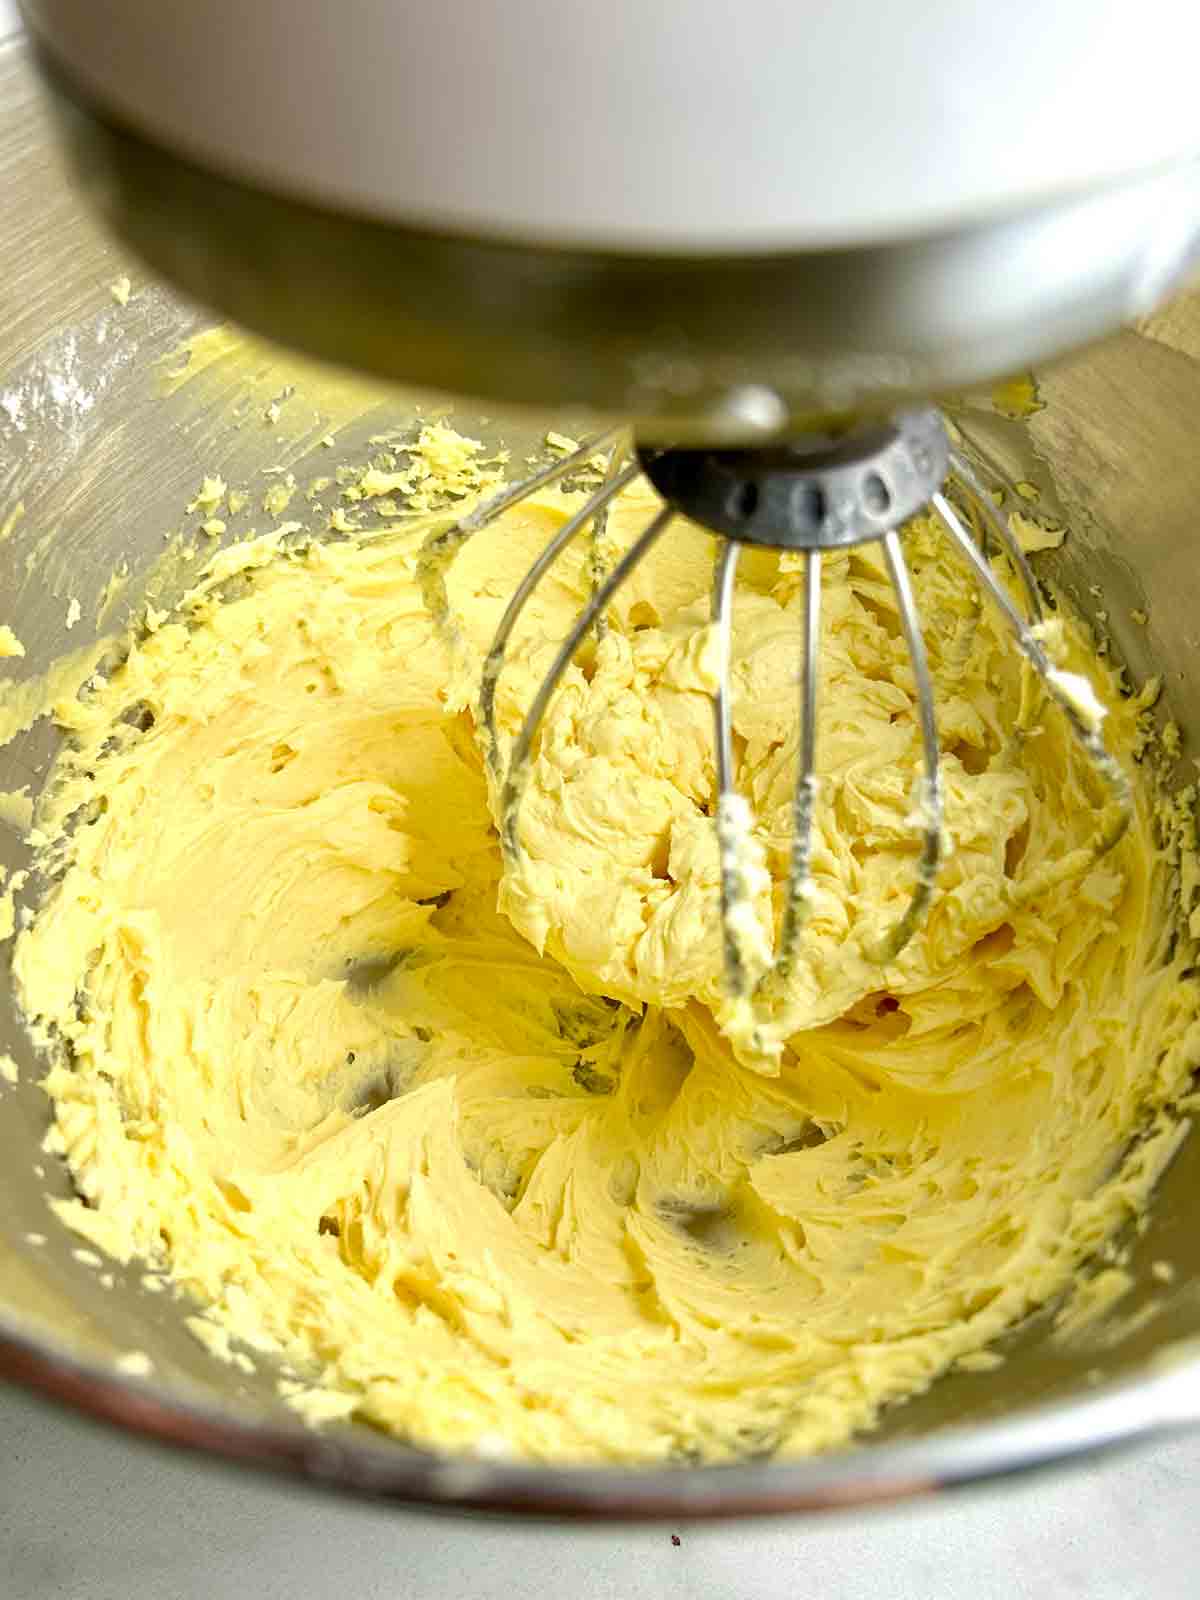
The middle layer
The middle layer is made by whipping together butter, icing sugar, cream, and custard powder. One important thing I've learned is to spread this layer on gently and quickly. The whipping step incorporates a lot of air bubbles into the butter, so if you press too hard or spend too much time spreading it on, the layer will become dense and hard.
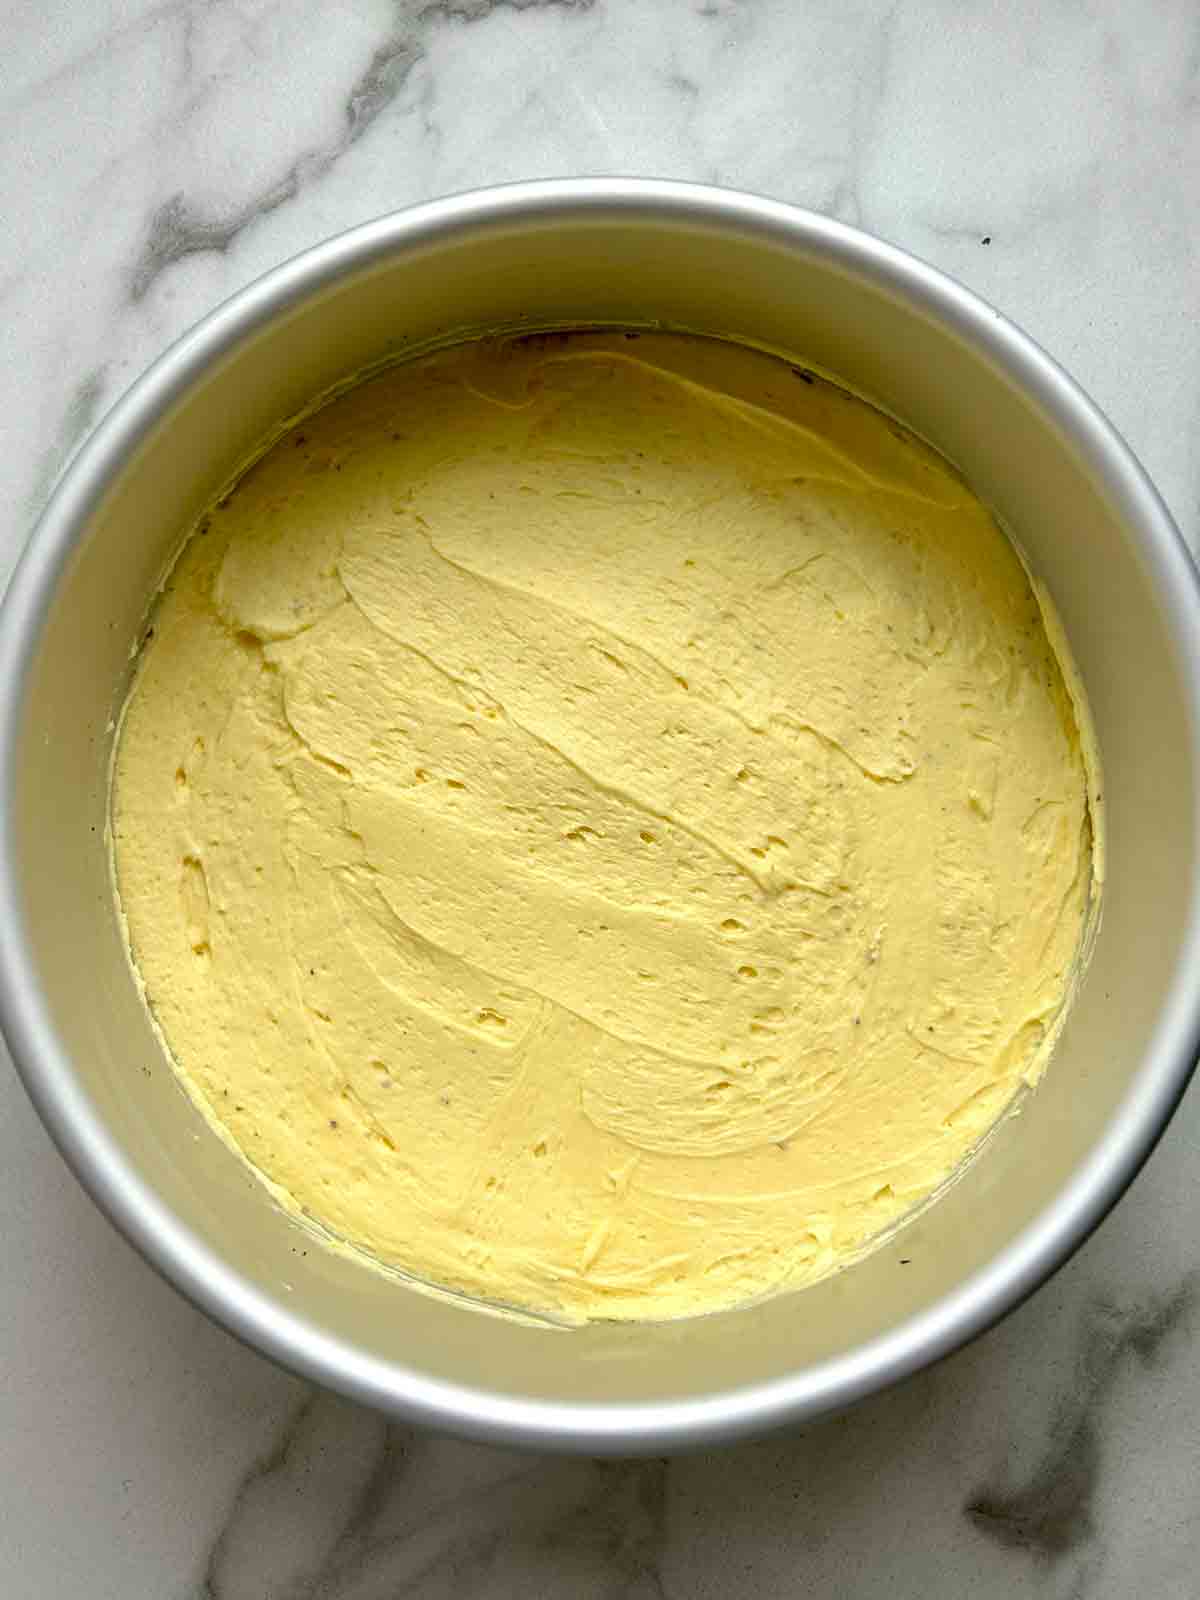
After the middle layer is done, I like to pop the whole thing in the fridge for about 30 minutes to firm up. I find it makes spreading on the chocolate layer much easier since it won't melt right away and mix into the chocolate.
The top layer
This is where my recipe deviates slightly. The original recipe uses semi-sweet chocolate, but I like to use dark chocolate because I find the original is a little too sweet.
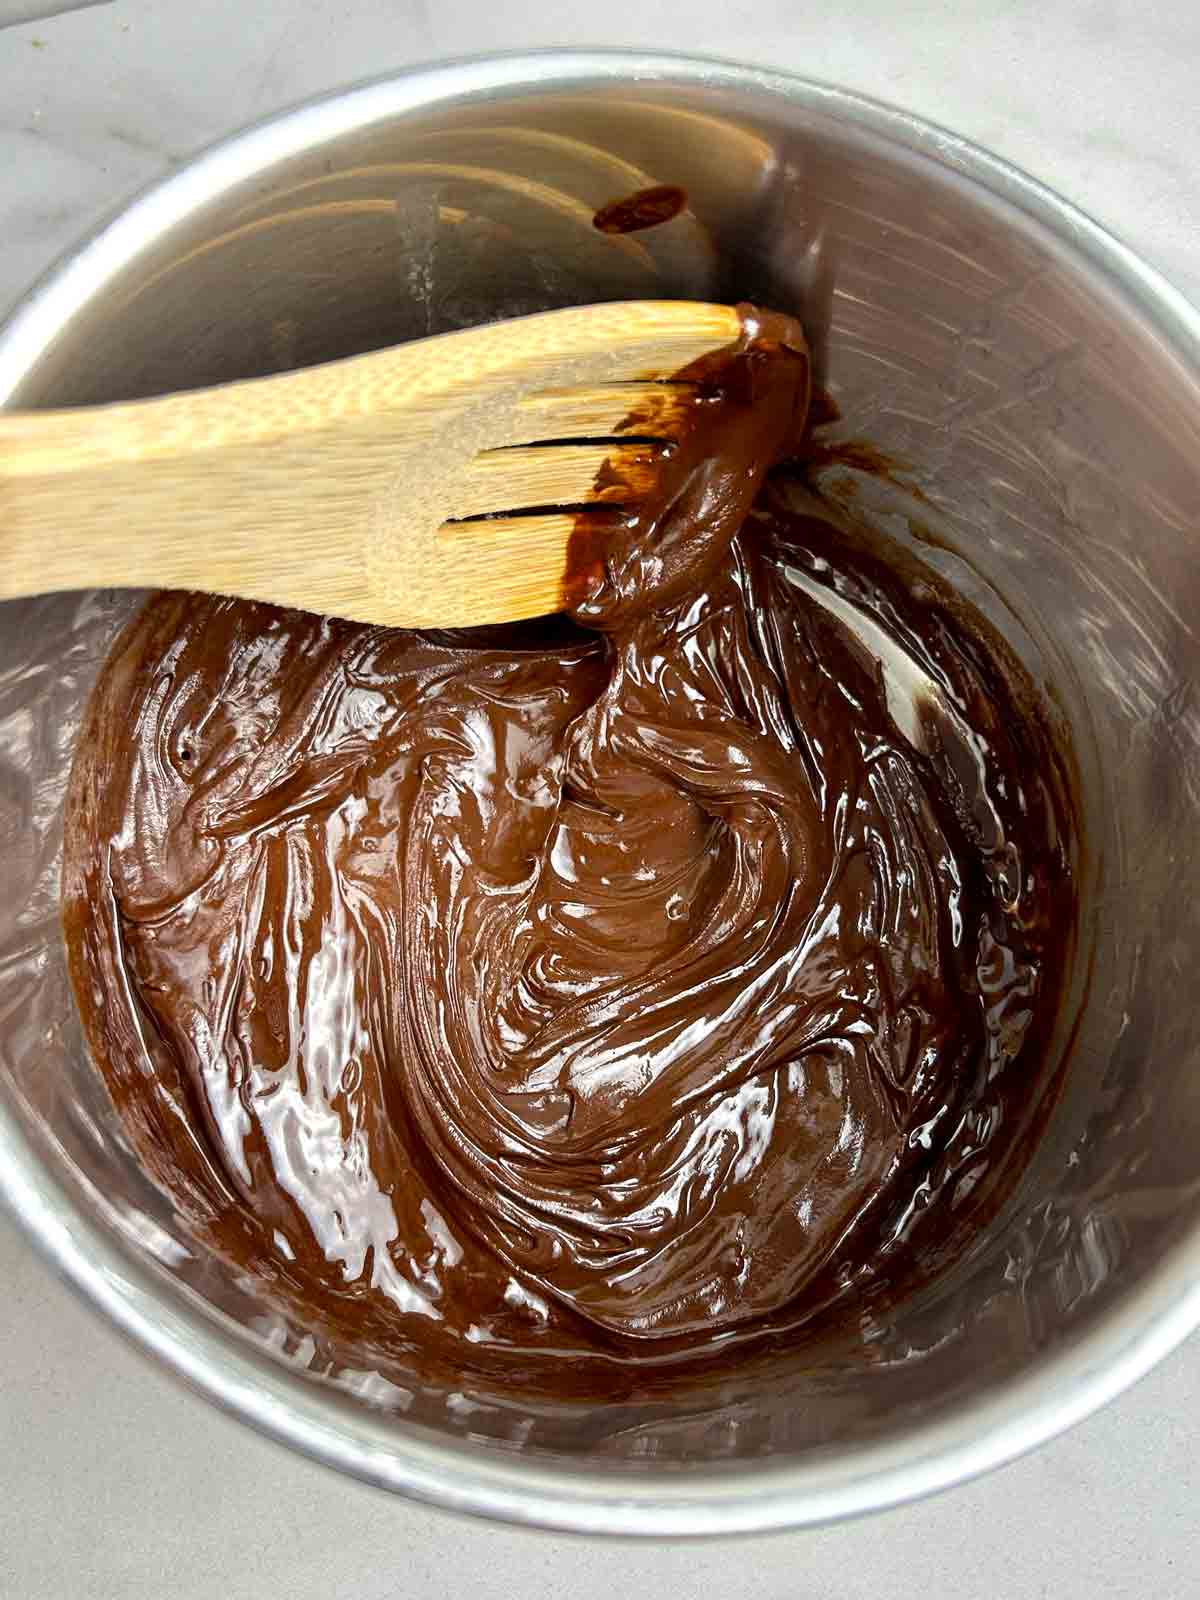
To make this layer, all you do is melt the chocolate and butter together. You can do this in the microwave or in a double boiler like in the first layer. One thing to avoid is heating it directly over the stove because the high heat can actually cause the chocolate to split.
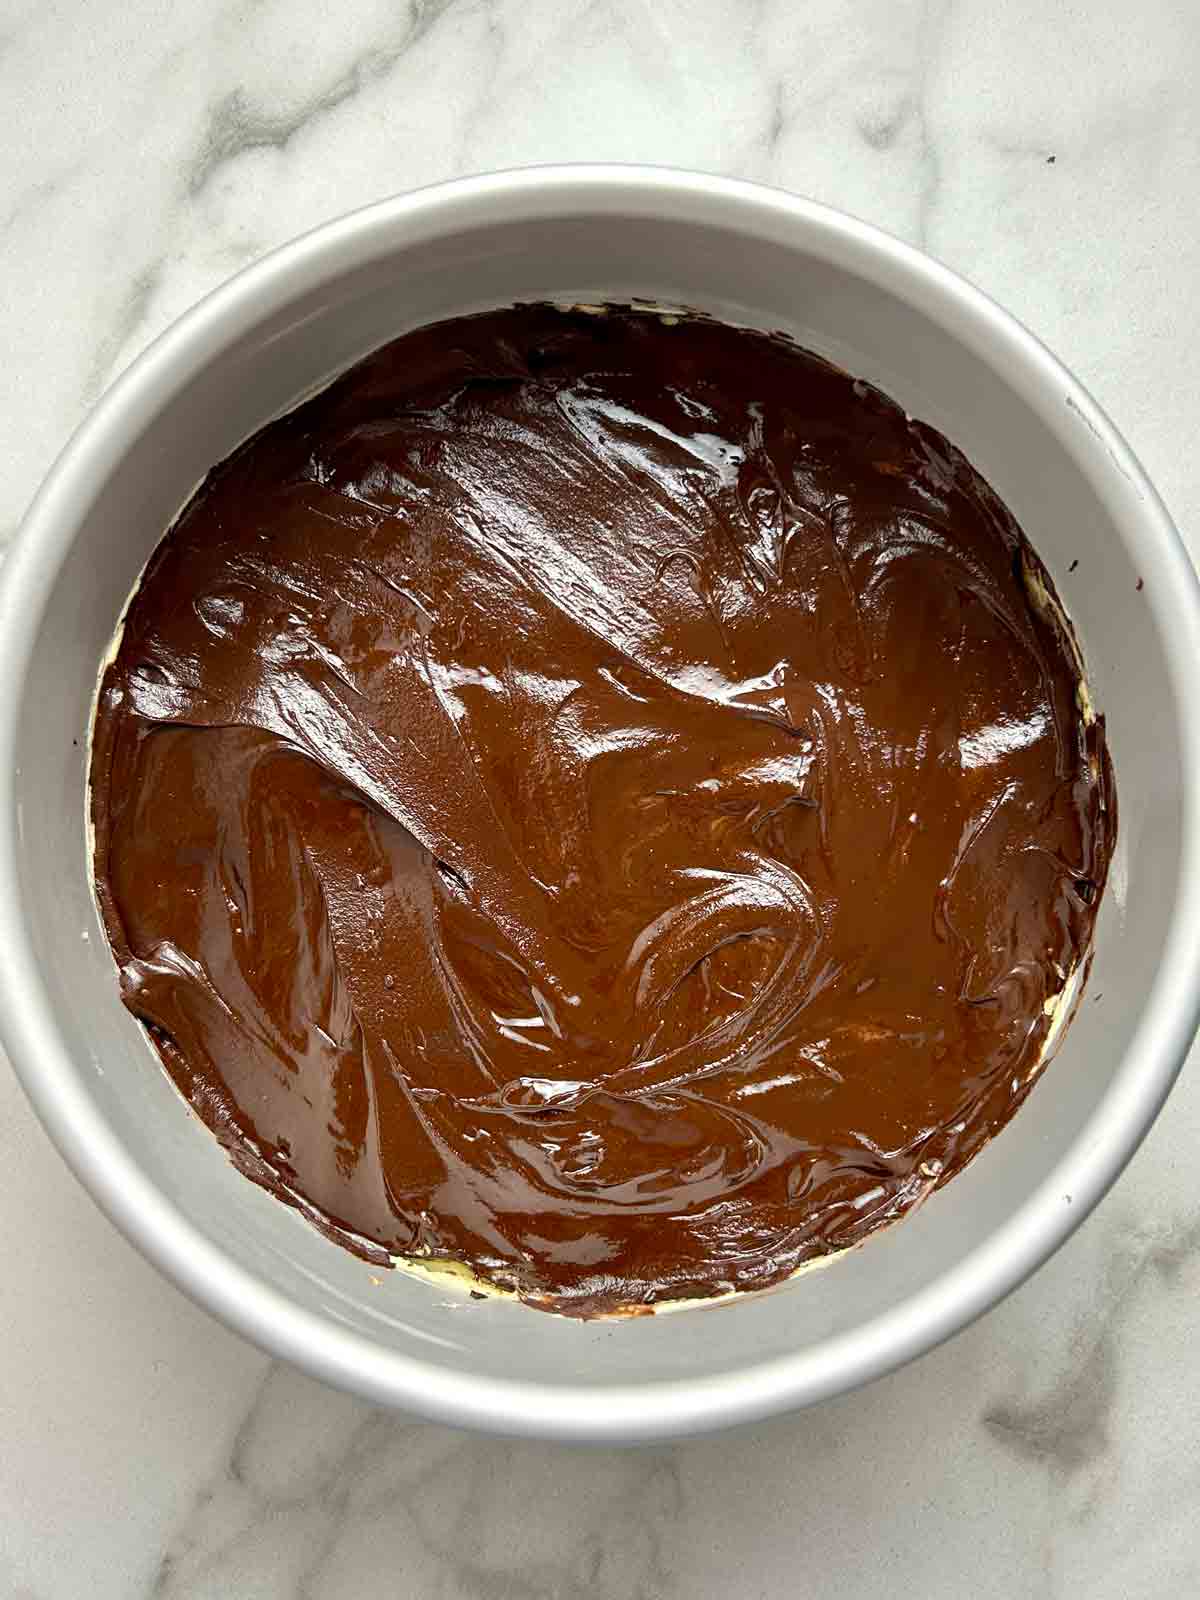
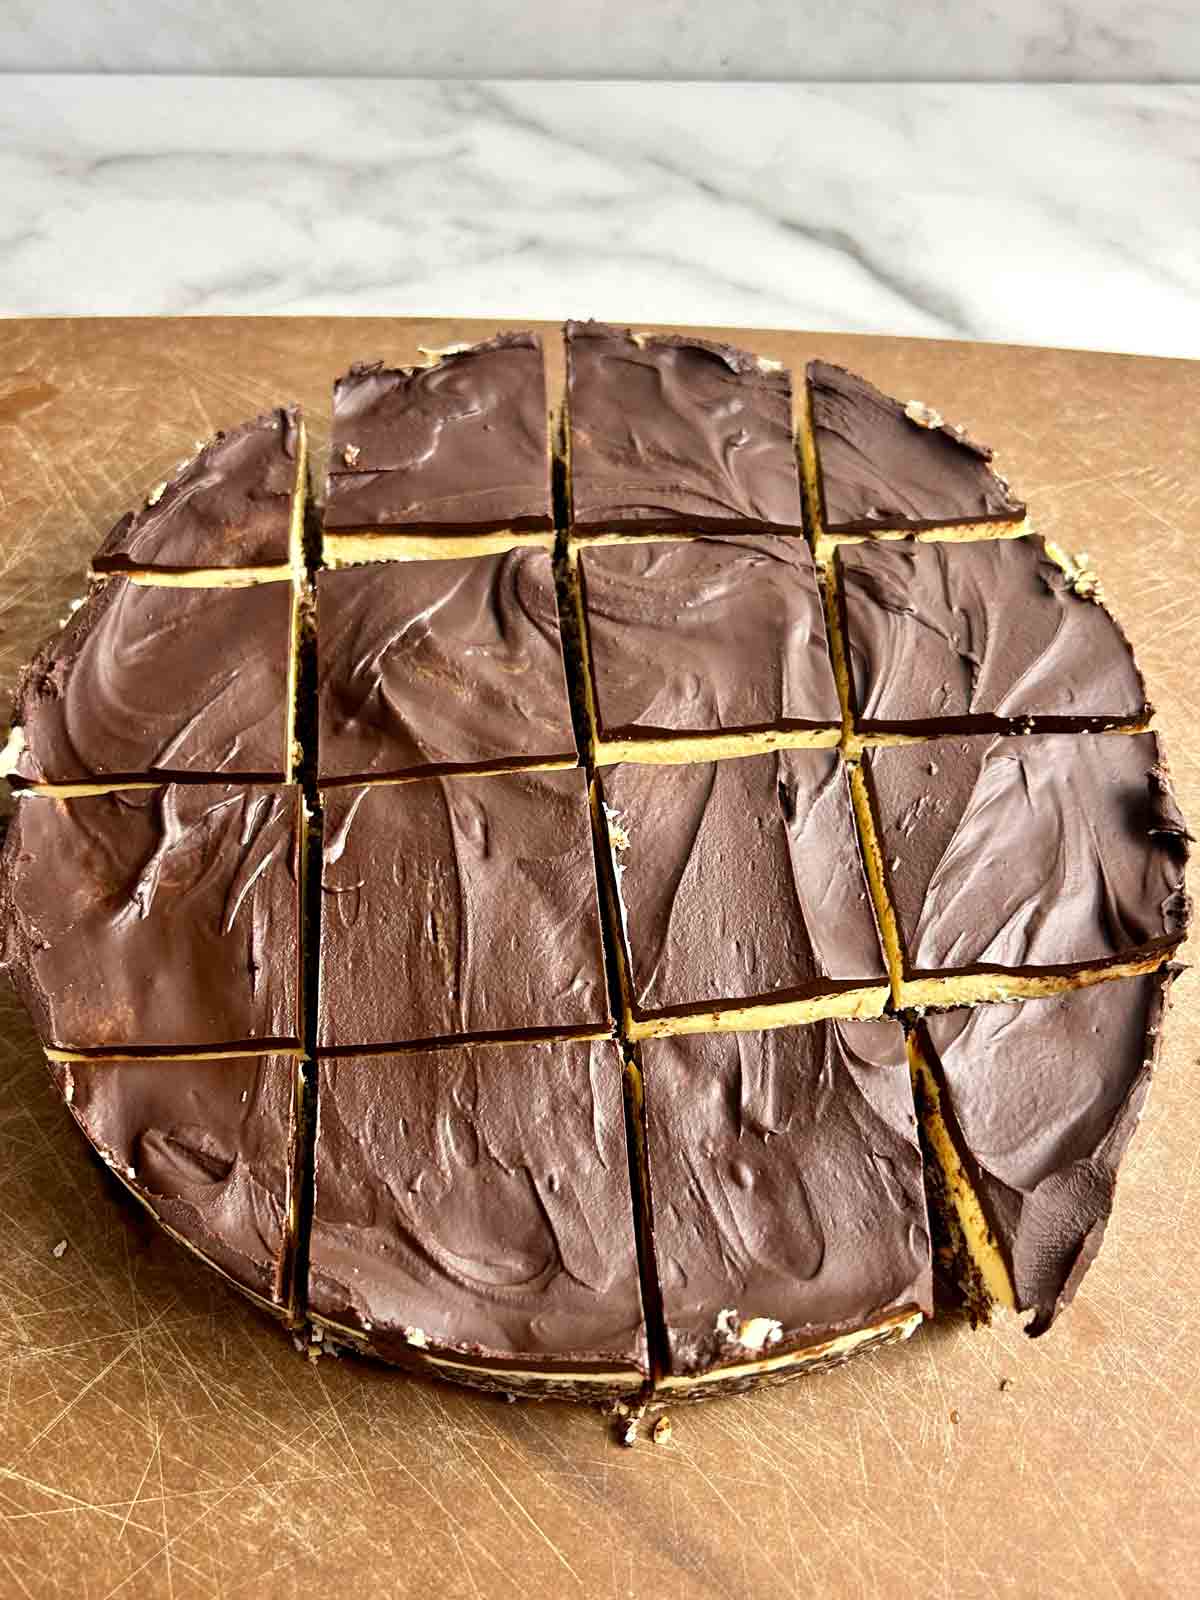
Refrigerate then cut
The final steps are to refrigerate and cut the Nanaimo bars. Because we lined the pan with parchment paper, it's very easy to release the dessert from the pan. All you need to do is slice around the edges and then invert it onto a cutting board.
Nanaimo Bars
Ingredients
Bottom layer
- ½ cup butter
- ¼ cup sugar
- 5 tablespoons cocoa powder
- 1 large egg (beaten)
- 1 ¾ cups graham cracker crumbs
- 1 cup shredded coconut
- ½ cup roasted almonds (finely chopped; i roasted raw almonds in my air fryer for 5 minutes at 400°F)
Middle layer
- ½ cup softened butter
- 3 tablespoons cream
- 2 tablespoons custard powder
- 2 cups icing sugar
Top layer
- ⅔ cup dark chocolate chips (or semi-sweet)
- 2 tablespoons softened butter
Instructions
- Prepare an 8-inch square baking dish with parchment paper on the bottom.
- In a double boiler, melt the butter, sugar, and cocoa powder. Add the beaten egg and whisk for 2 minutes until thickened and the egg is cooked through.
- Remove from the heat and stir in the graham cracker crumbs, shredded coconut, and roasted almonds. Press into an even layer in the baking dish.
- In a stand mixer with the whisk attachment (or hand beater), beat the butter, cream, custard powder, and icing sugar until soft and fluffy, about 3 minutes.
- Pour into the baking dish and use a rubber spatula to gently spread it into an even layer. Transfer to the fridge for 30 minutes to firm up.
- Melt the butter and chocolate in the microwave or in the double boiler. Let it cool for about 5 minutes then spread it evenly as the final layer. Transfer to the fridge to chill and once the chocolate is set, it is ready to eat!
- To remove it from the baking dish, use a knife to cut around the edges then invert it onto a cutting board.
Leave a Reply