As a home cook, I struggled the first few times when I tried to make a ginger bug. It either did not bubble, went flat after a few days, or developed a bad smell. But now, I understand the science more and am able to make it perfectly every time.

What is a ginger bug?
A ginger bug is essentially a live culture of yeast and bacteria that can be used to make naturally fermented soda or "ginger beer". It's very easy to start one. All you need is ginger (which contains wild yeasts on the skin), sugar, and water. Once you start your bug, you can begin making ginger beers within one week.
How to start a ginger bug?
All you do is combine chopped ginger, sugar, and water in a jar. Then every day, feed it a little bit more ginger and sugar until it is very bubbly and active. This process can take around 3-7 days.
When the ginger bug is ready, you add it to a sweet beverage and then the yeast and bacteria start consuming the sugars in the drink to produce carbon dioxide and a tiny bit of alcohol. The carbon dioxide is what makes the drink fizzy. Once the drink reaches your desired level of carbonation, you can drink it right away or refrigerate it.
Issues that I encountered
1. No bubbling + mold
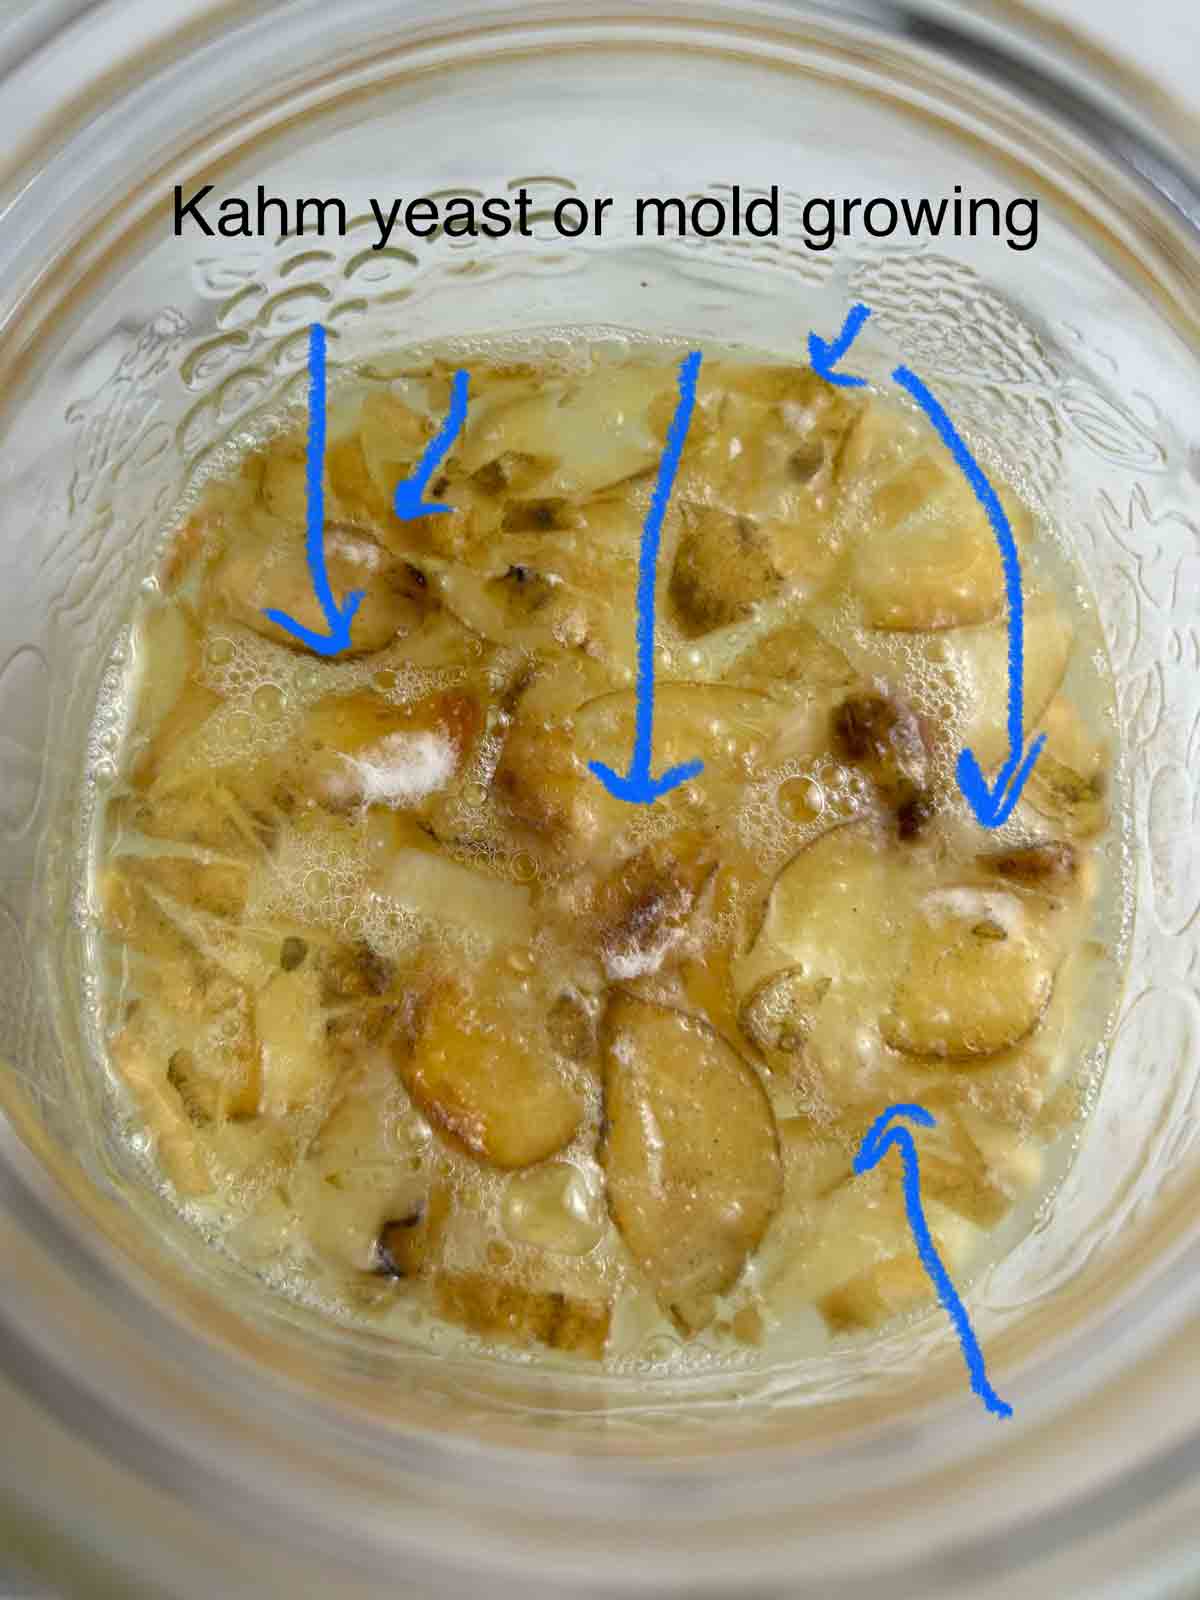
The first time I made a ginger bug, I did not get any bubbling at all. I let the bug sit on my shelf for 4 days and it had zero activity. By the 5th day, it started developing mold or kahm yeast (not sure) on top, and I decided to throw it out.
Eventually I discovered that the issue was because my ginger was NOT organic. Apparently, most non-organic ginger in North America is treated with radiation so there is no yeast on the ginger at all. This makes it basically impossible to start a ginger bug with non-organic ginger.
For my next batch, I tried organic ginger, and what do you know, it started bubbling within 1 day. So long story short, go buy organic ginger. It's required. I got mine from Whole Foods.
2. Stopped bubbling + smells bad
Another issue I encountered was my ginger bug stopped bubbling after 3 days and started to take on a sulfuric smell. The first 3 days, it bubbled vigorously but then it suddenly went flat on the fourth day.
When I consulted Reddit about this, almost every answer was that I overfed my starter. But I didn't believe it. After all, I was only using two teaspoons of sugar, and many authoritative recipes actually recommend one tablespoon. Eventually, I did an experiment with varying levels of sugar and found it not to be an issue at all. More on this below.
My guess is that the temperature in my home was too hot, and somehow unwanted bacteria were able to take over instead of the yeast. For my subsequent batches, I always left it in a dark, cool place, and it was able to bubble consistently with no issues.
1 teaspoon vs. 1 tablespoon of sugar
There is a lot of debate about how much sugar to feed your ginger bug. Most recipes say either one teaspoon or one tablespoon. To test it out, I made two batches.
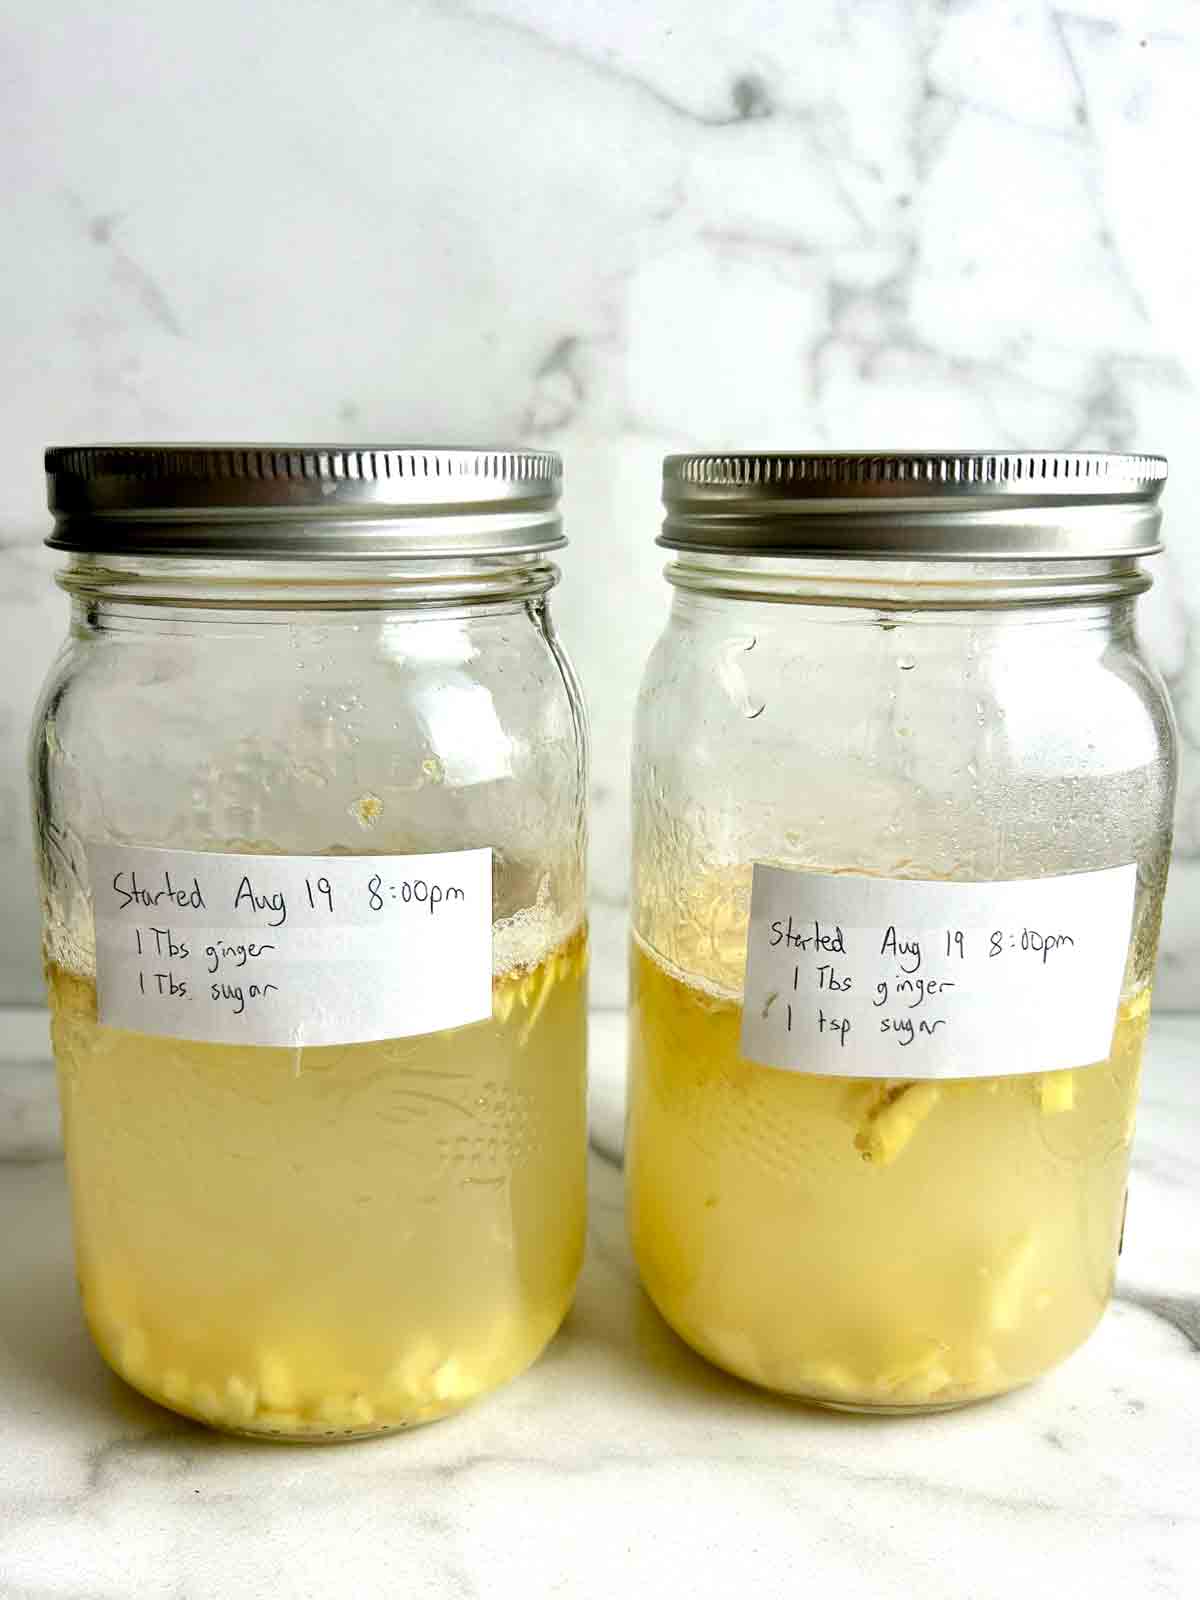
For each bug, I started with 2 cups of water and 1 tablespoon of ginger. For the next 5 days, I fed each bug their respective amounts of sugar.
From day 1-3, I did not notice any difference in activity. They both started bubbling after 24 hours and continued bubbling at a steady rate. But, to my surprise, on the fourth day, the ginger bug with one tablespoon of sugar started bubbling even more vigorously than the one with one teaspoon.
My guess is that once the yeast colony has had time to develop, the extra sugar helps it flourish even faster. So from my experience, one tablespoon of sugar is better than one teaspoon.
Should I grate or chop the ginger?
Since the yeasts are on the skin of the ginger, it doesn't really matter if you grate or chop the ginger. However, I prefer chopping the ginger because it's easier to filter out once you make your ginger beer.
You might think the ginger flavor will be stronger if you grate it, but it doesn't actually make much of a difference. If you want a stronger flavor, I recommend making a separate ginger syrup and adding it directly to the fruit juice.
My Fail-proof method
Before starting, I highly recommend to:
- Buy organic ginger (I buy mine from Whole Foods). The success rate of using non-organic ginger is very low because most non-organic ginger is treated with radiation. I have only heard of a few people out of hundreds who have had this work successfully.
- Sanitize a mason jar with boiling water. To do this, I boil a few cups of water, pour it into the jar, and let it sit for 5 seconds. Then, I use a pair of oven mitts to hold the jar while pouring out the water and turning the jar to make sure the sides get cleaned too.
Instructions:
- Add 2 cups of filtered water to the sanitized jar.
- Add one tablespoon of sugar and stir until it dissolves.
- Add the chopped organic ginger to the jar.
- Cover loosely with a lid and store in a dark place for 3-5 days.
- Every day, feed it one tablespoon of chopped ginger and one tablespoon of sugar. By day 3 or 4, you should see a steady stream of bubbling rising to the surface. Once the bug has been bubbling consistently for 2 days, you can start making ginger beer with it.
Using the ginger bug to make ginger beer
For every 4 cups of liquid, you need ¼ cup of the ginger bug. I like to combine mine in a mason jar for the first 2 days, and then once I see a steady stream of bubbles, I transfer it to an airtight container that can support carbonation. This can either be a plastic soda bottle or a flip-top brewing bottle.
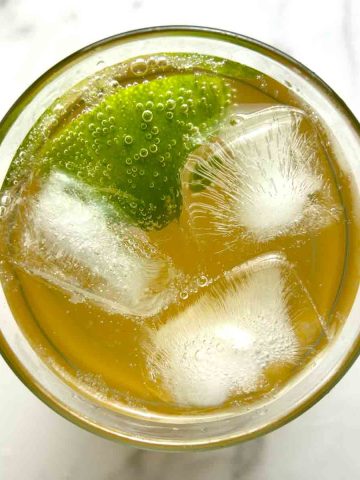
My favorite juice to use is cheap apple juice. It doesn't have to be organic or anything. I just use the kind made from concentrate and I've never had any issues.
Ginger beer + ginger bug
Ingredients
To start:
- 2 cups filtered water
- 1 tablespoon unpeeled organic ginger
- 1 tablespoon sugar
To feed daily:
- 1 tablespoon unpeeled organic ginger
- 1 tablespoon sugar
To make ginger beer:
- ¼ cup ginger bug
- 4 cups fruit juice (my favorite is apple juice)
Instructions
Ginger Bug
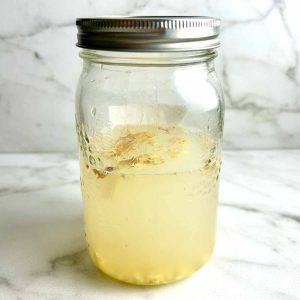
- Combine the water, ginger, and sugar in a mason jar. Stir vigorously until the sugar dissolves. Loosely cover with a lid, plastic wrap, or a paper towel with an elastic band. Store in a cool, dark place.
- Feed your bug daily with one tablespoon of chopped ginger and one tablespoon of sugar. Make sure to stir vigorously each time until the sugar mostly dissolves.
- By day 3, you should notice some bubbles sitting on top of the water. By day 5, you should see a steady stream of bubbles. The mixture should smell yeasty with a hint of ginger. If there are any bad smells like sulfur, eggs, or farts, then bacteria have taken over and you will need to restart.
Ginger Beer
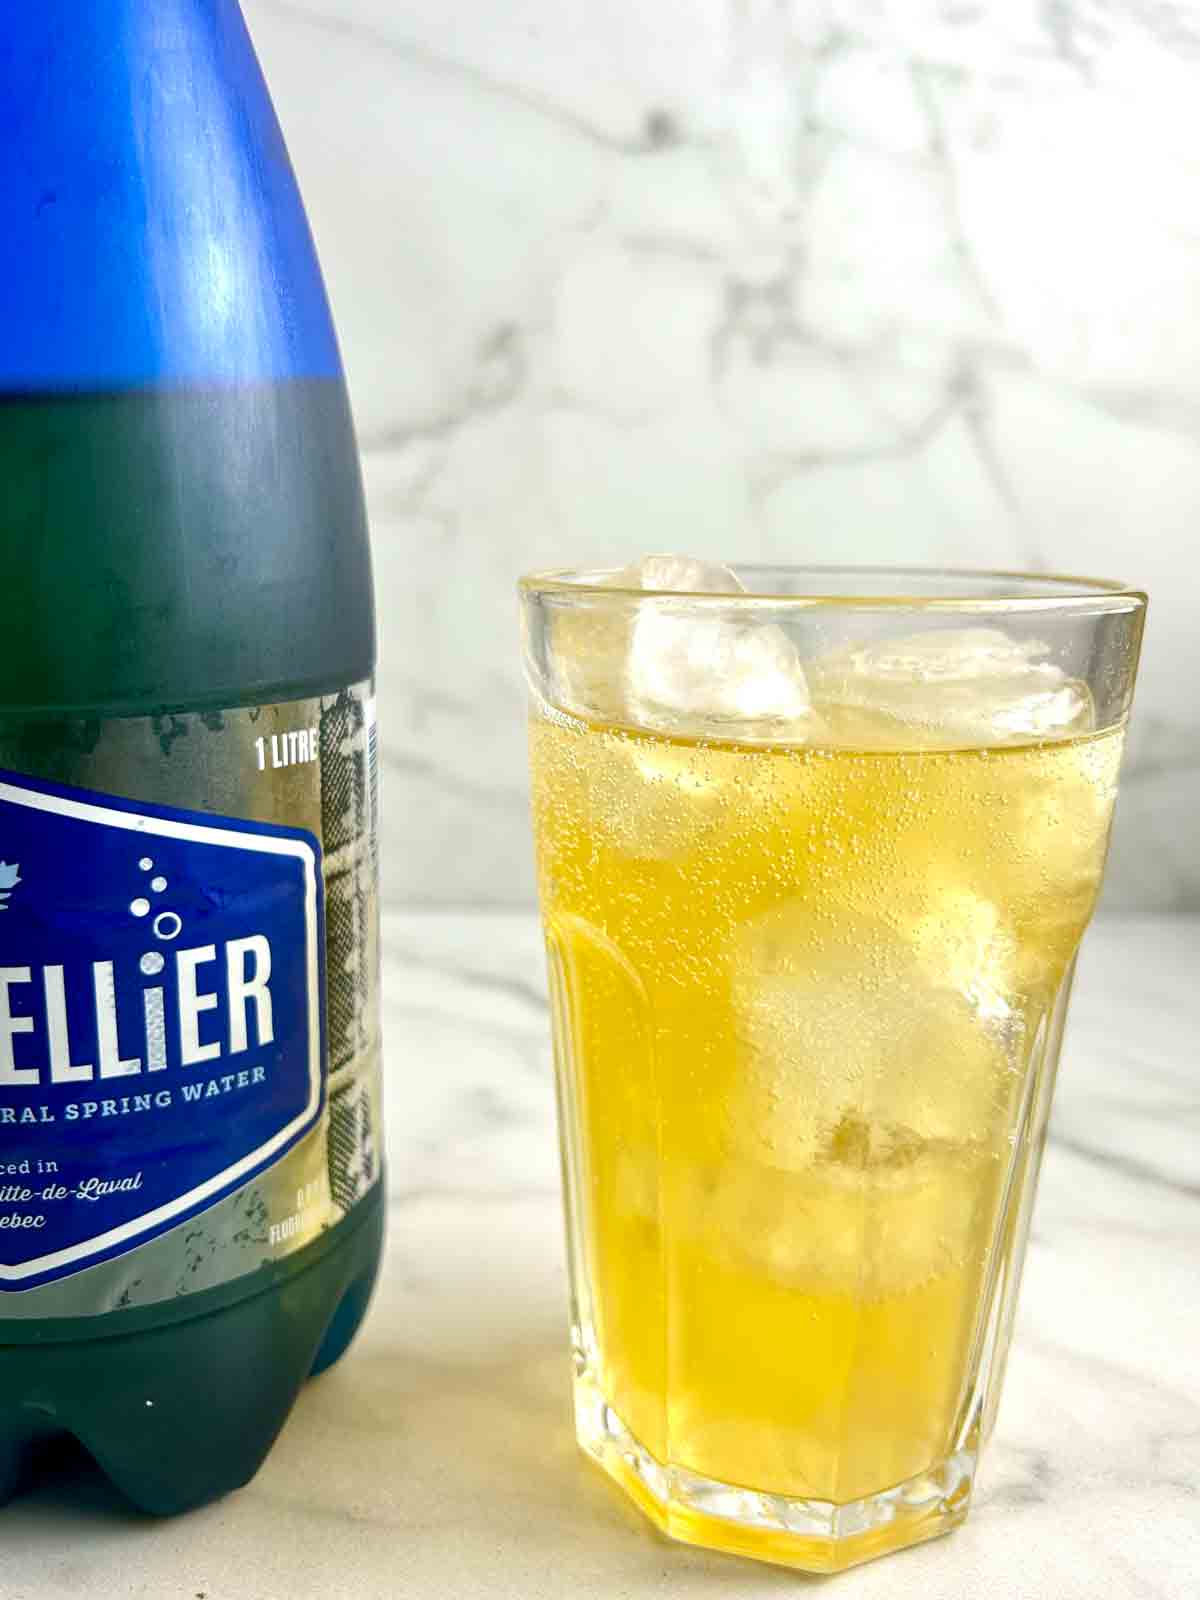
- Add ¼ cup of the ginger bug (make sure to stir it well beforehand) and 4 cups of fruit juice to a glass jar. Cover it loosely with a lid for 1-2 days until you see a steady stream of bubbles. Transfer the liquid to a plastic soda bottle or flip-top brewing bottle and close the lid tightly. Let it ferment for another 1-3 days, burping every 12 hours, until it reaches your desired level of carbonation. Then transfer to the fridge and consume within two weeks.

Leave a Reply